
Armored Brigade II: Scandinavia is three DLCs in one
Strategizing with three, new northern European countries. Hang on to something.

Armored Brigade II: Scandinavia adds an additional three countries to help tide the Russian advance, involving Cold War NATO.
After recently reviewing Armored Brigade II, I was just chomping at the bit (historically and technically “champing”) to review the new Scandinavia DLC. However, this one’s going to be a little different. The Armored Brigade II: Scandinavia DLC actually comes in three parts: Sweden, Norway, and Denmark. This review will, then, be in three parts, so we can feel the differences in how each country handles itself during war. Let’s get right to it…
Although I was planning to put these details at the end, I realized it would be more beneficial to include them here, at the beginning.
To select a unit, left-click on it — or use the ‘lasso’ method for multiple units. Then, right-click somewhere on the map. A little action(s) table will pop up. Then, just like the Combat Mission I reviewed earlier, you can daisy-chain different commands from where your initial one ended…. with a left-click… as a right-click will erase your last waypoint.
This is important because each waypoint line has a different color. To name a few:
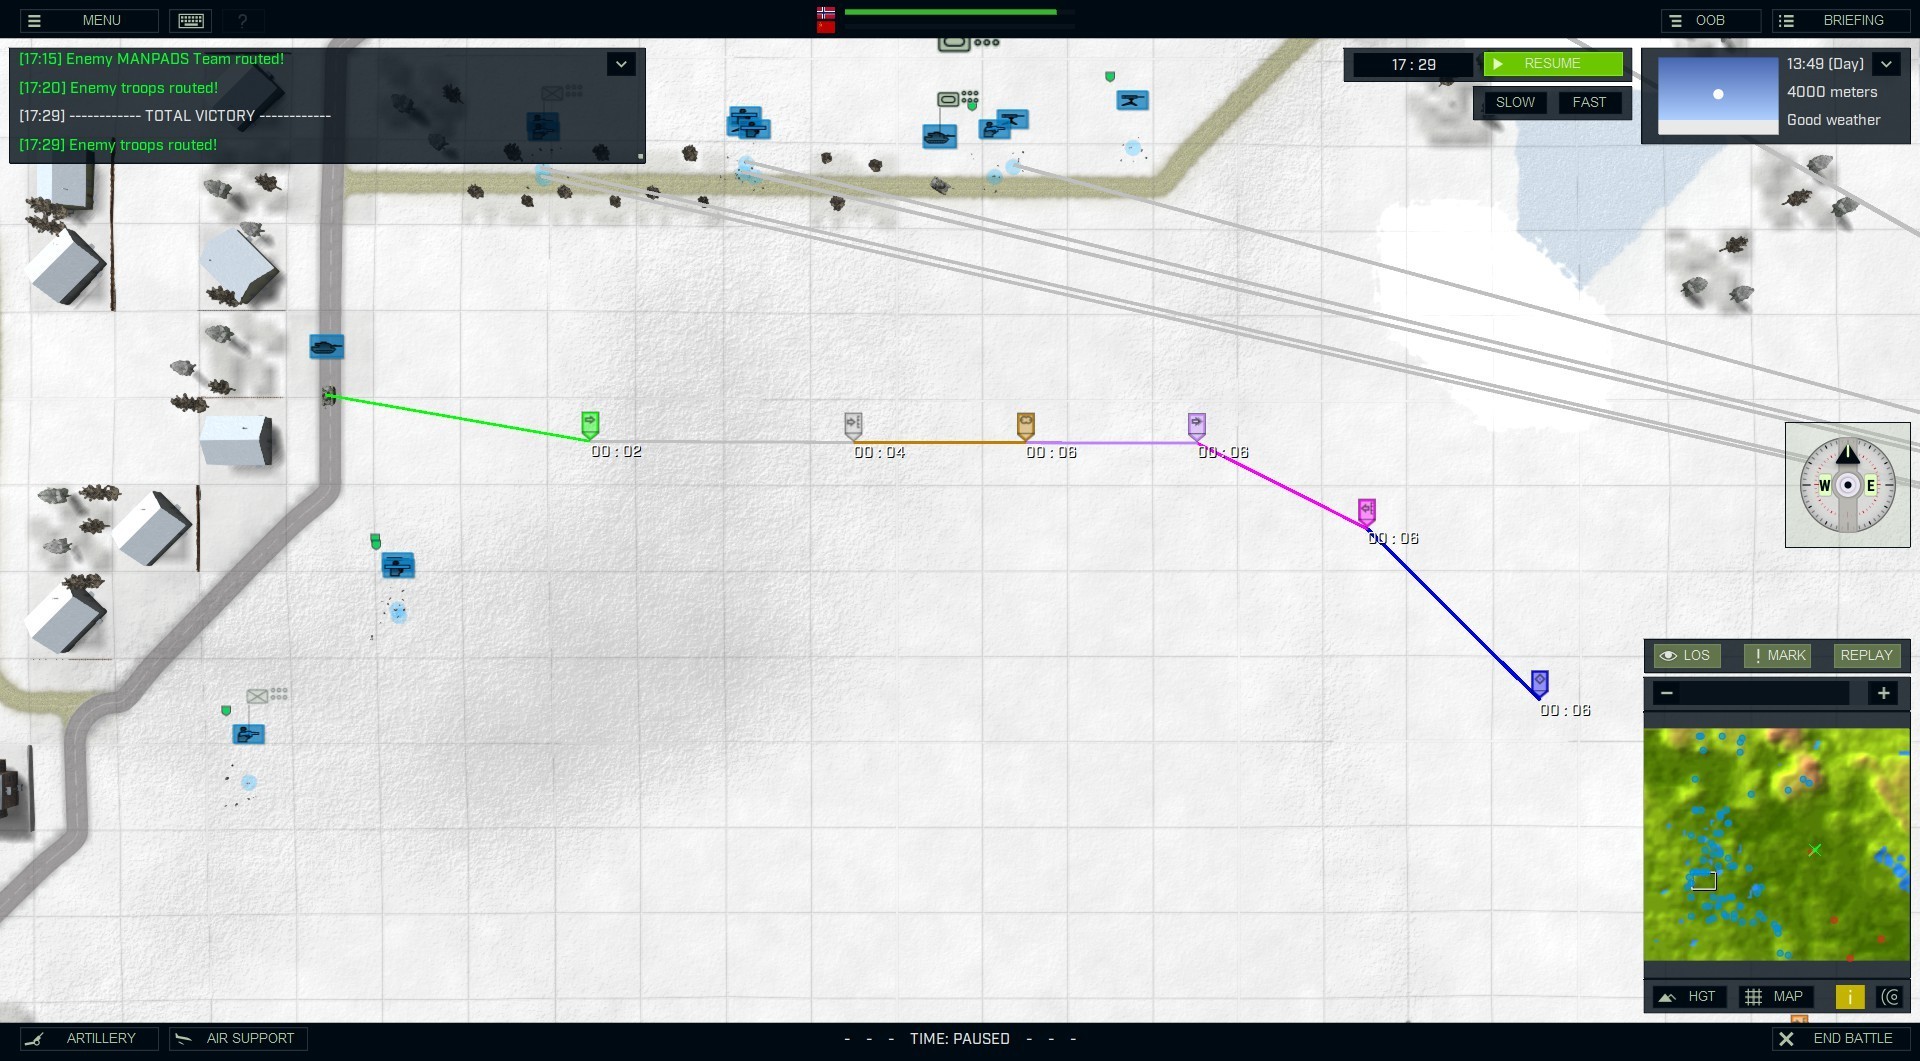

Also of note, the closer you zoom in, the louder the sound effects.
From what I’ve seen so far, you can’t exactly zoom down to the level of some other wargames… not that there’s anything wrong with that… I really don’t care about seeing their teeth and eyeballs anyway. Really, though, if you like that ground-level play style, you’ll be fine. It gets close enough. For me, it’s cool to pause it sometimes and zoom in, down really close, to better hear the battle. Also, while setting up, you place two markers on the overall map or multiple ones (I generally use two, especially for smaller maps), which will form a line that randomly chooses the exact spot. Since we’re starting with Sweden, I’ll show you their battle placement, within the green square.
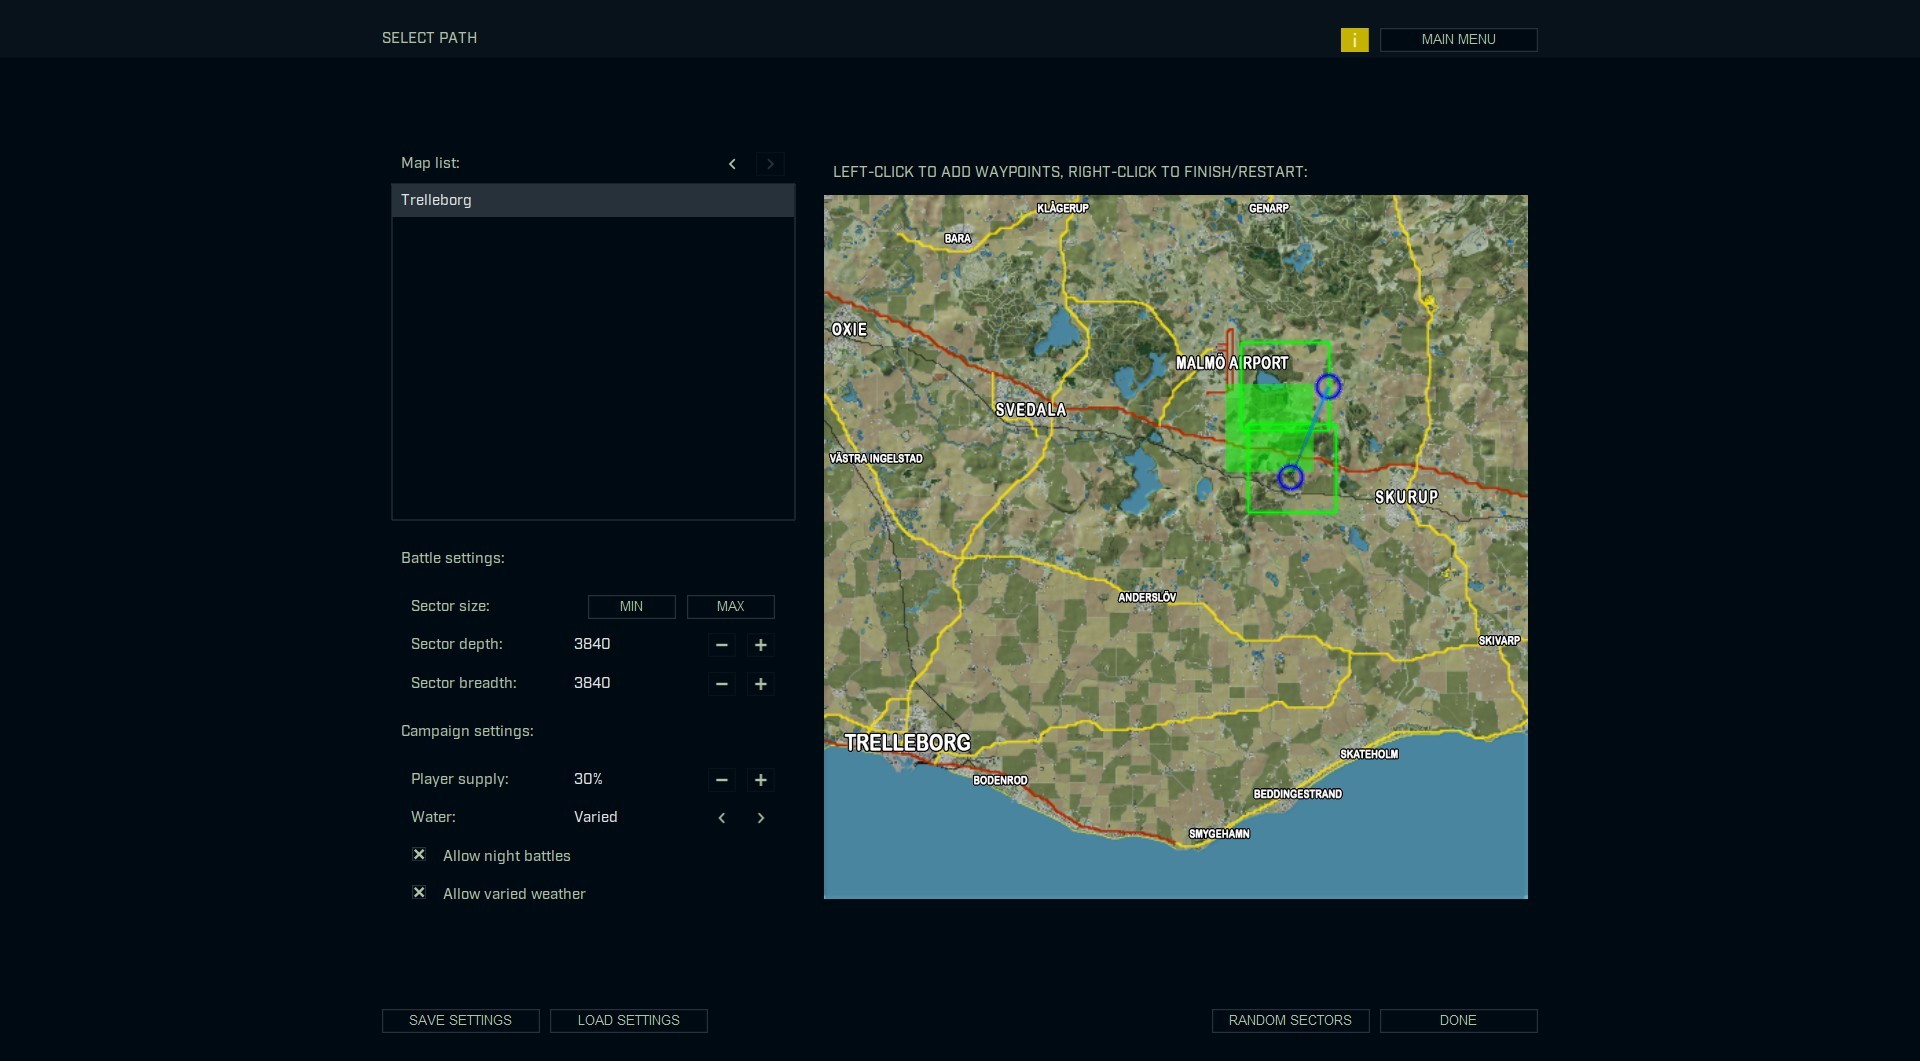
Sweden 
In this incarnation of the Cold War, Sweden is based upon being a Defense/Defensive country… for itself and everything around it. Due to their large amount of forces, very harsh terrain and long coastline, they were built to defend. Their extremely rough piece of land makes it too difficult for any attacking enemies to get very far.
Almost all of their vehicles were designed and built within the country itself. I mean, who better to design your armed force’s vehicles and weapons than people who actually live there? Plus, again, it’s not like they’re going to be invading anywhere.
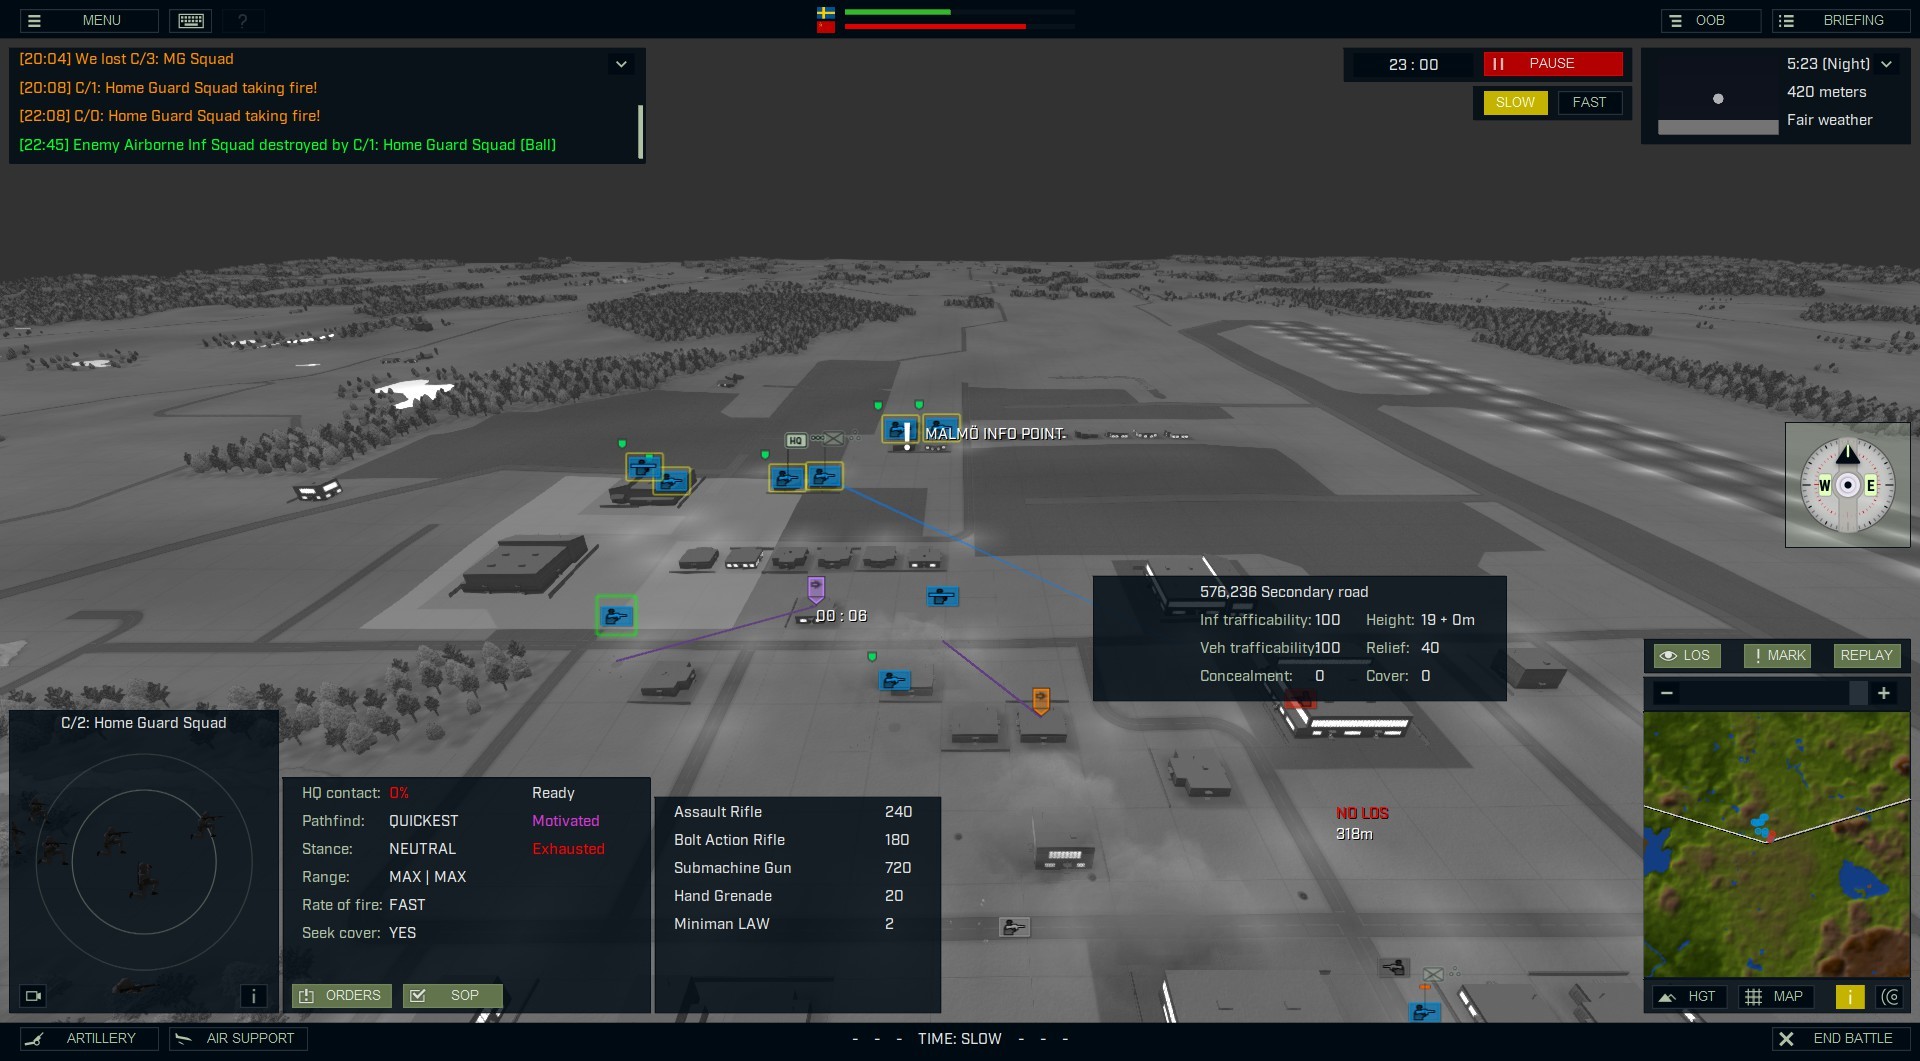
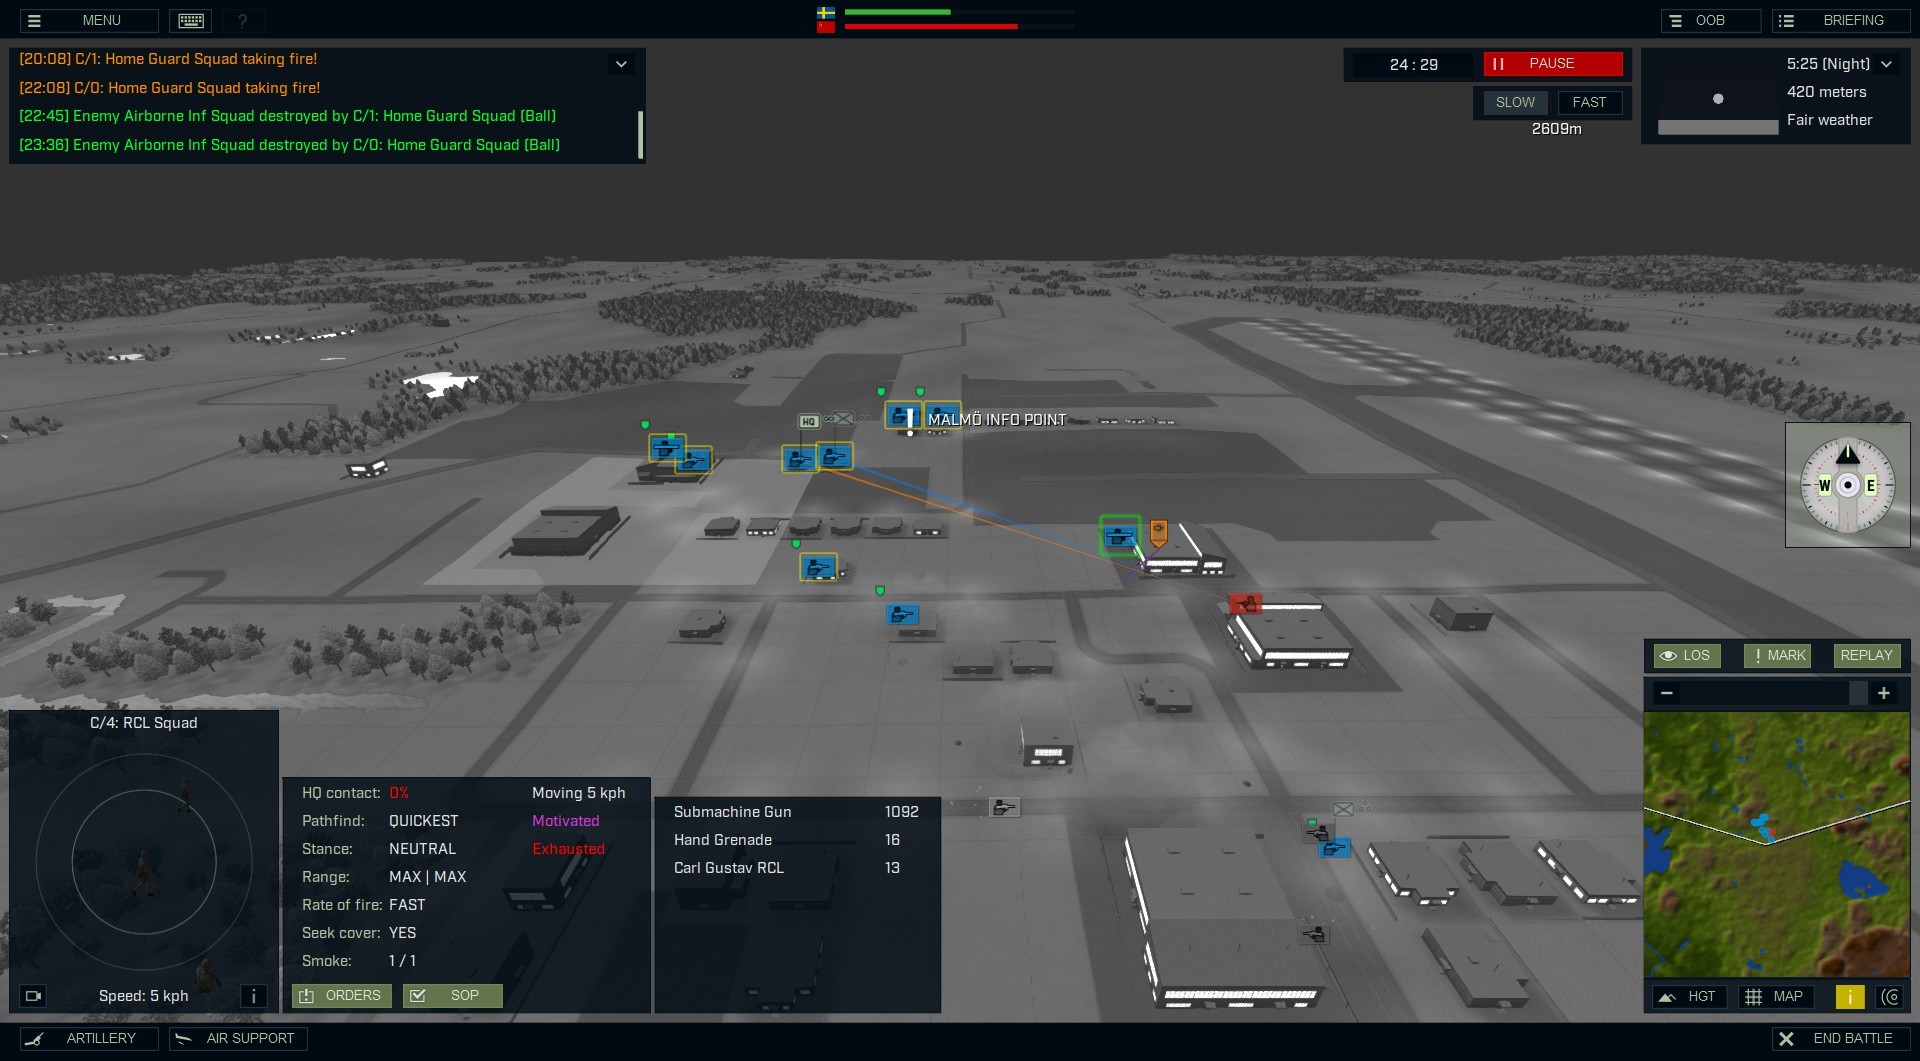
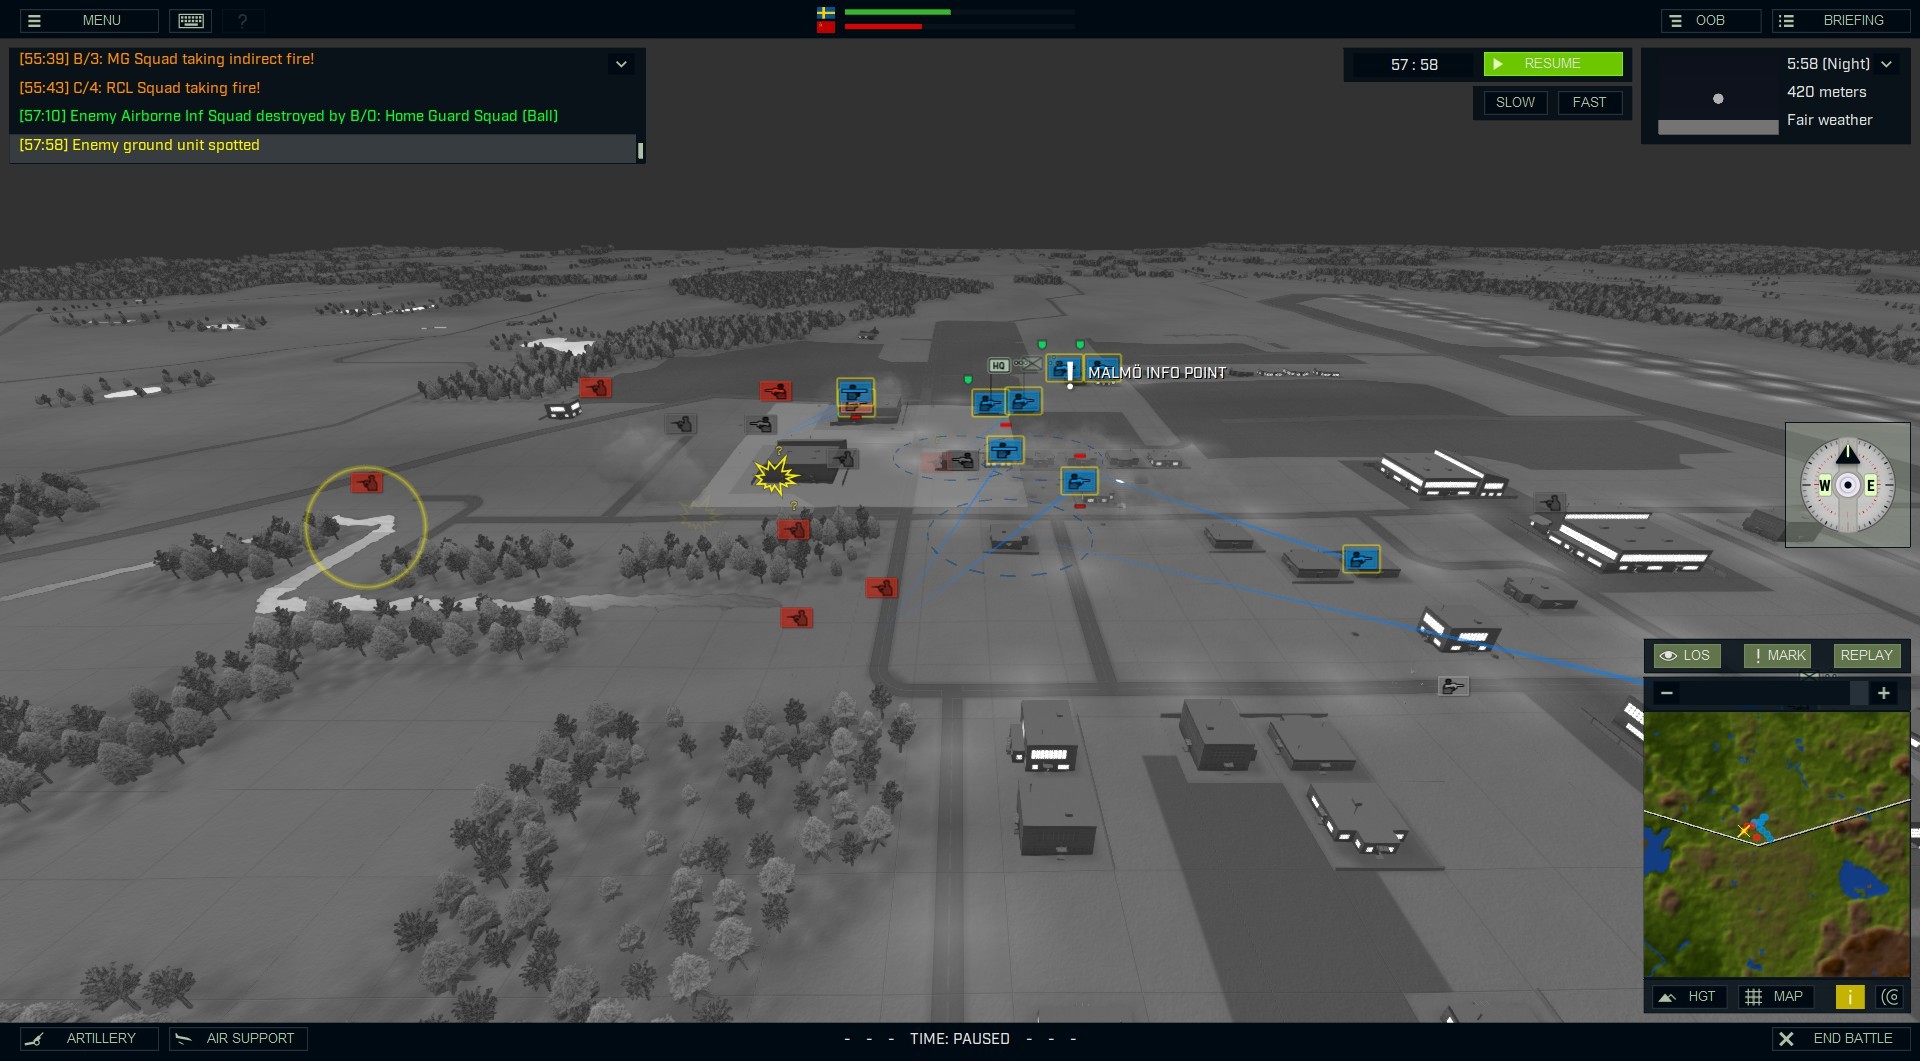
Armored Brigade II: Scandinavia touts they have more “…traditional, linear campaigns…”. You guys know I’m a campaign-head and have been with everything I’ve ever written for B3 (or even played in my spare time). However, with my very first Swedish start, I played a right-out-of-the-box campaign, I was a little disappointed that I didn’t get to pick my (nose?) no… I meant I didn’t get to choose any units or an area of the map to start… neither one. The next two will be of the generated kind. I only had ten units! It ended in a very close victory.
Norway 
Norway is actually the northern offense for NATO during this time (unlike Sweden, obviously). As that is the case, that’s exactly how I played it… again, this time on a generated campaign map, for more options and control.
Our main job is to ‘control’ Russian ships and fleets trying to get to (or through to) the Atlantic, by “…aggressive delay…” Their landscape is similar to Sweden’s as far as the ruggedness goes — which lends to Norway’s troops excelling in cold and mountainous areas. You don’t pick ‘exactly’ where the fight will be, (when you use the, at least, dual-point system at the start of the game [as shown above for Sweden]) but I was trying to include as many different types of terrain as possible when I chose my spot … on one of the two new maps for Armored Brigade II: Scandinavia, this one’s Trelleborg while the other one, I used for Denmark, is Bornholm. (In reality, I believe they were actually switched – gotta throw a game a little bizzare-o-rooni every now and then).
Setup and 1st Moves
Prev 1 of 4 Next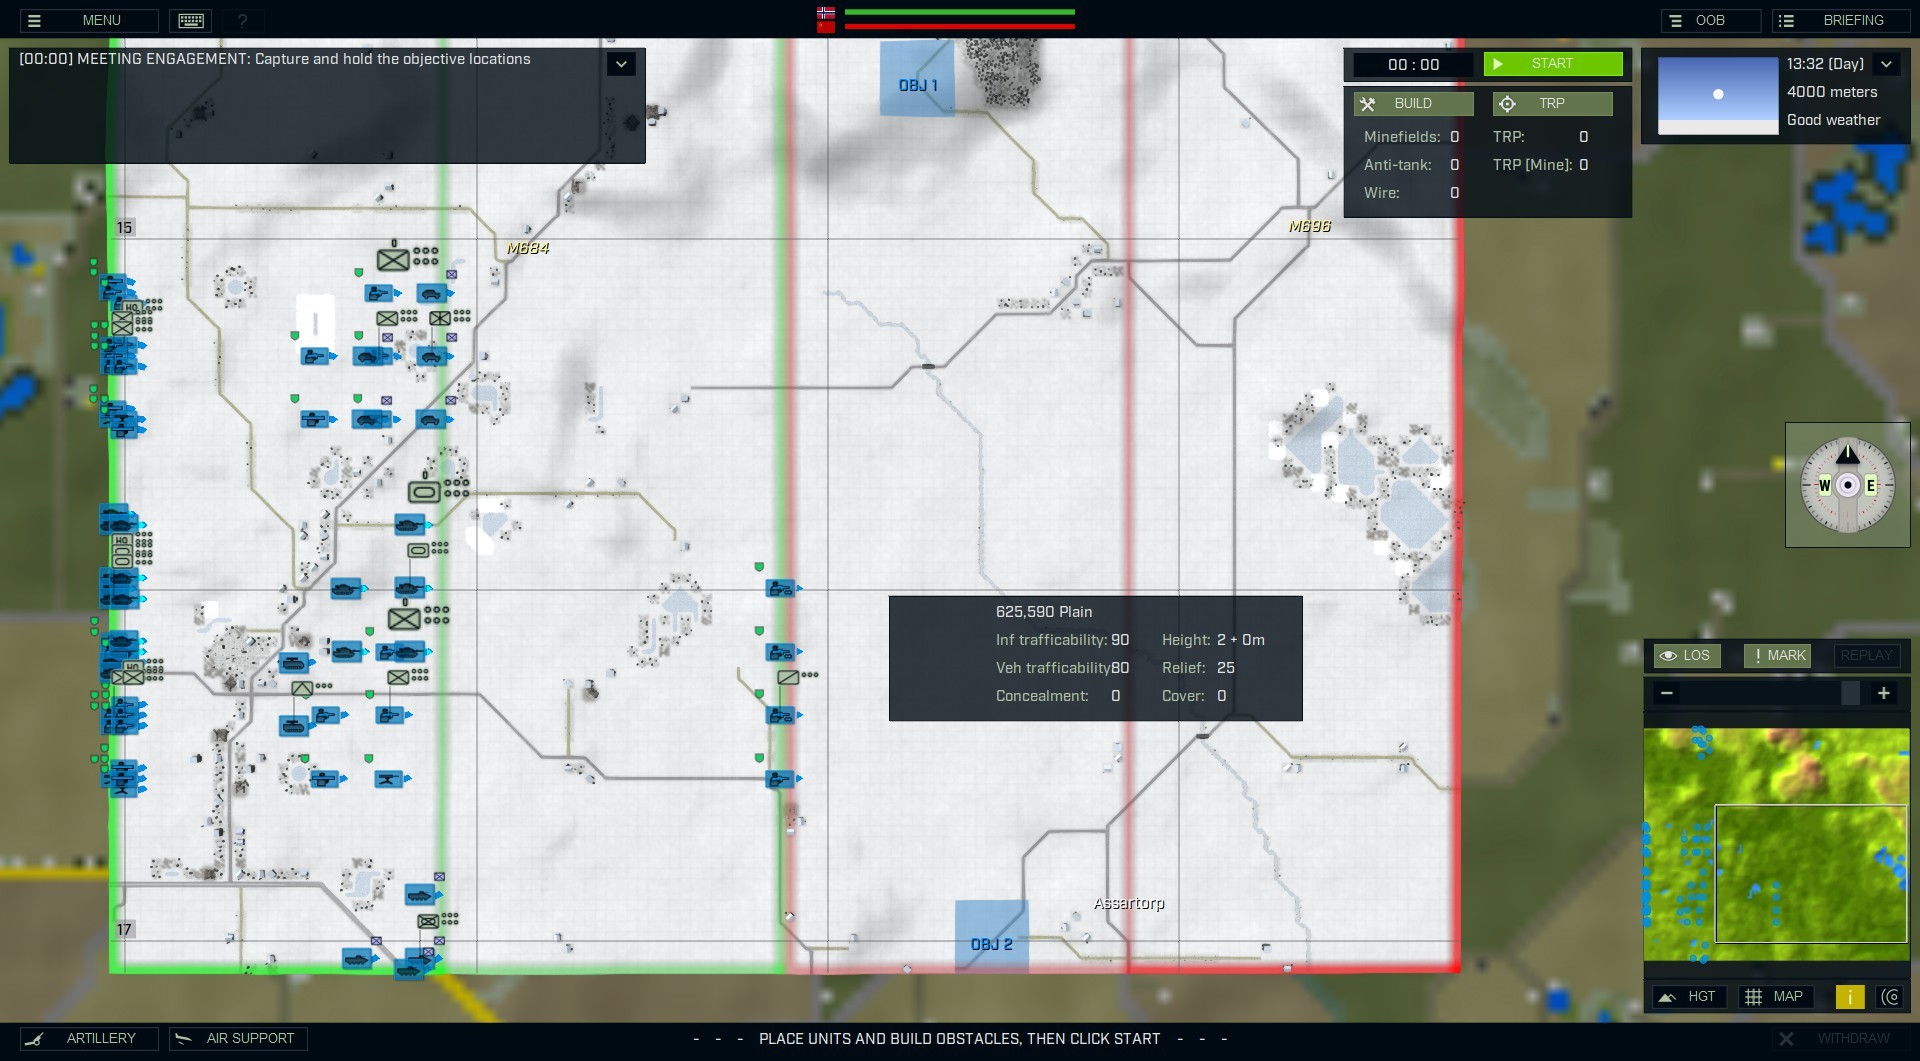
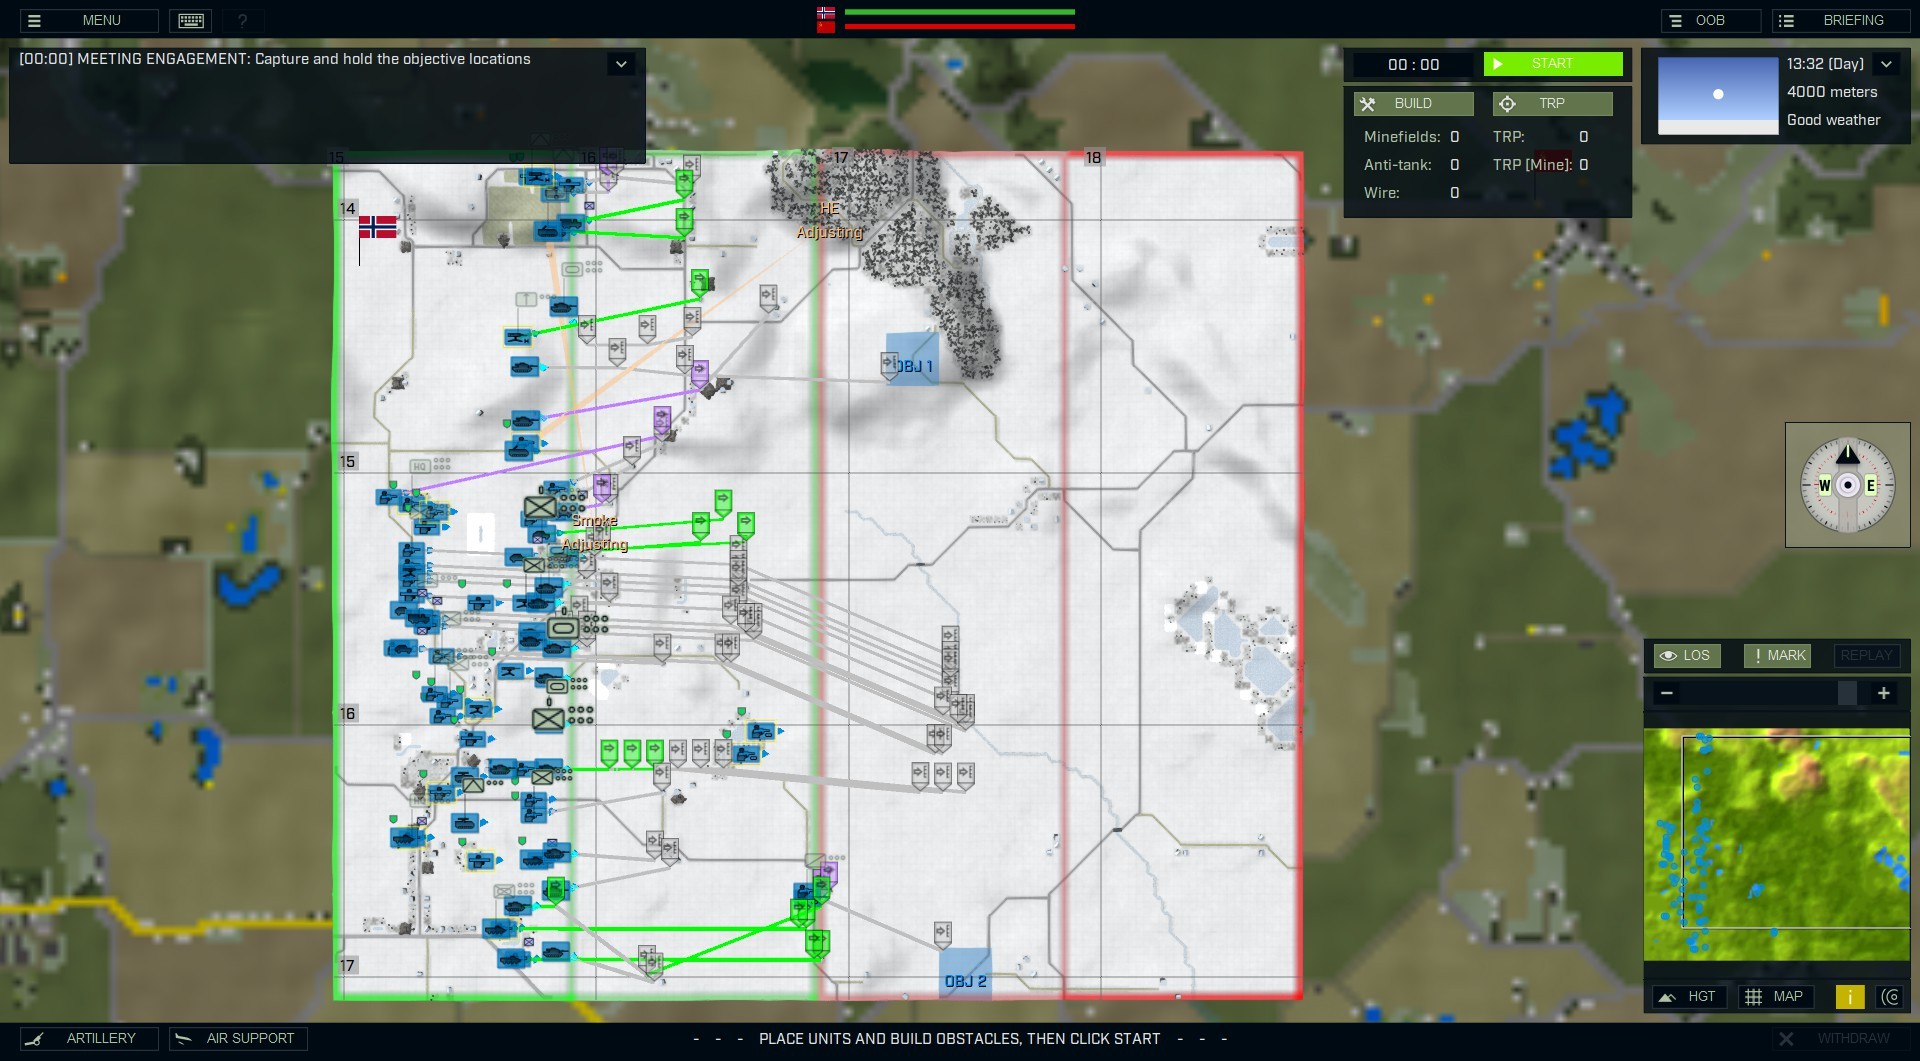
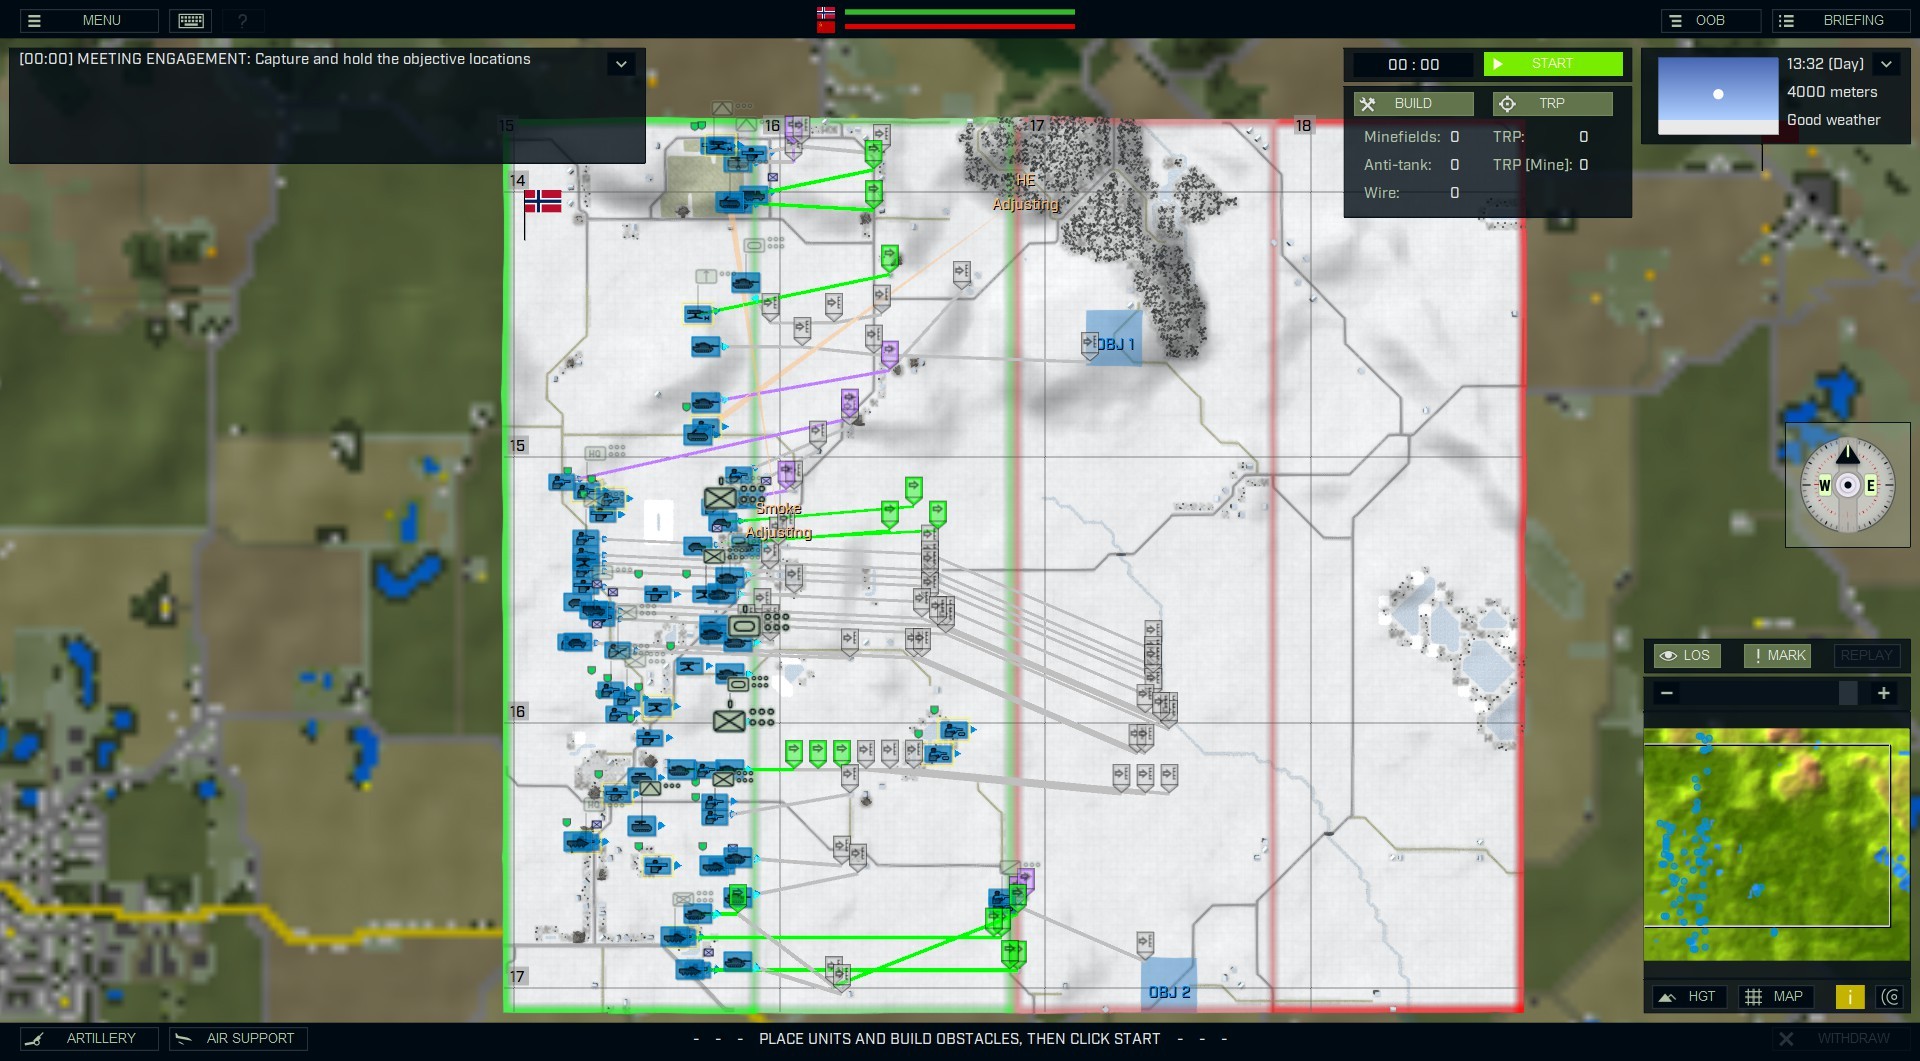
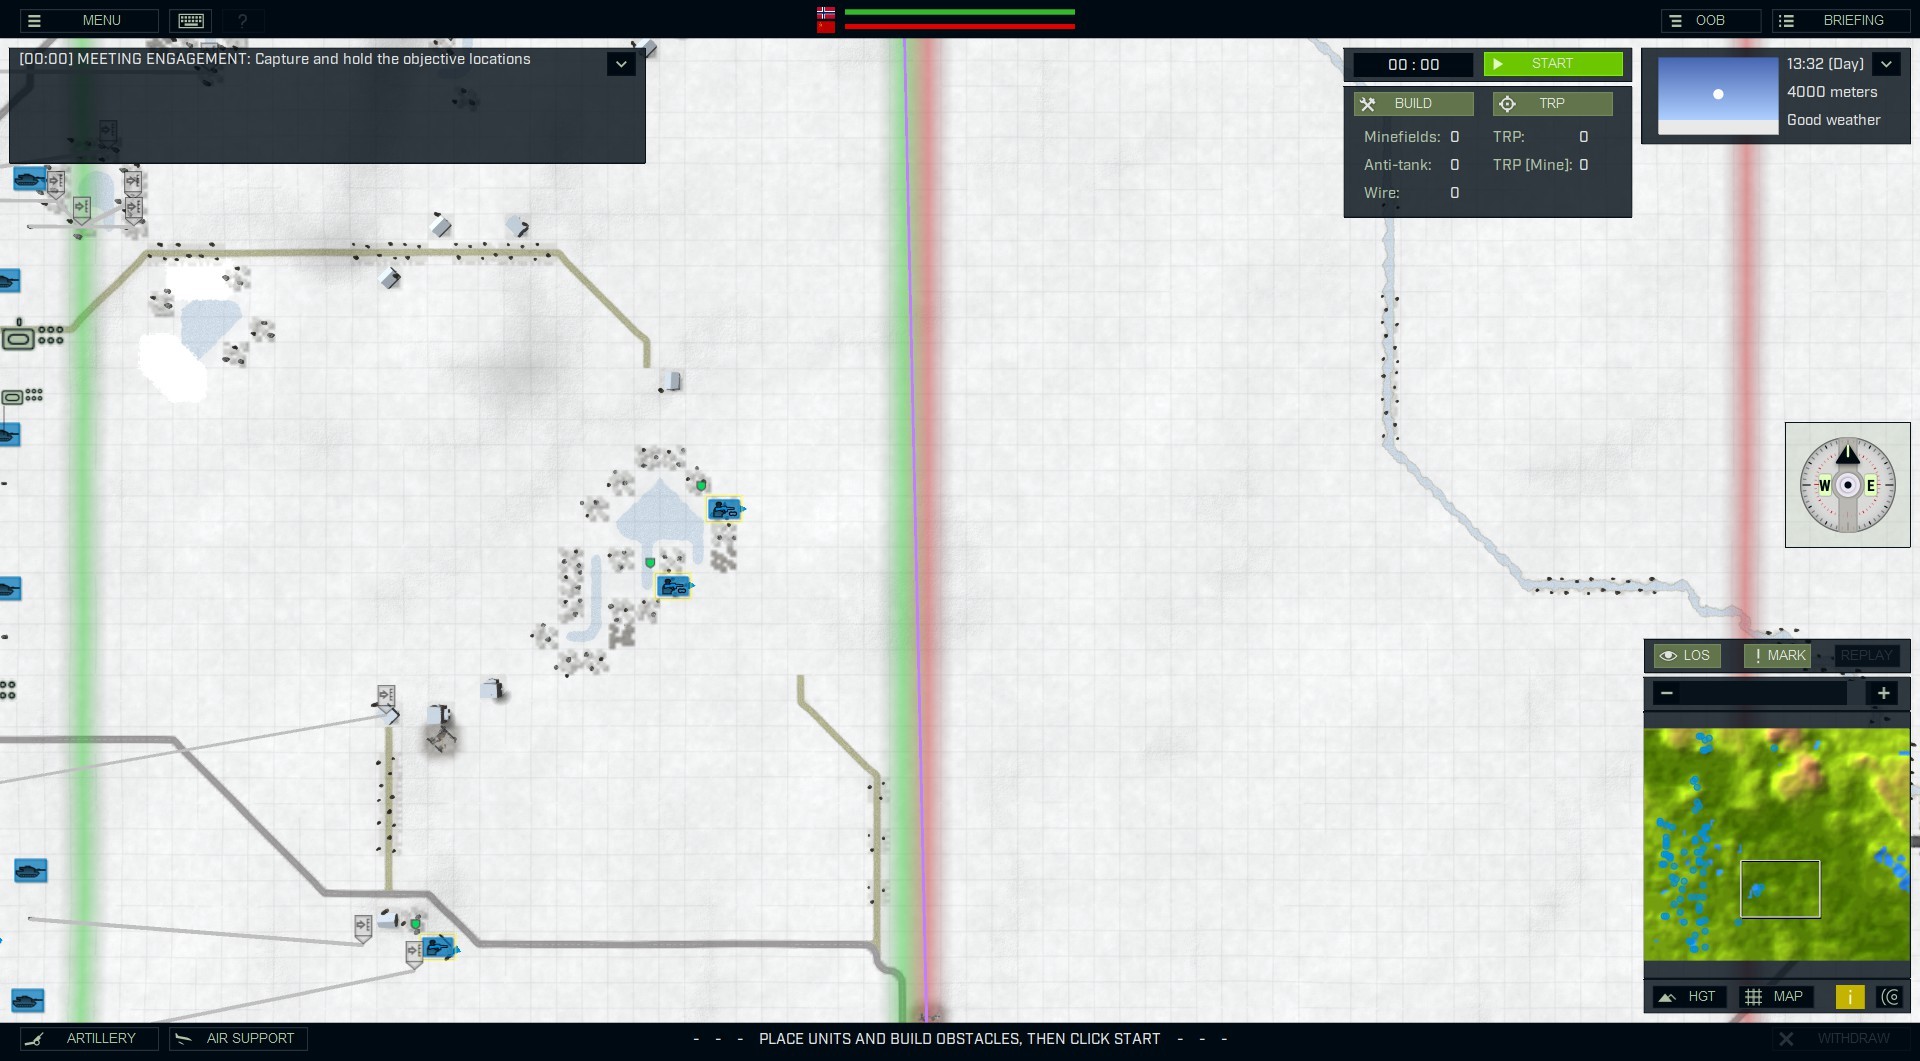
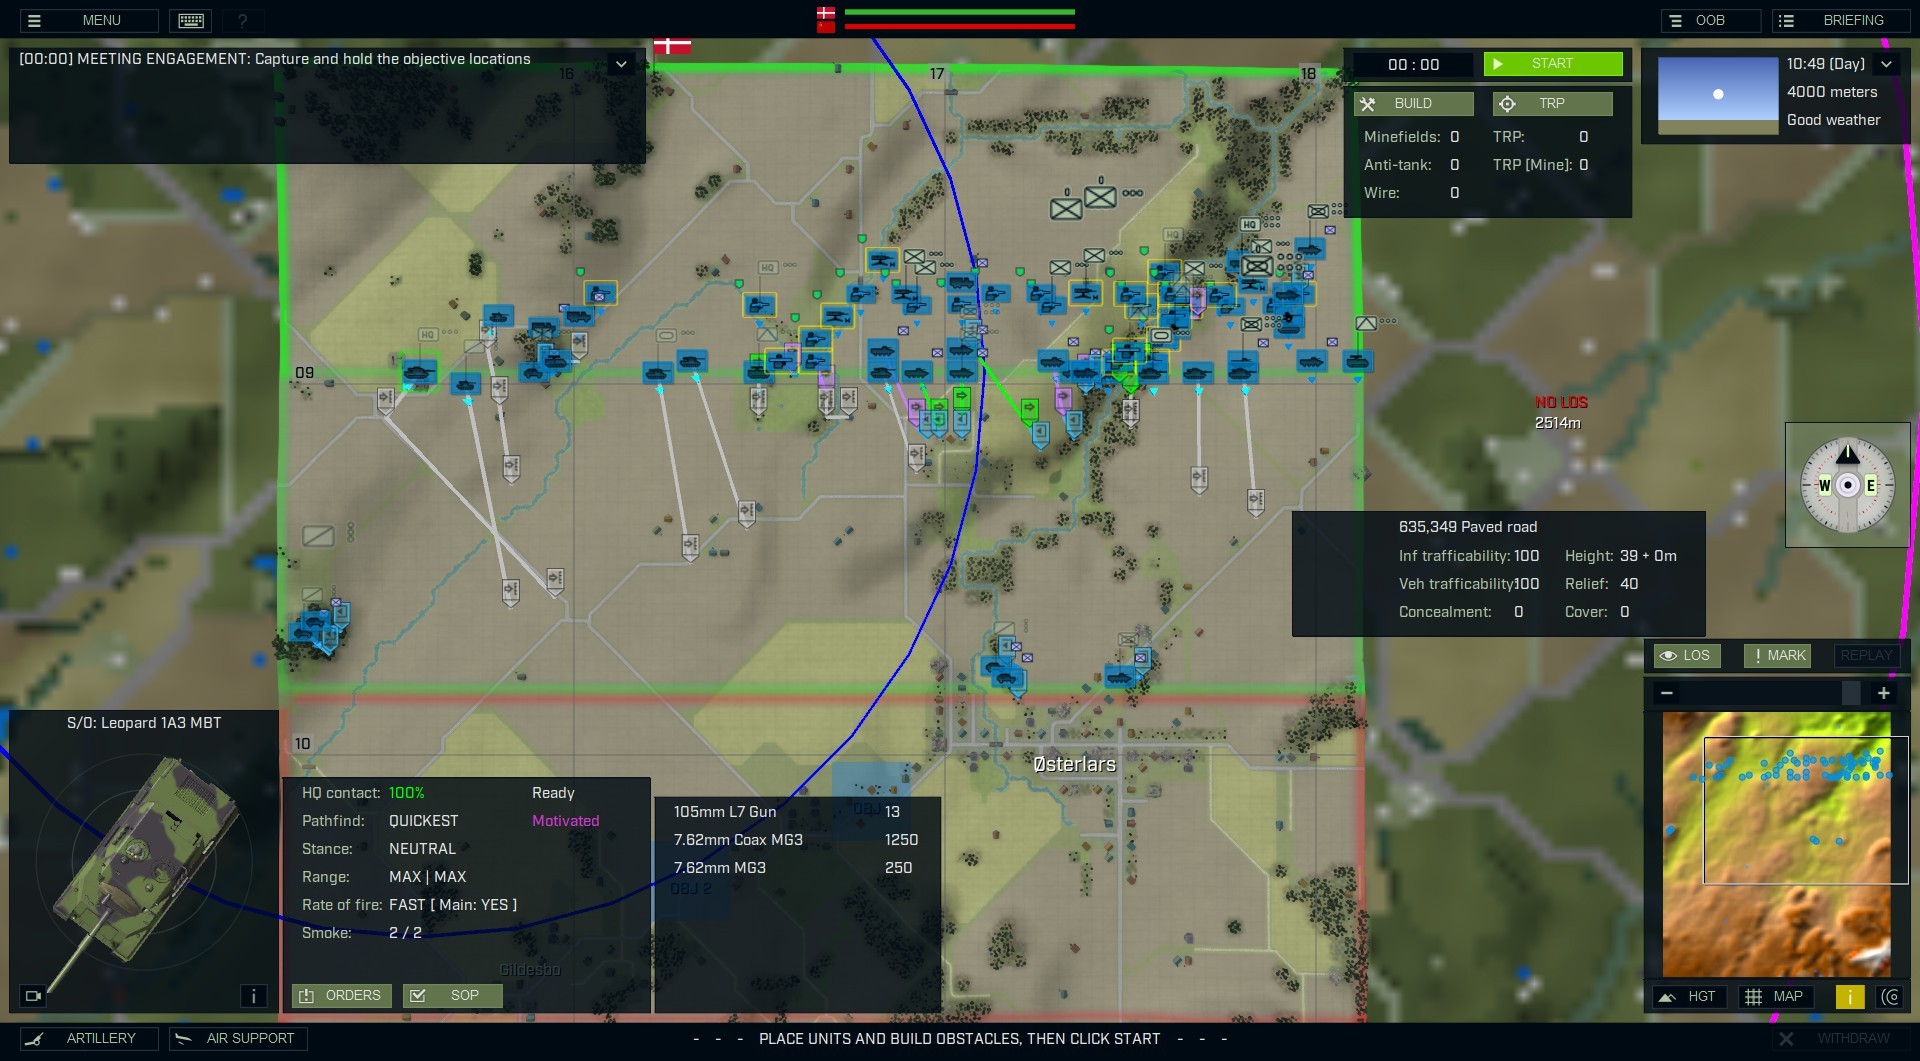
Wishing to play as aggressive delay, and before hitting the start button, I didn’t even give orders to the far western troops — only the tanks, which I had in the front. Your areas are limited as to where you can set up, of course (delineated by a whole screen, wide green line). However, there’s a different one, further away for recon units and snipers. (in this case, two and one, respectively.) Their green line, unmistakably, doesn’t touch the red line allotted to the enemy (I played all three countries, logically, against Russia), but that second recon line is significantly closer.
Norway at War
Prev 1 of 5 Next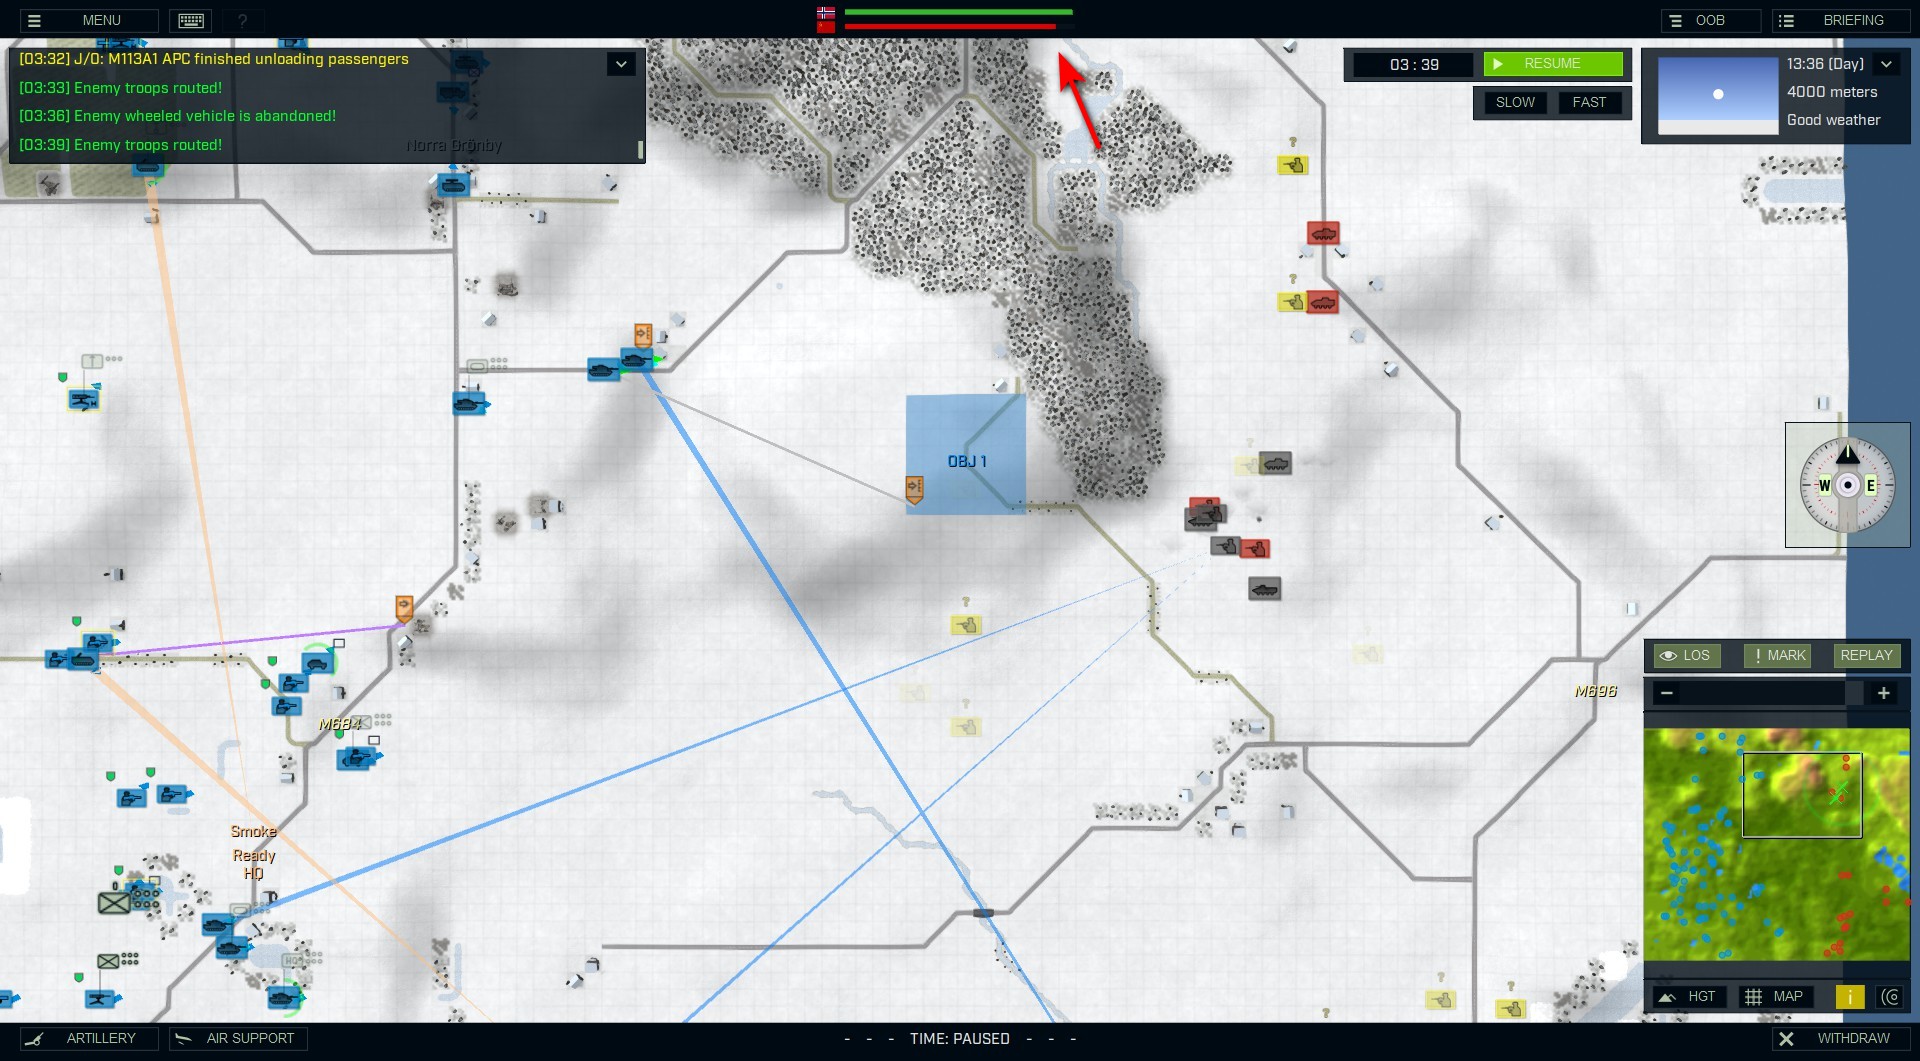
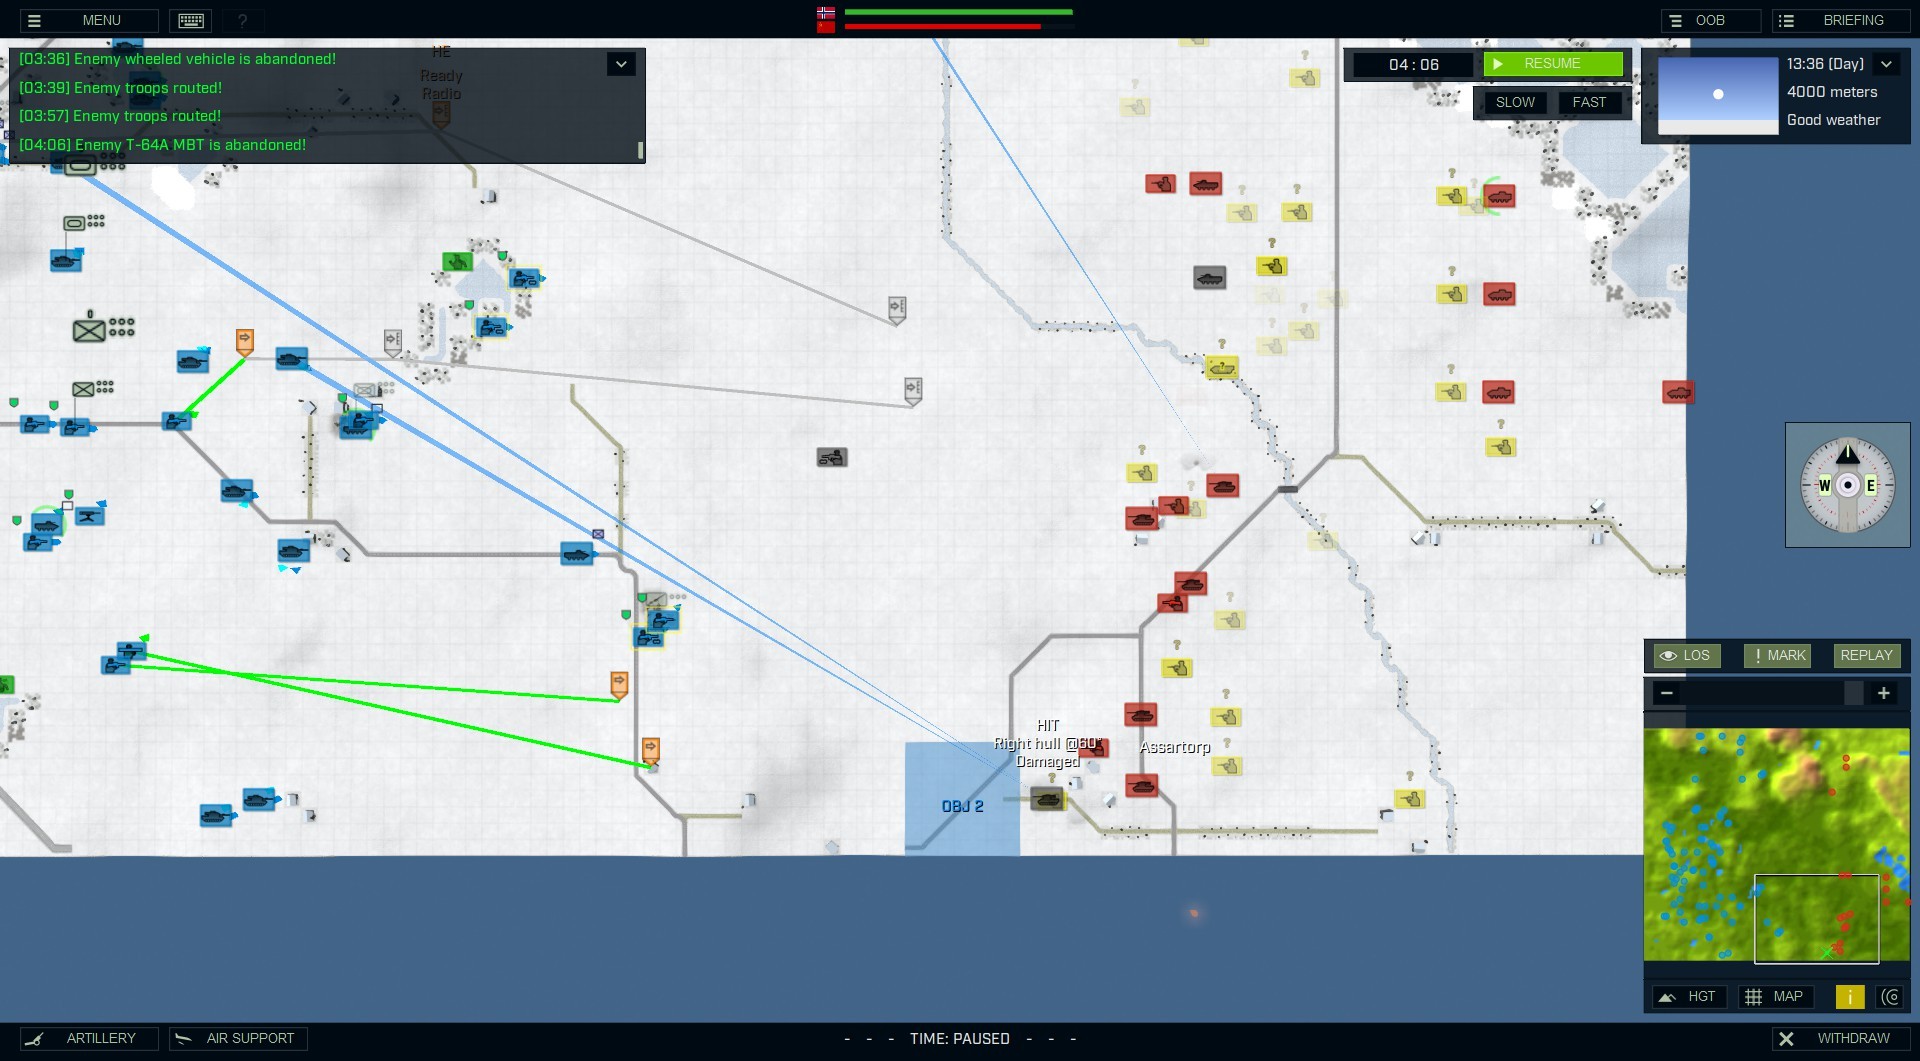
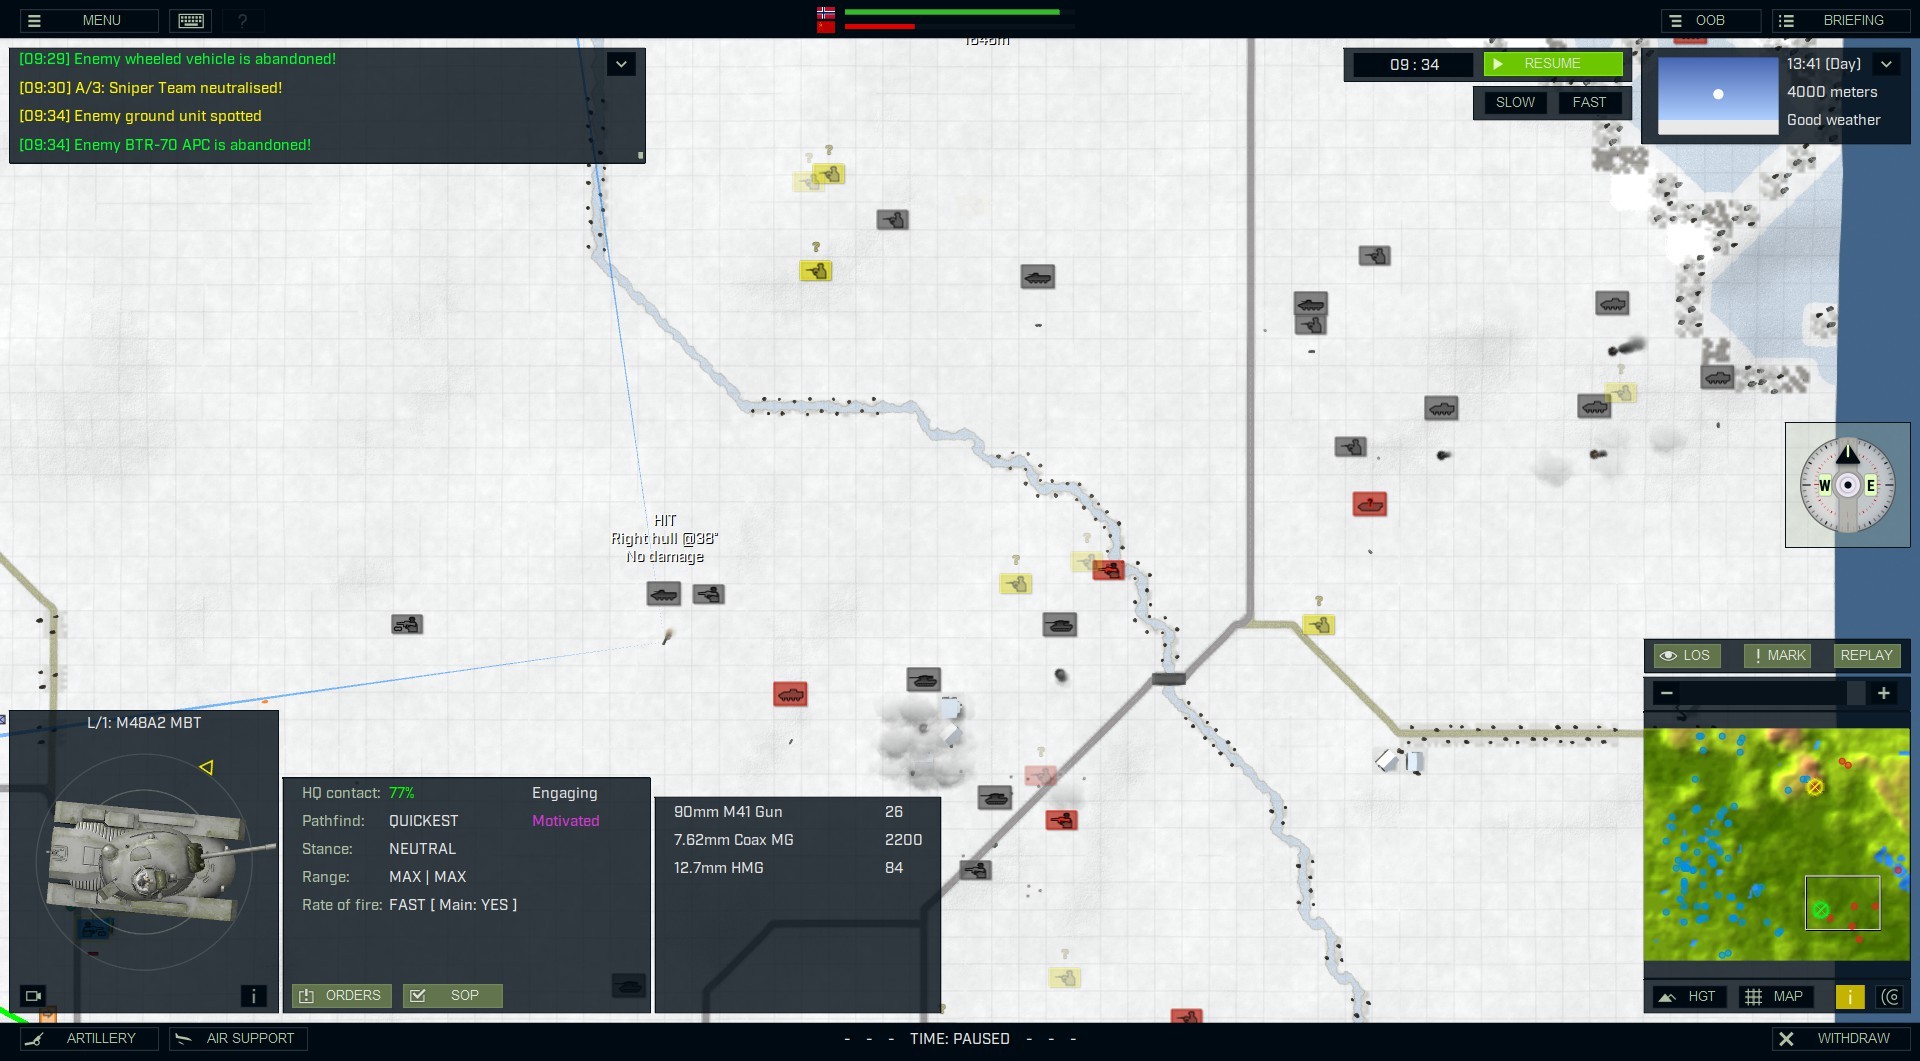
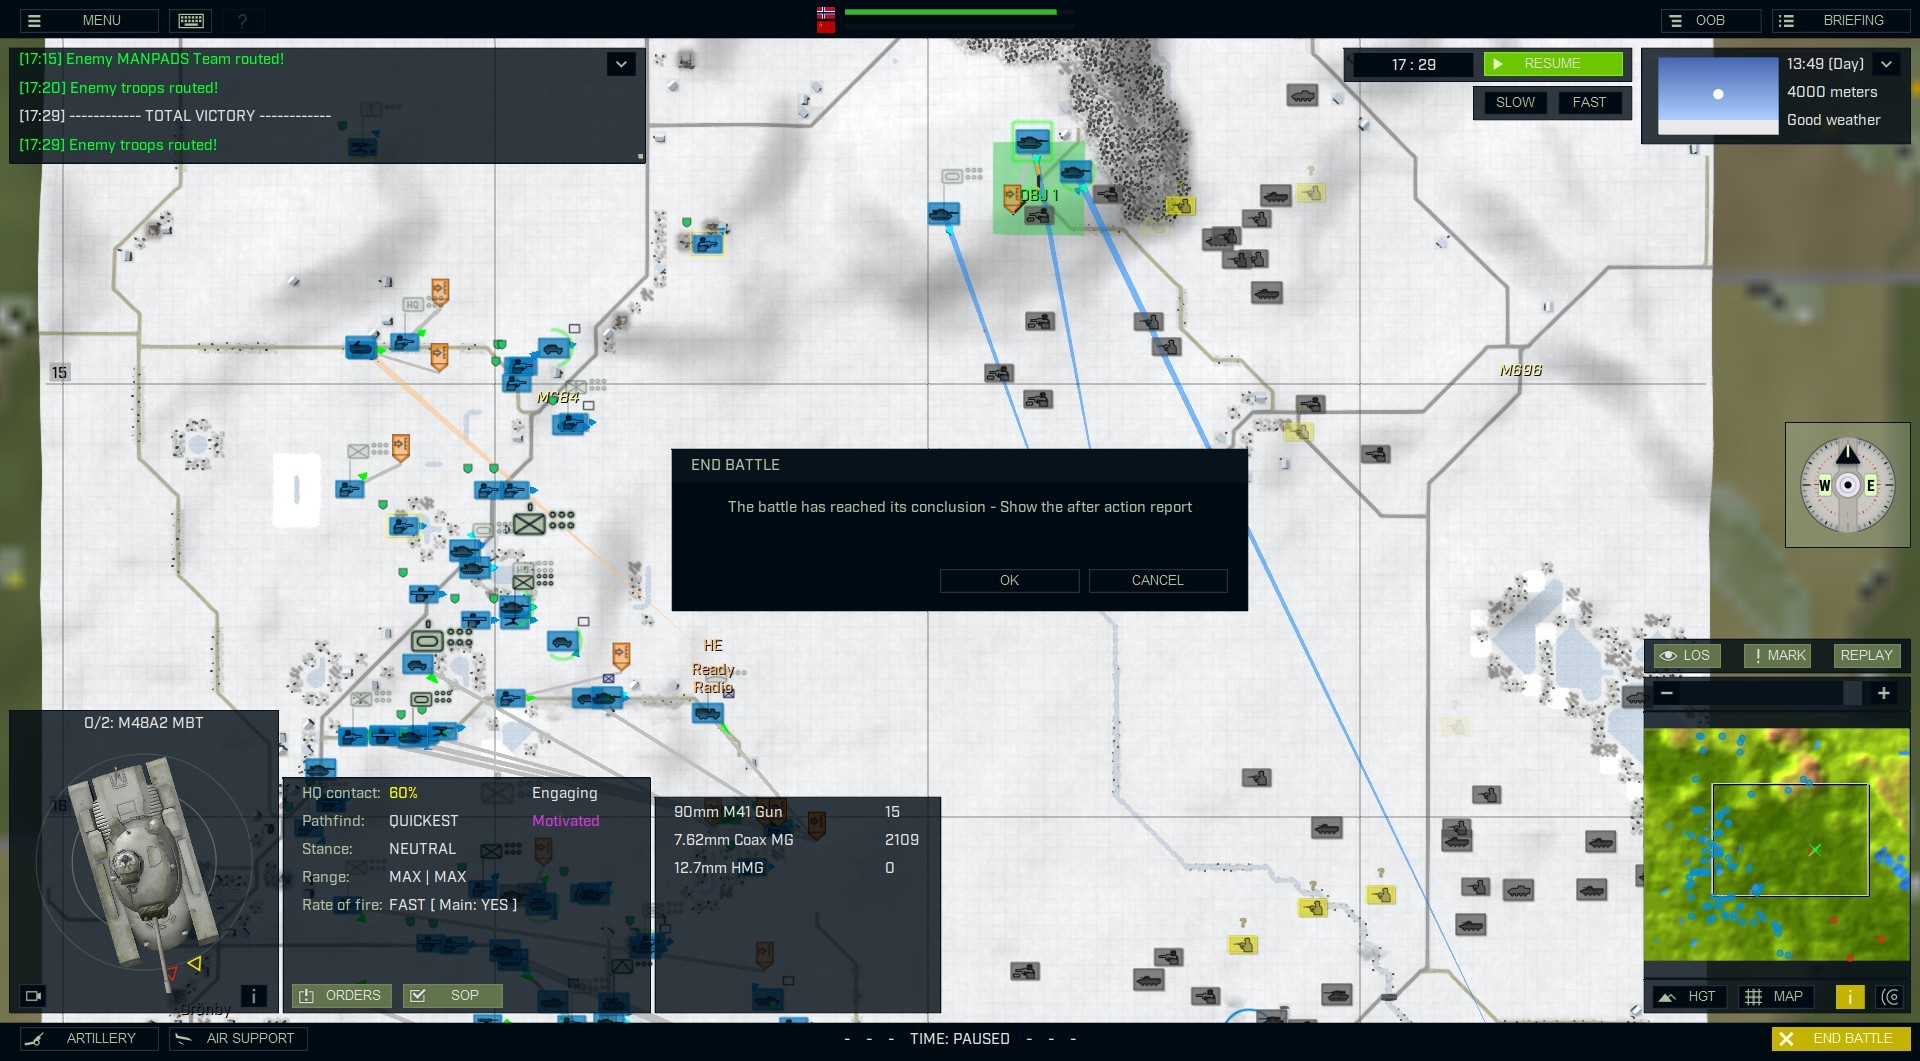
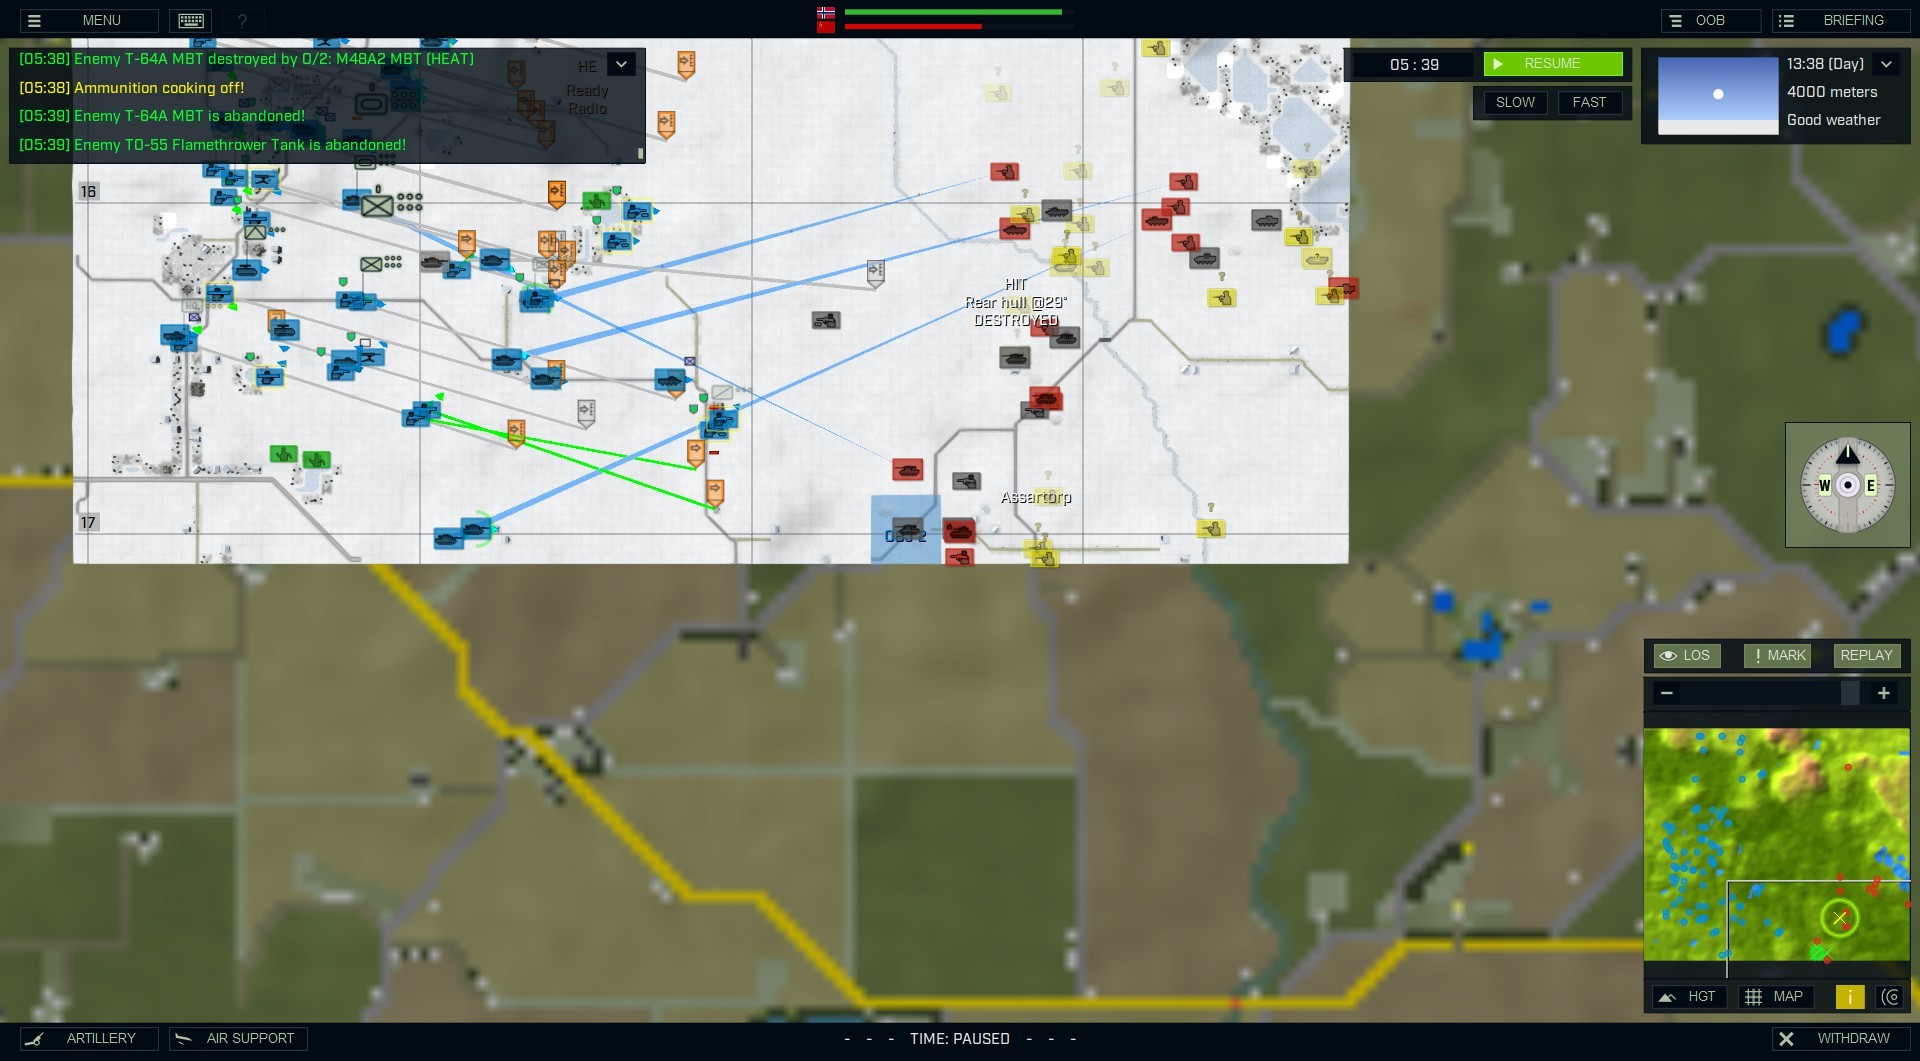
May as well put this in here now. Our units are blue, obviously. The red units are the enemy… in these three cases: Russia. The yellow units are simply neutrals.
This time, it was a decisive win! Once again, a victory screen popped up… but I’m doing something that makes it disappear very quickly… way too fast. Thinking this time, all I did was move the cursor. Hopefully, with Denmark, if it appears, I won’t touch anything on the keyboard — for a screenie for both yours and my edification.
Denmark 
While Sweden was ‘technically’ neutral, Denmark’s NATO role in Armored Brigade II: Scandinavia was to “…help hold the Schleswig-Holstein front line.” — meaning, as was the case with Norway, The Danish were watching the Atlantic, Denmark was tasked with guarding the Baltic Sea. I used the new Bornholm map, as I had used the new Trelleborg map in Armored Brigade II: Scandinavia for Norway.
Again, I played an aggressive delay type of scenario… designed to be as a solid, dependable barrier for the Danes while also helping its NATO and West German counterparts. The main way I had to change their approach is because they will fight against overwhelming odds… and they don’t know the meaning of “retreat”. So, this time, I kept even more back than I did before — so I could slowly and incrementally bring up the rear echelon.
Denmark Prepares
Prev 1 of 9 Next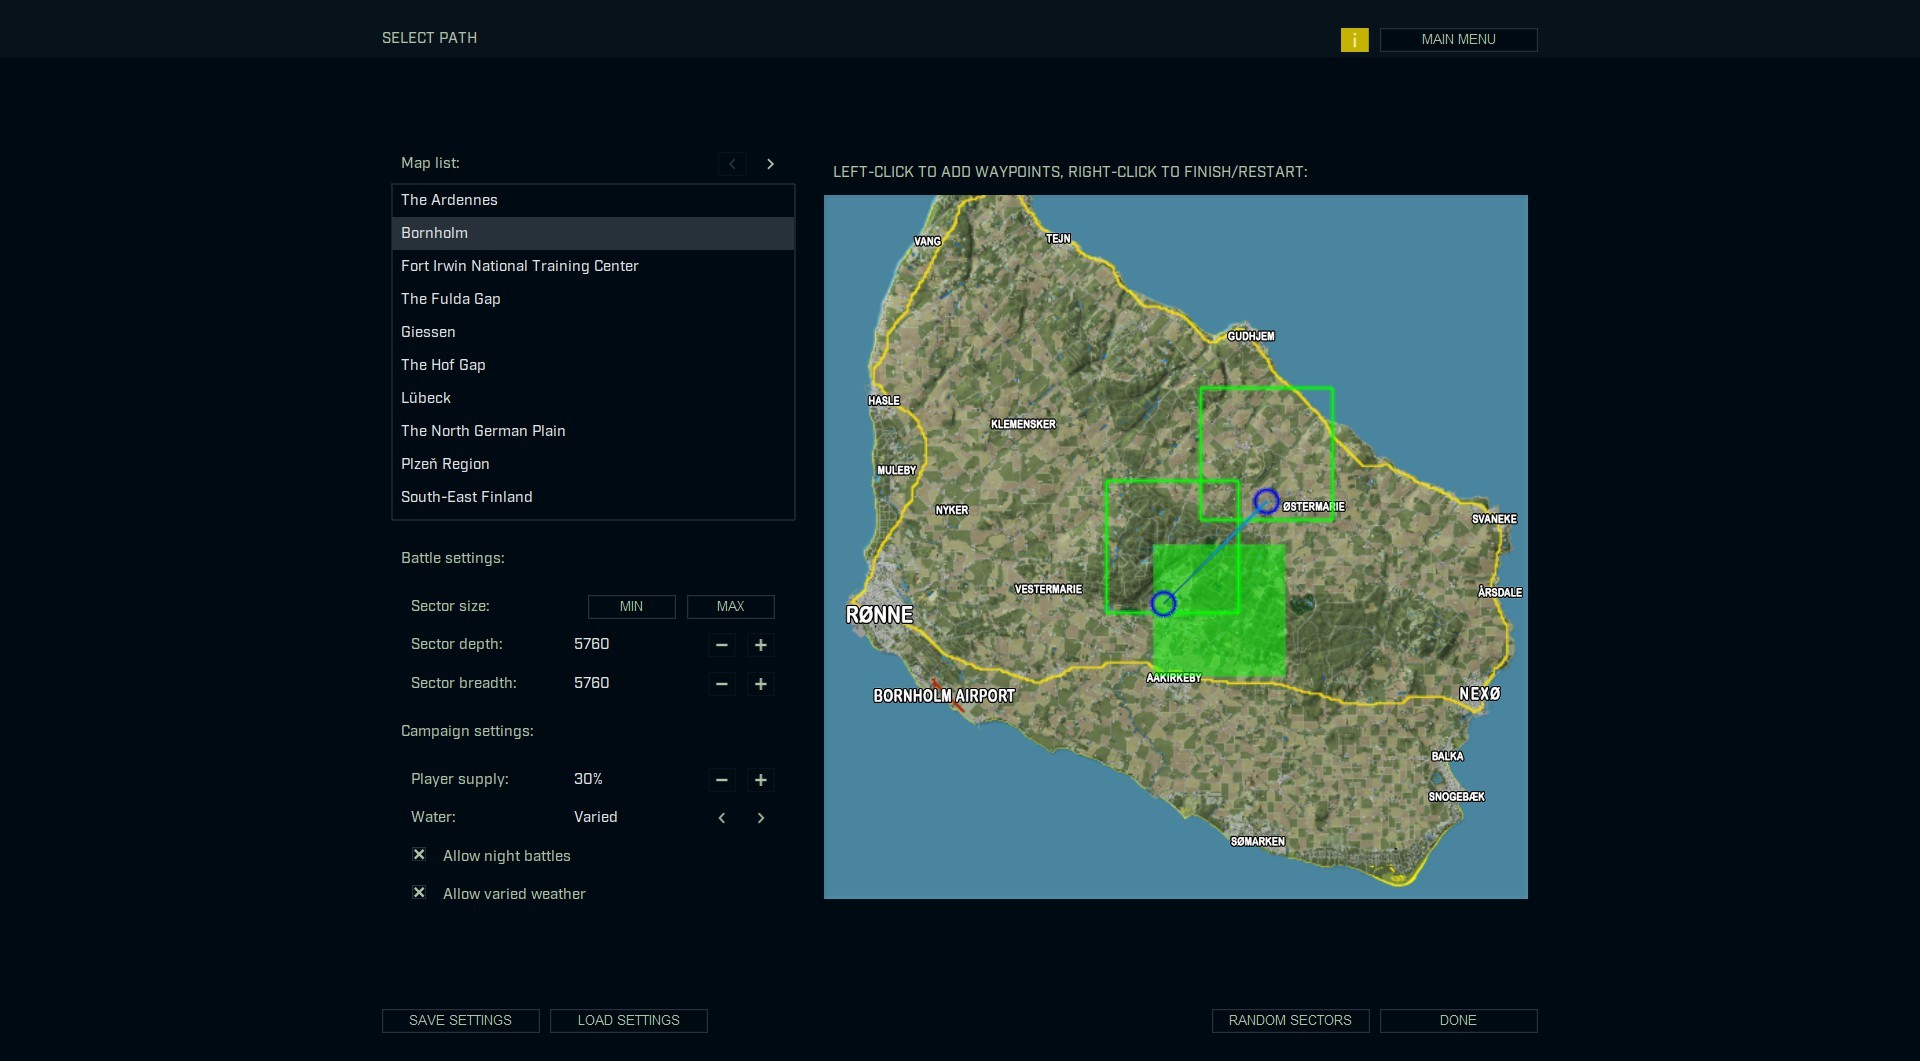
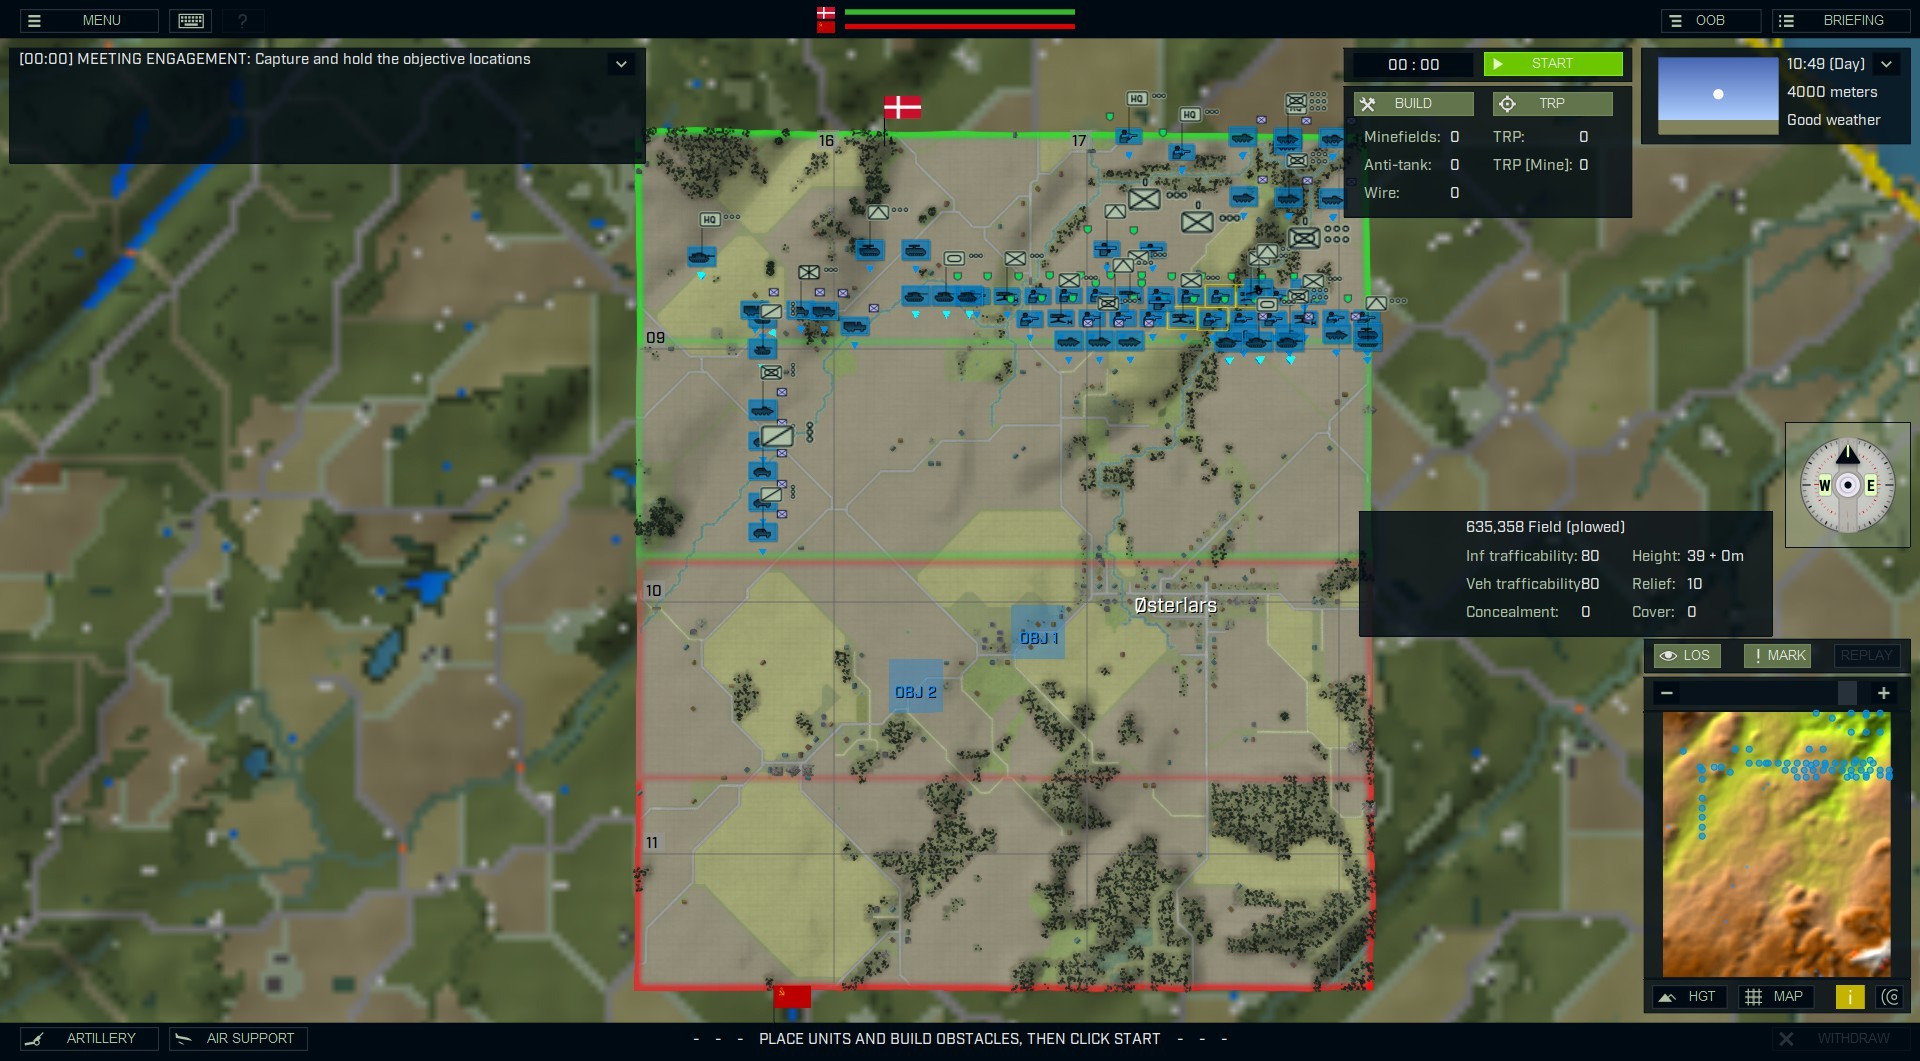
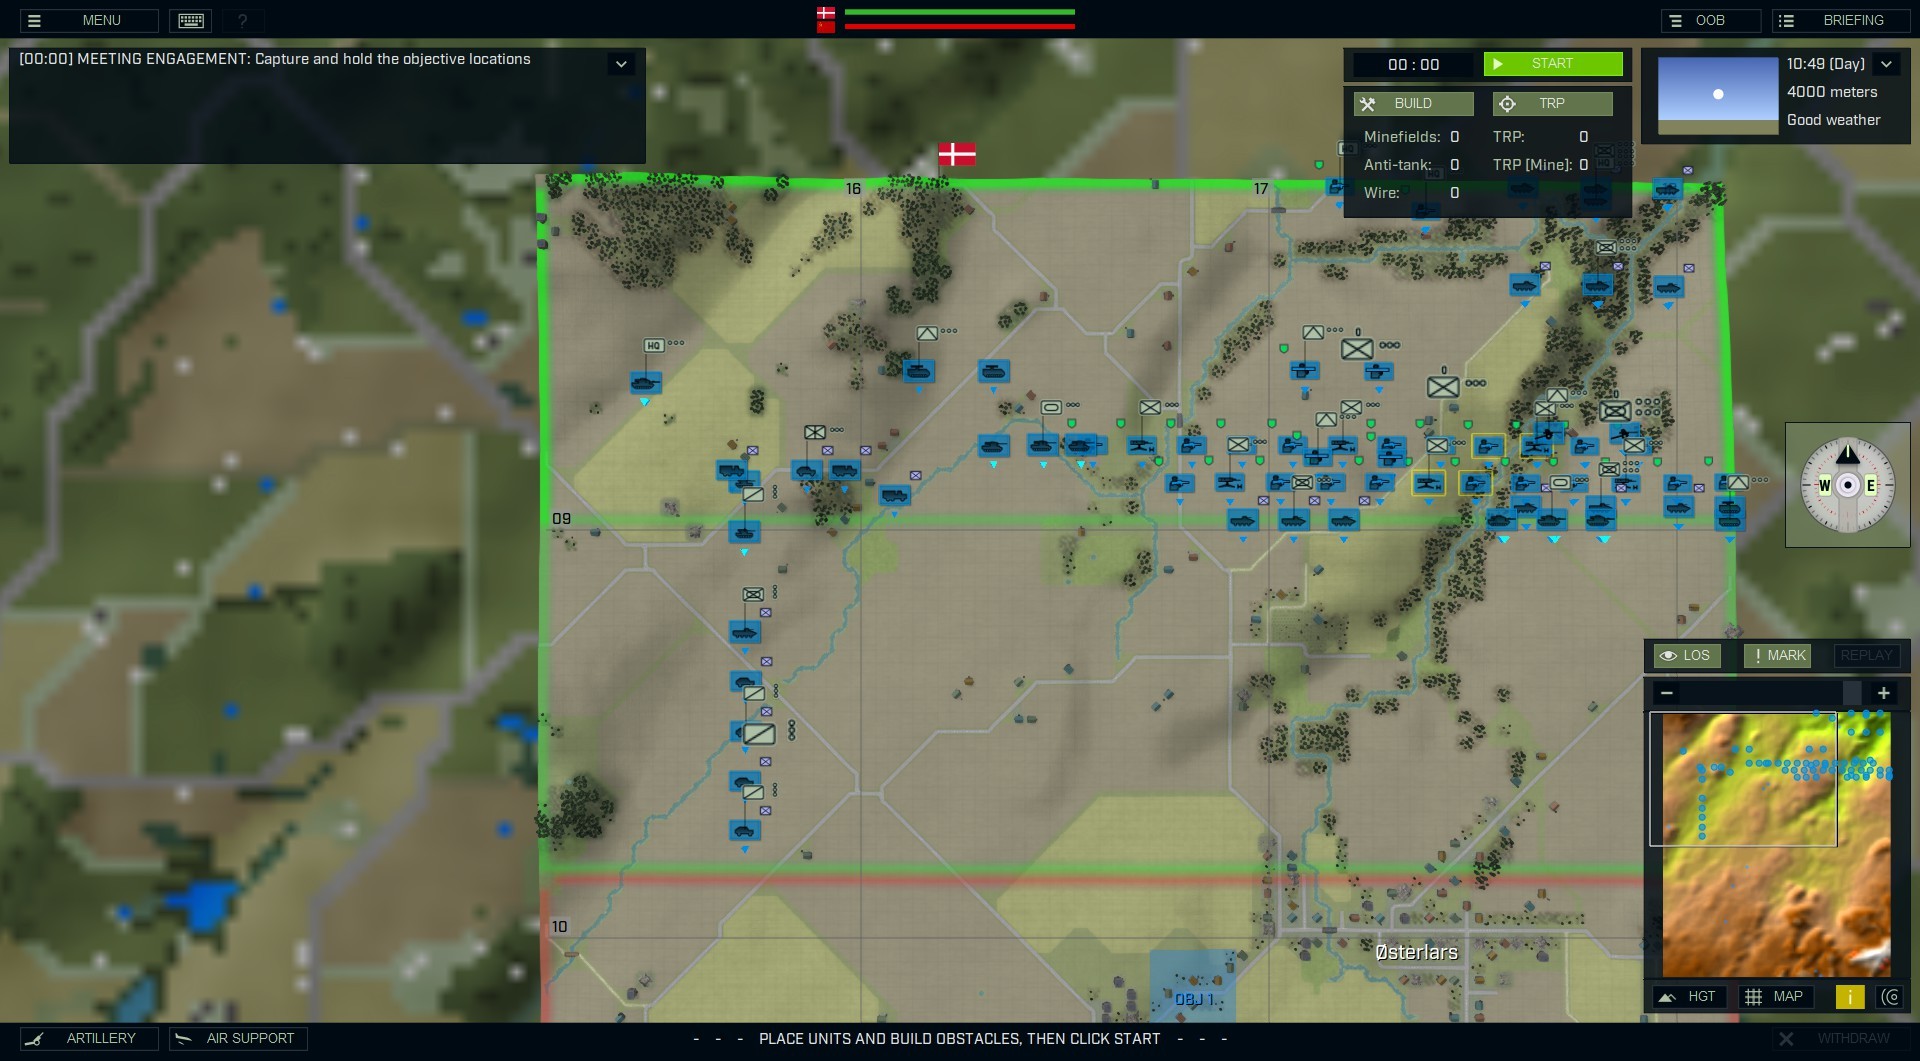
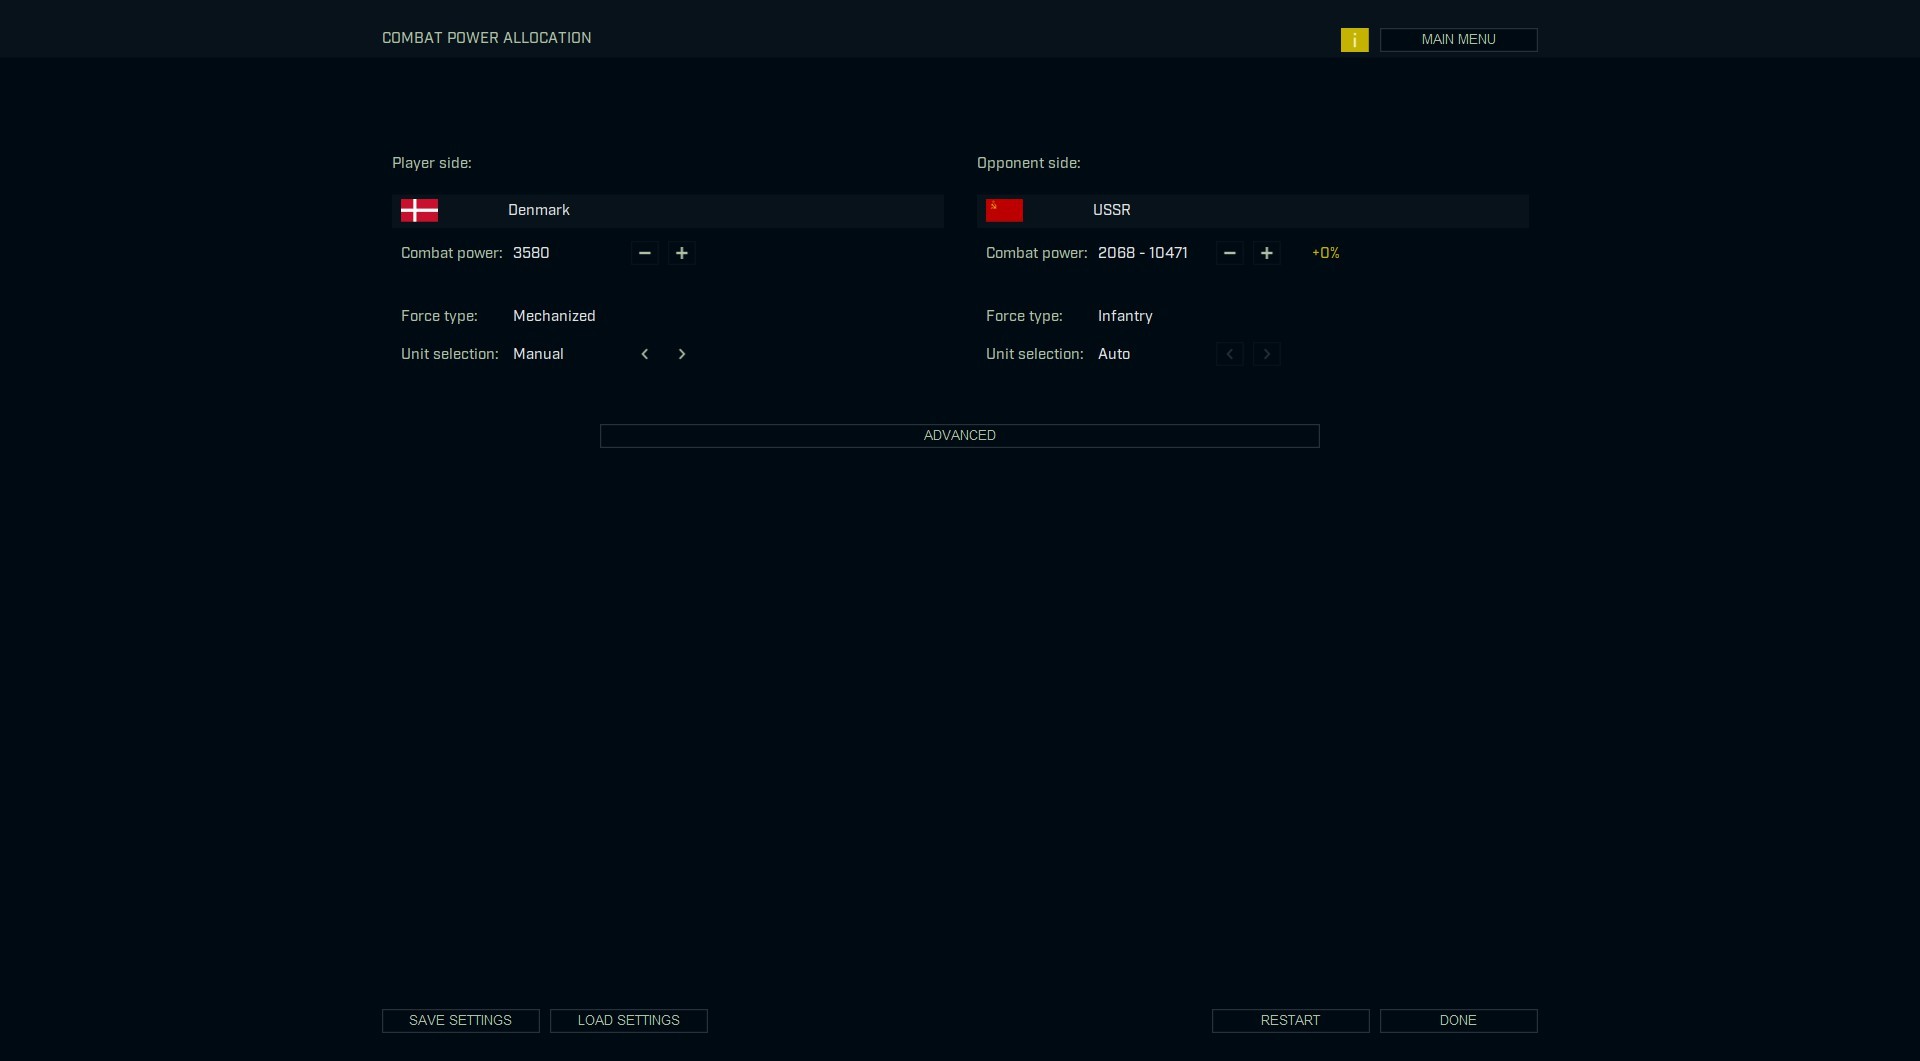
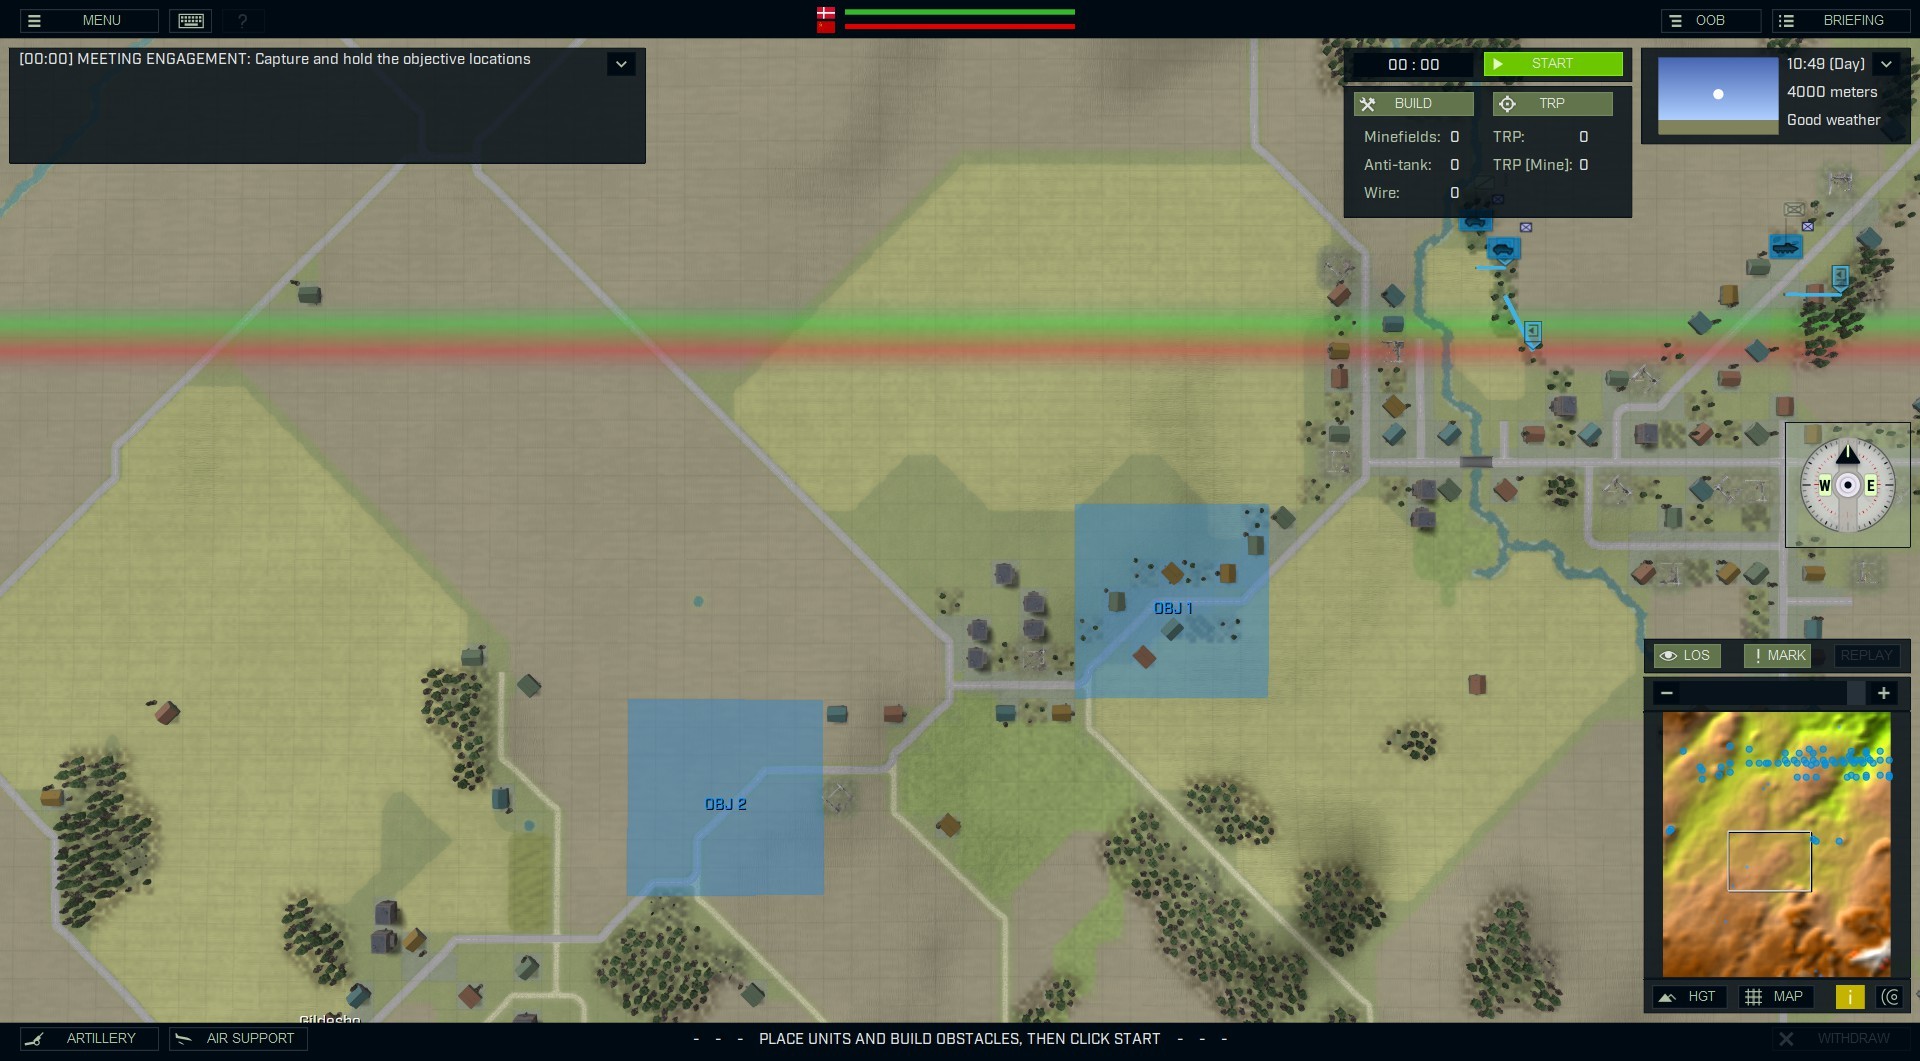
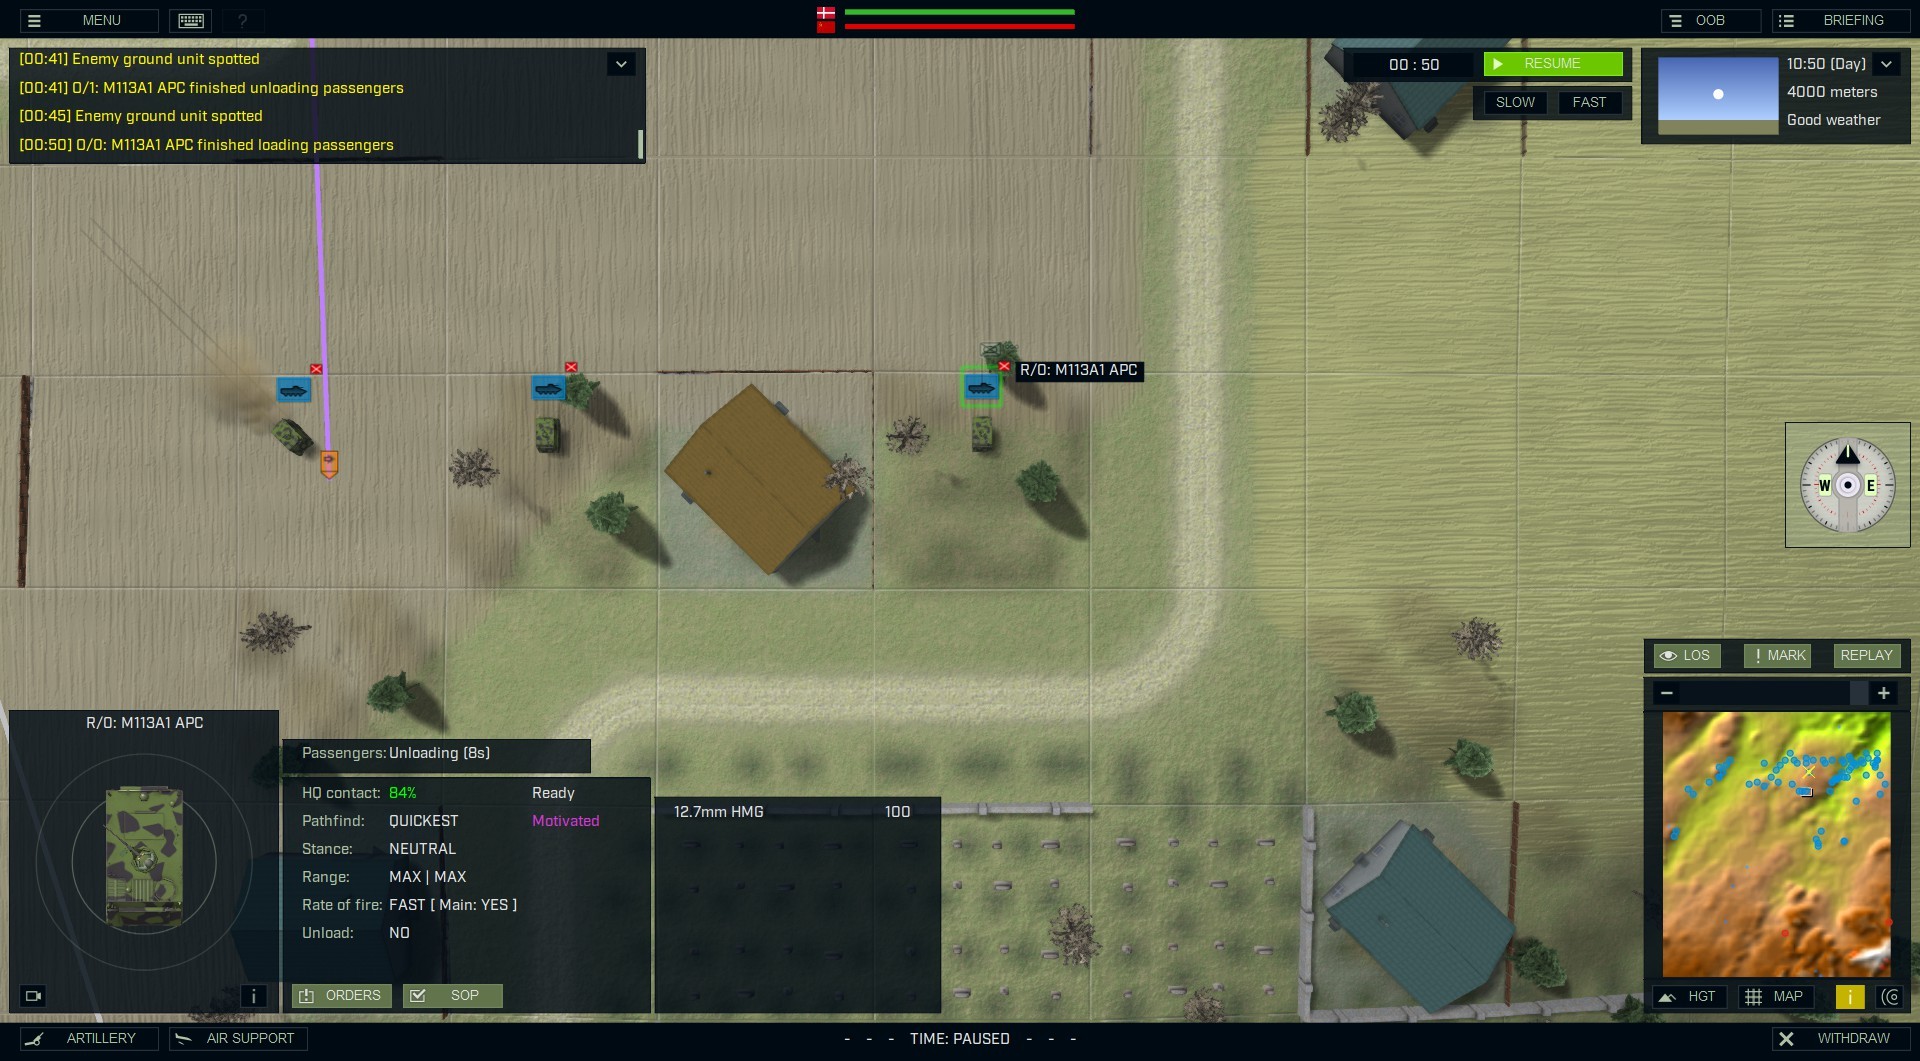
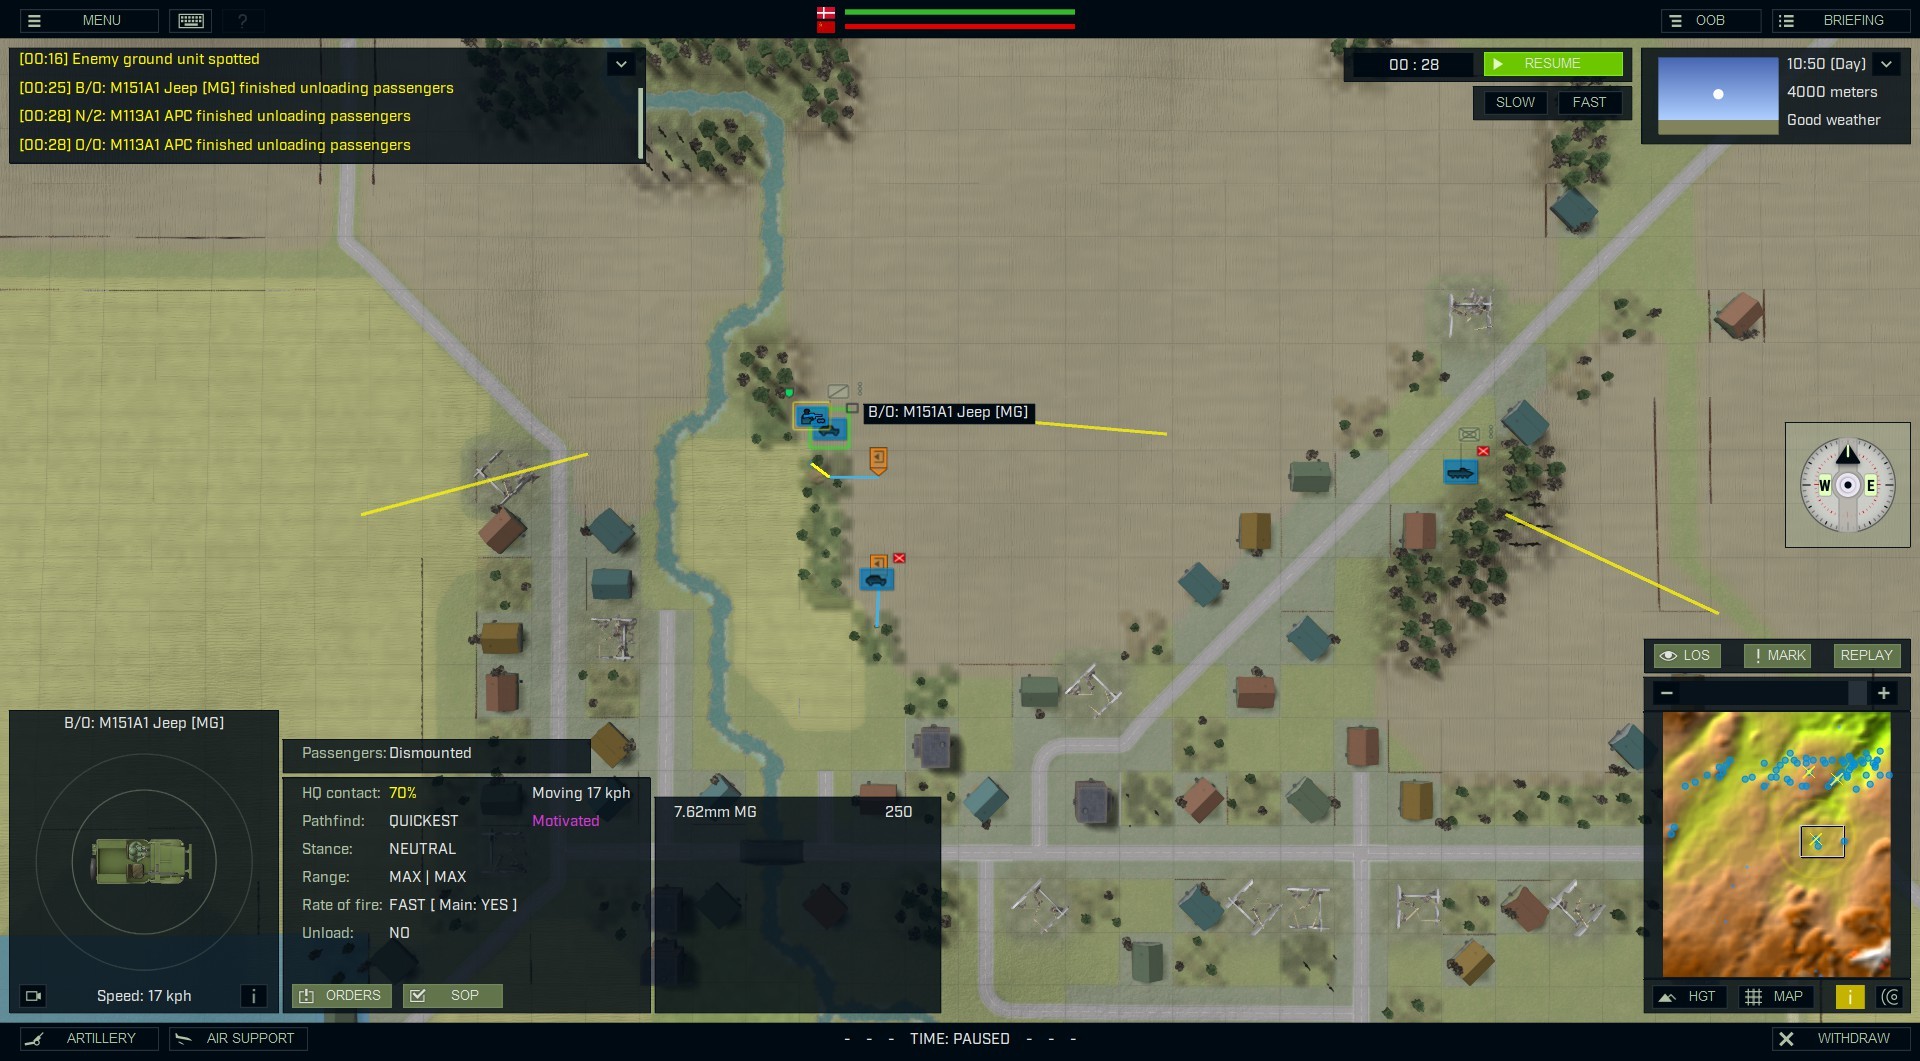
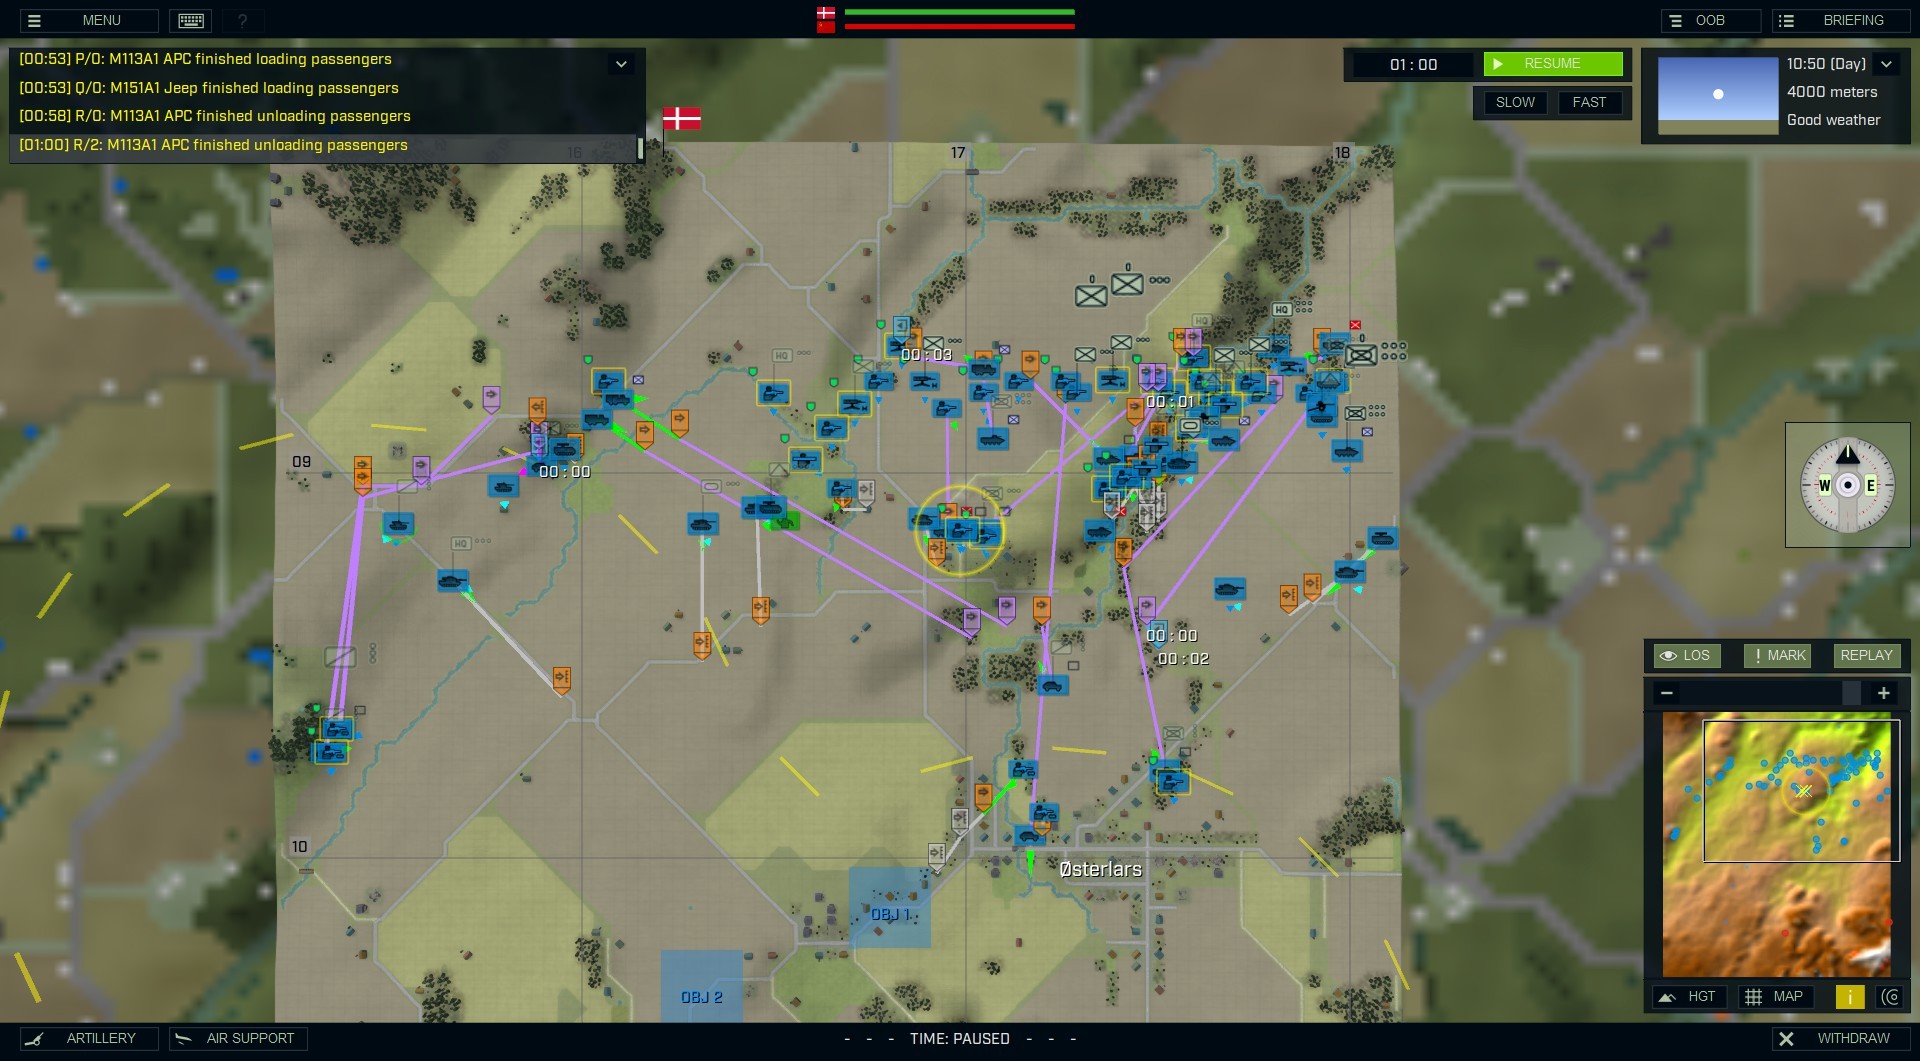
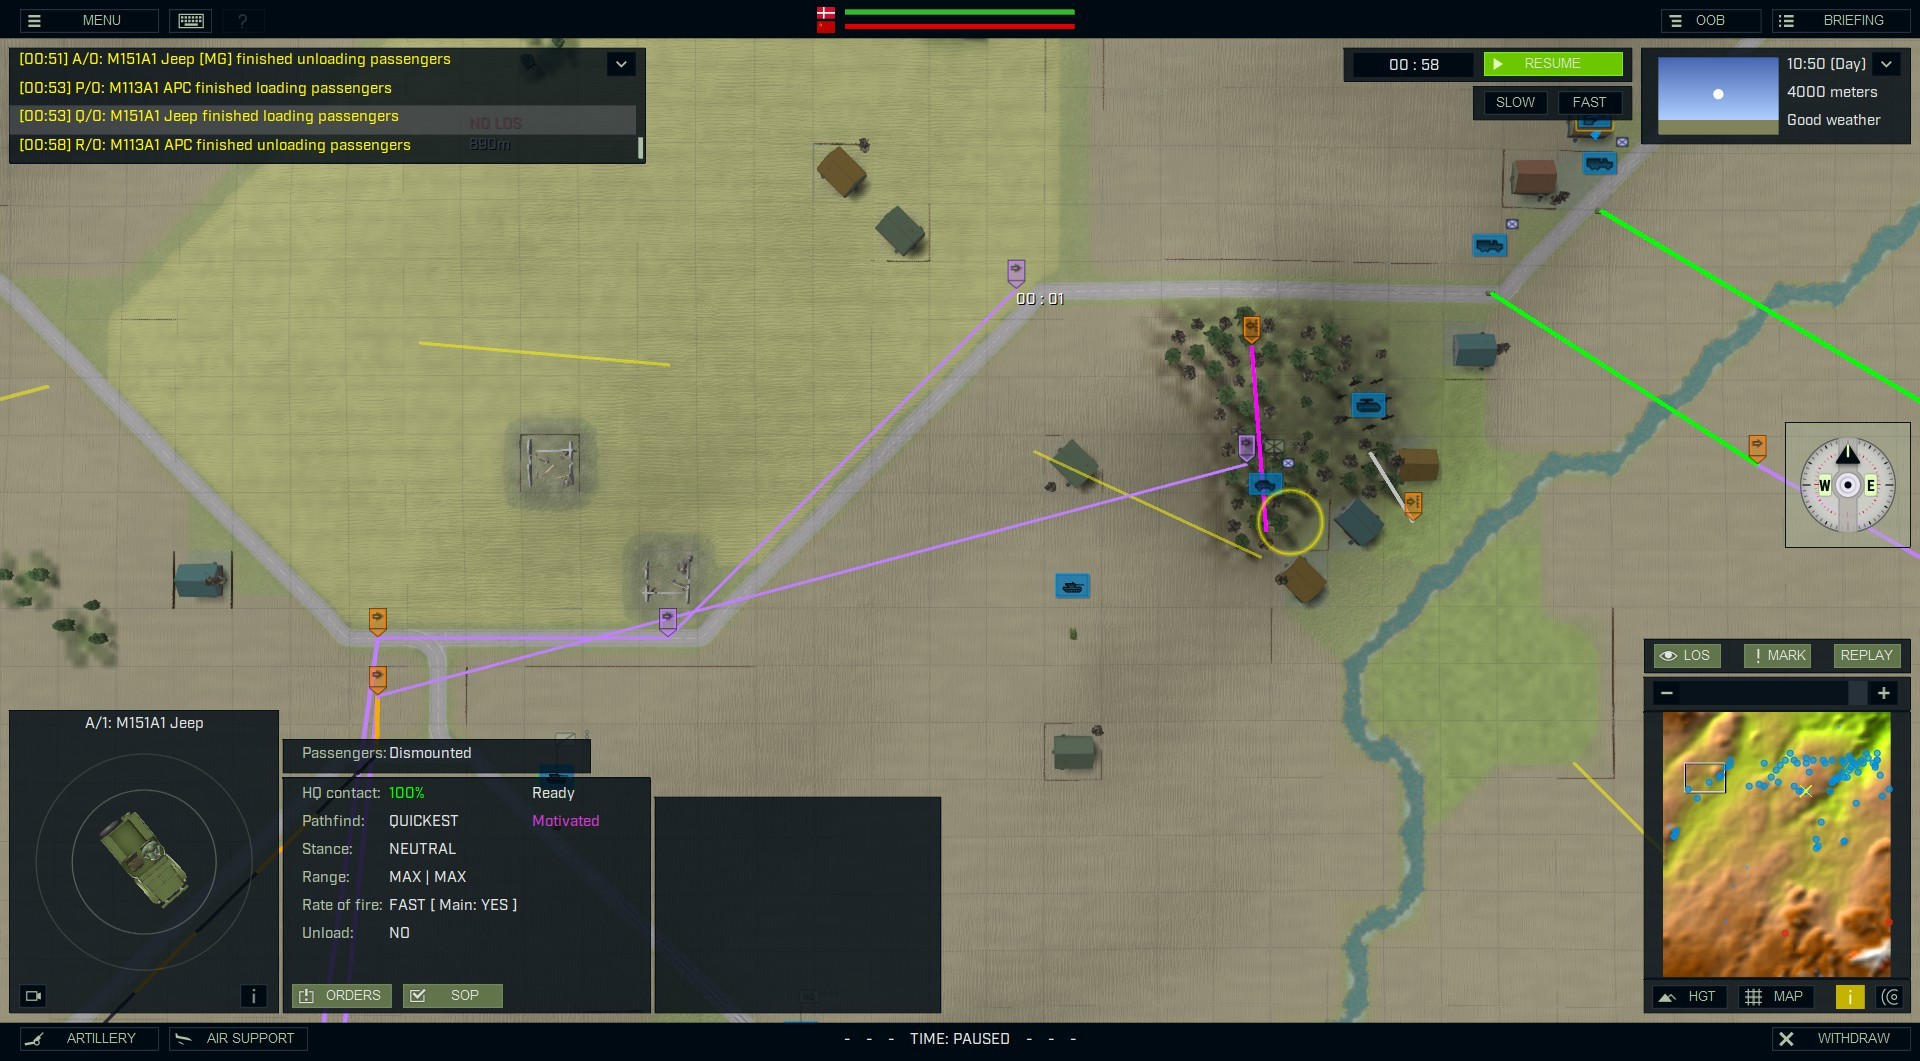
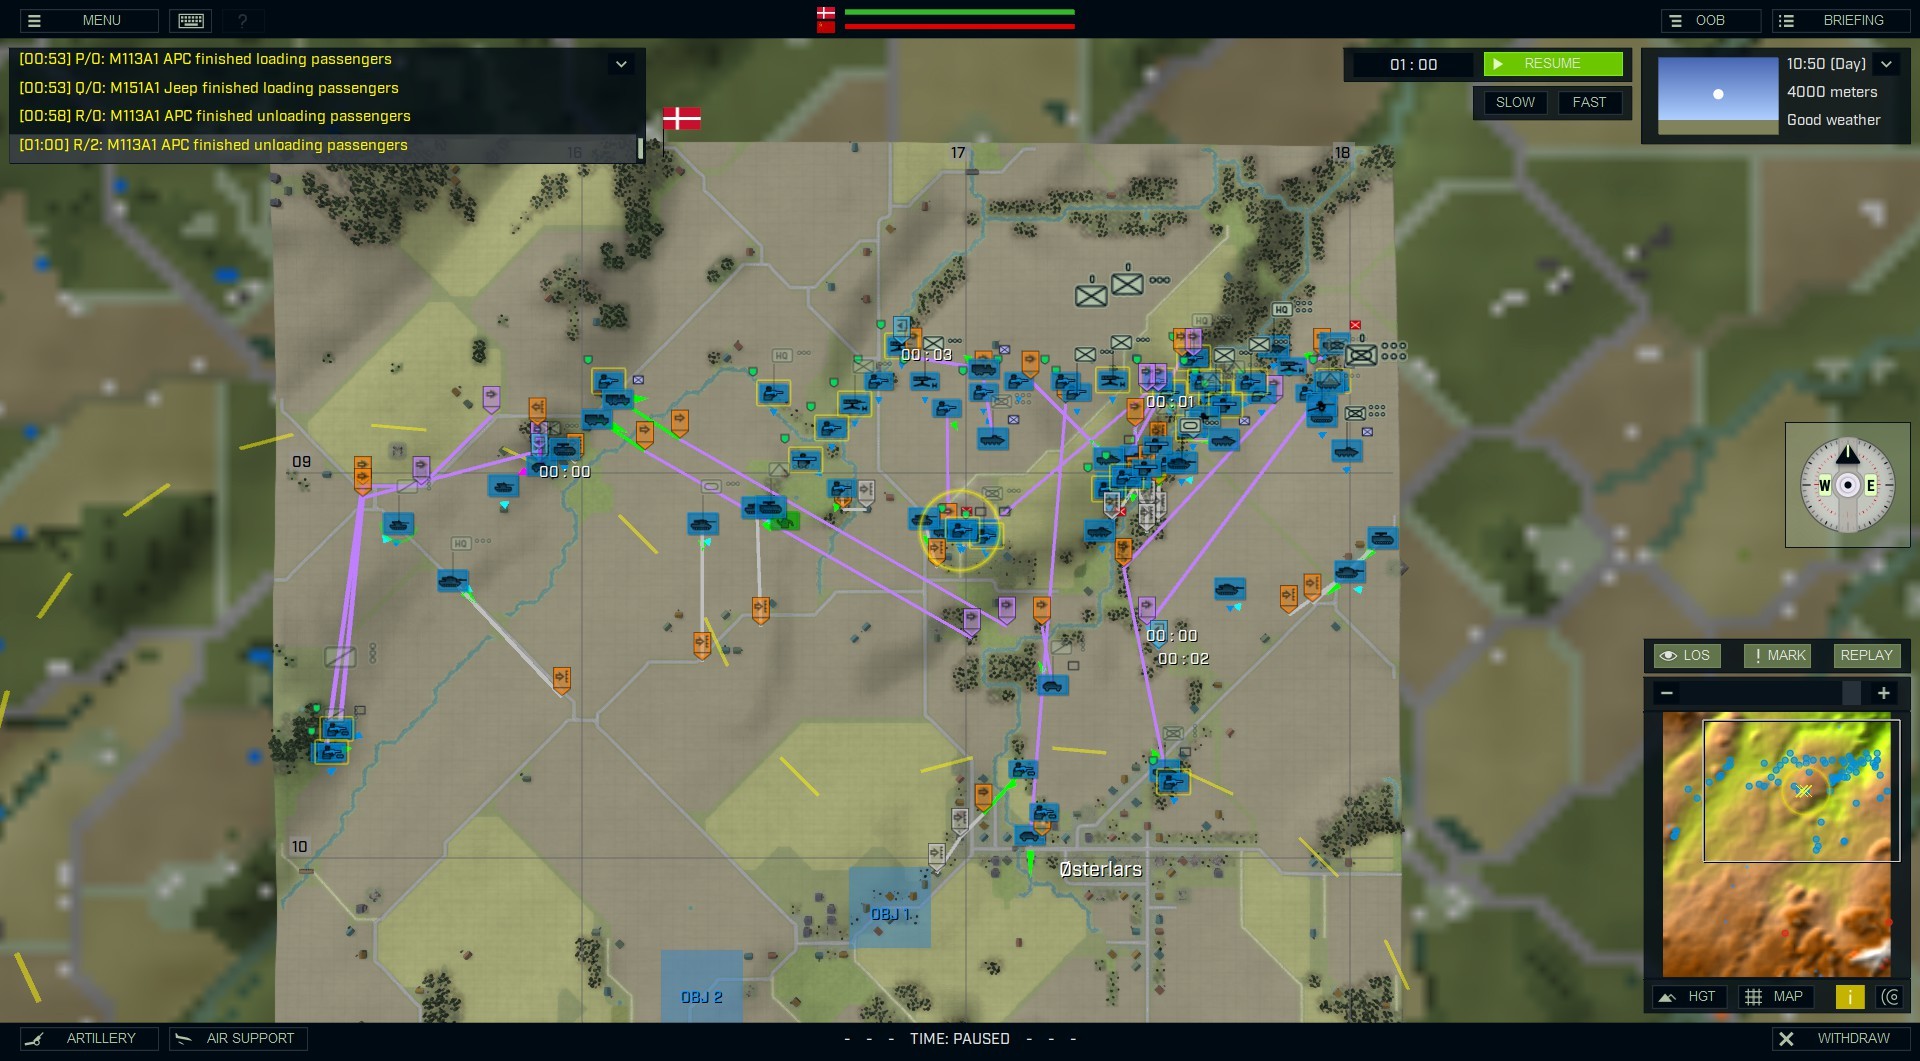
Some information I was waiting until now to reveal. In the top, left of the screen, you can see that anything important pops up there (newest at the bottom). If you click on whatever the sentence is, it’ll takes you to that ‘event’. While playing as Denmark, I was extremely interested as to when my units hauling infantry had completed their orders.
A simple reason as to why? I didn’t want a bunch of soft targets just sitting around, stationary, making them easy targets… even for light infantry and/or scouts. Granted, they could possibly be taken out while moving, but again, that’s why I move them fast, after they’ve unloaded.
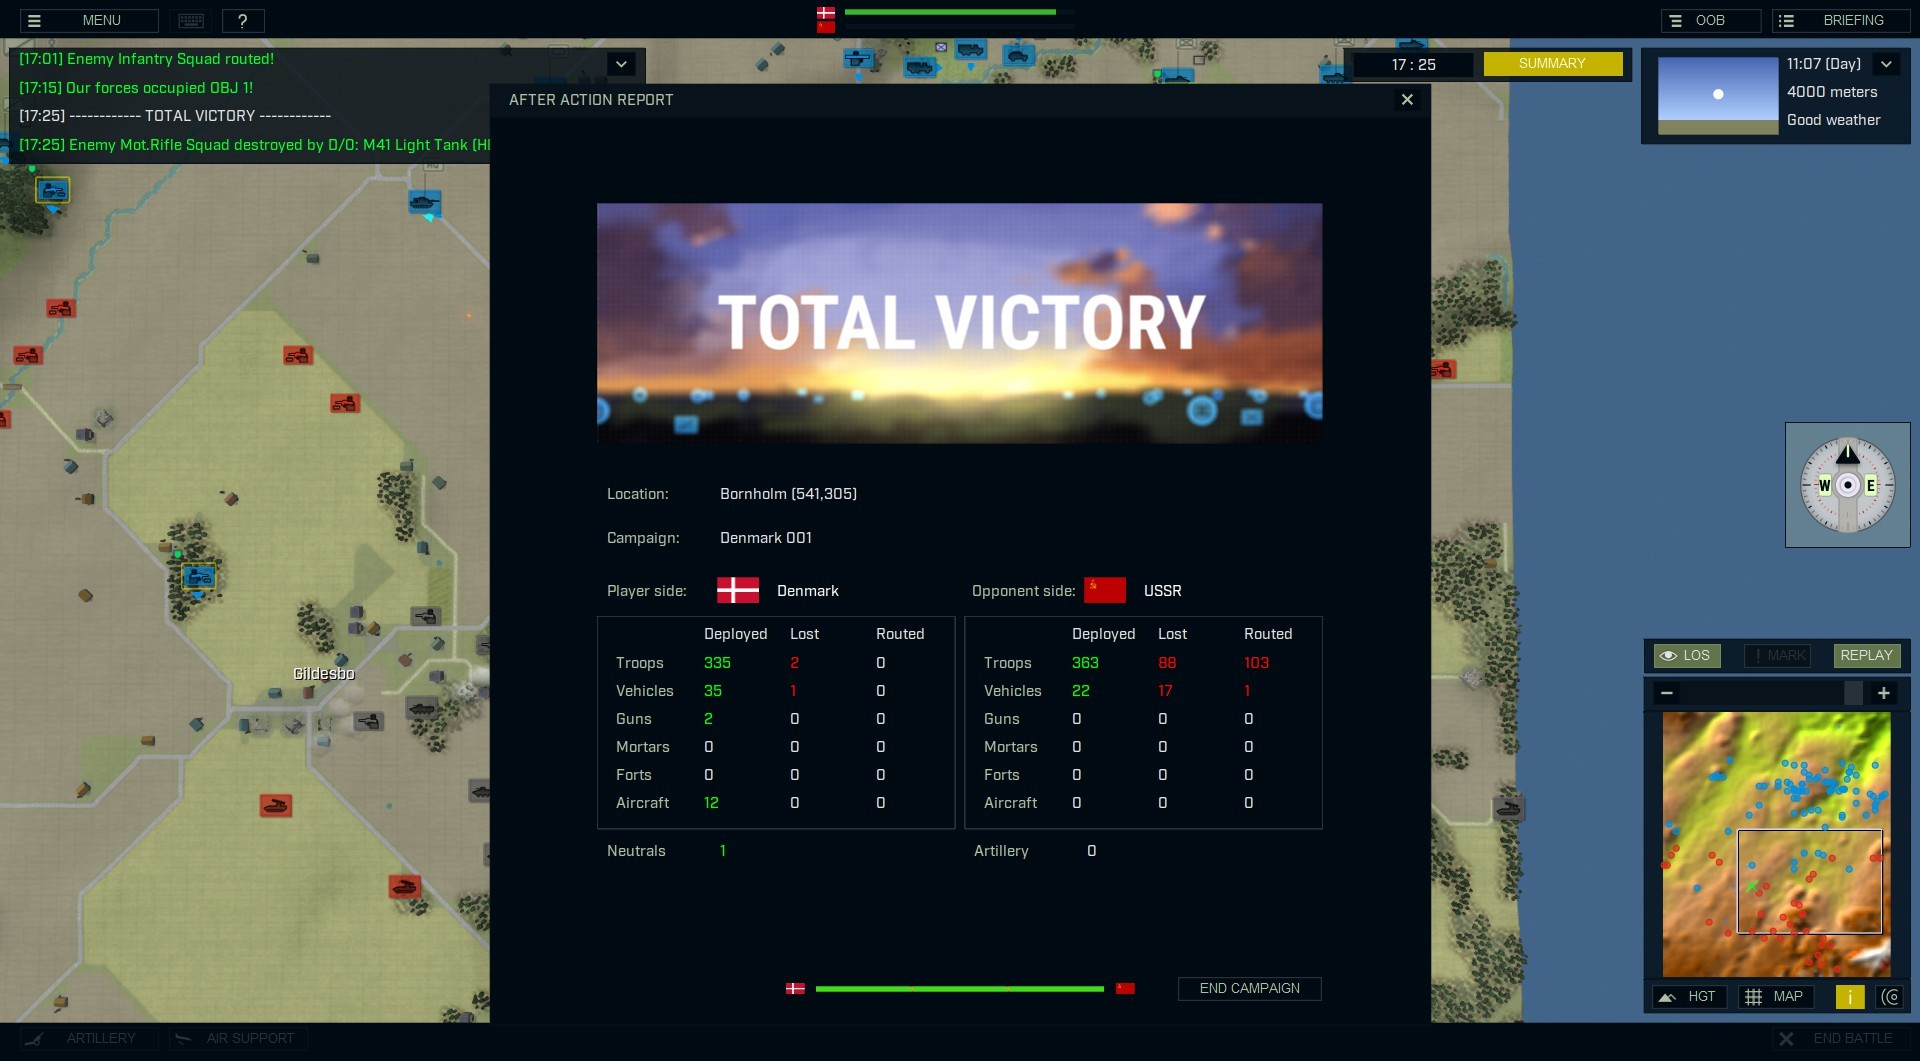
Once again, a total victory. At least I got the AARs this time! Plus, you can see, while not ‘overly’ outnumbered, the Russians were still about +50 or so. When you’re first setting up, whatever amount you put in for yourself while the computer decides the opponent’s. For example: the Combat Power for my side, I put in 3100 [manual spending and setup, of course. For the computer’s side (automatic spending and setup) their Combat Power (given by the computer) was 1790-9067! Meaning I wasn’t going to outnumber them, but I could just as easily been almost -6000. That’s a lot of units… extra units.
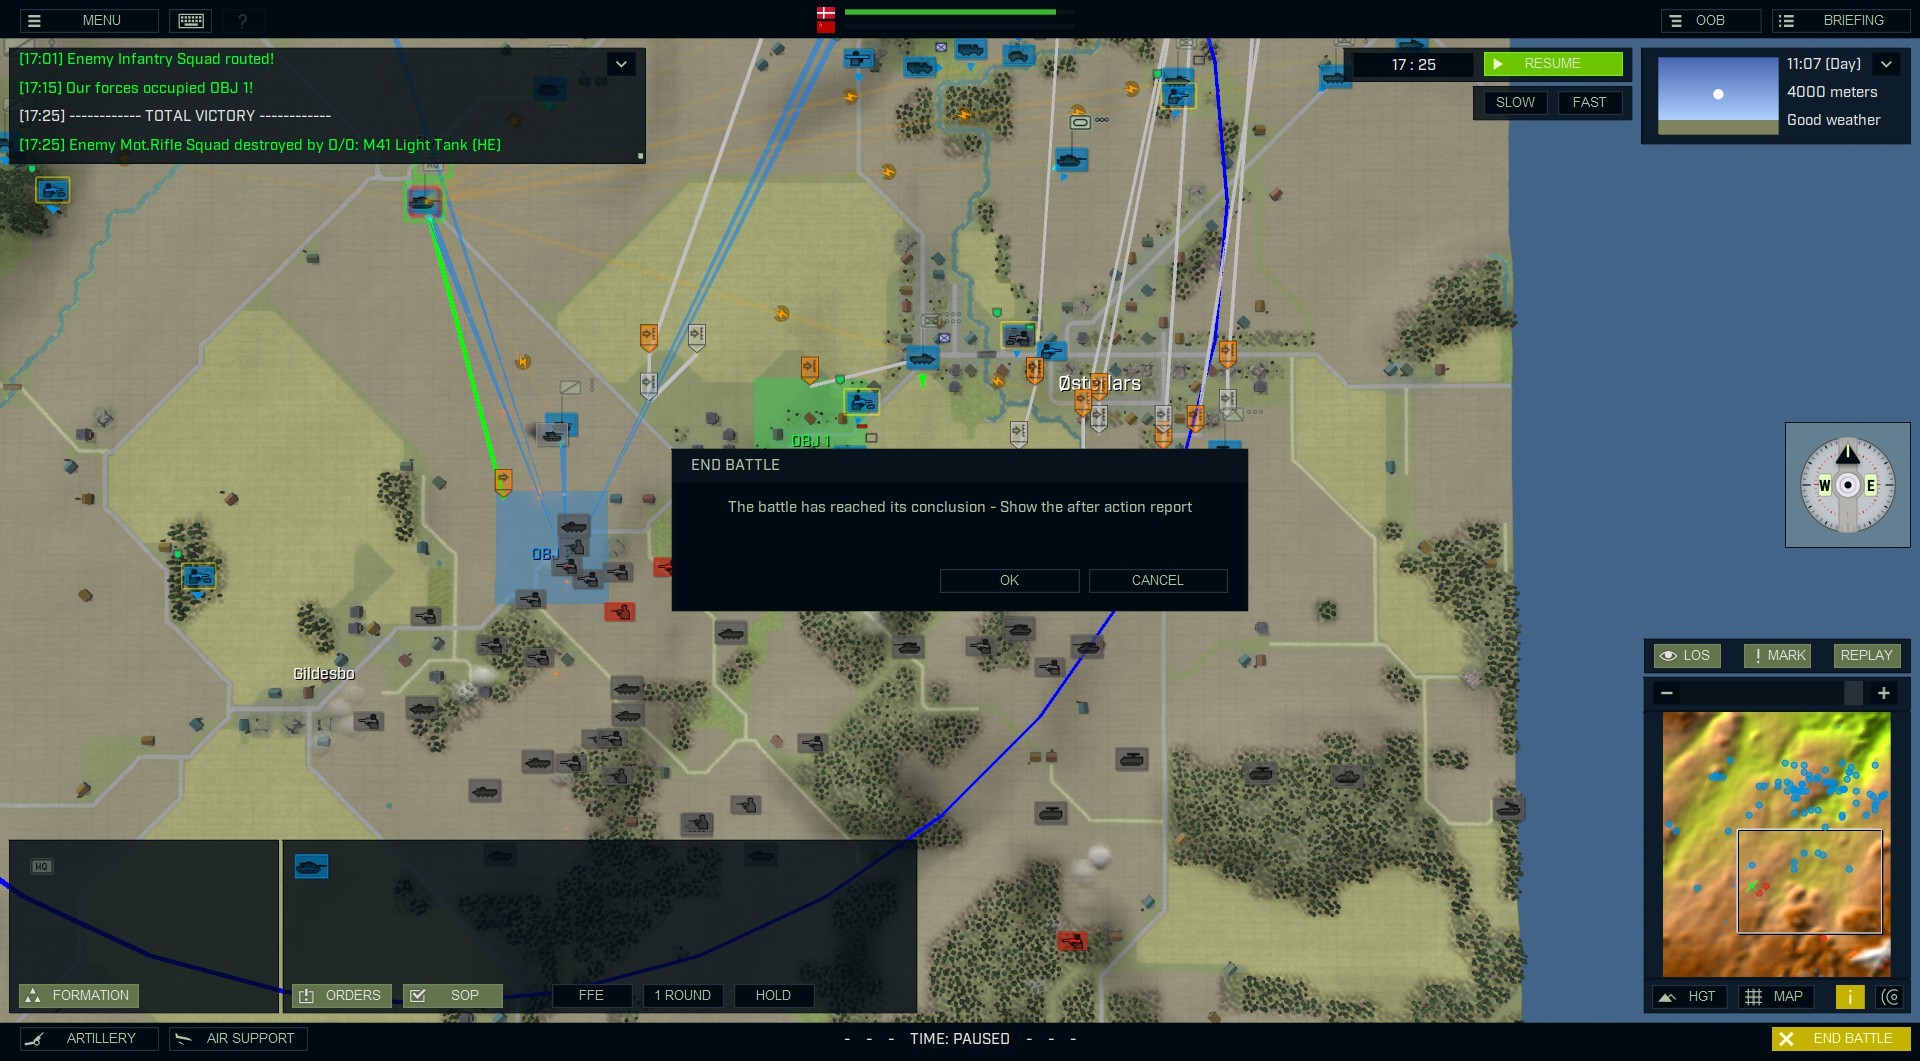
Obviously, I love both Armored Brigade II and Armored Brigade II: Scandinavia. This one (to my Big Boss’es dismay) took an extremely long time to write. I couldn’t just run a scenario with two sides and then take what I needed. But, NoooOOOOooo. I had to design three armies, have three attack plans, three different maps, etc. I started this review around 1971, but I had a blast the entire time. There are a lot of moving parts, extra decisions, etc., compared to most WW II games. If they have a ‘next DLC’, I will definitely volunteer for it.
Armored Brigade II: Scandinavia is available for PC, now.
