Welcome to the third of our RimWorld guide topics, all about the vital nuances of food production and storage.
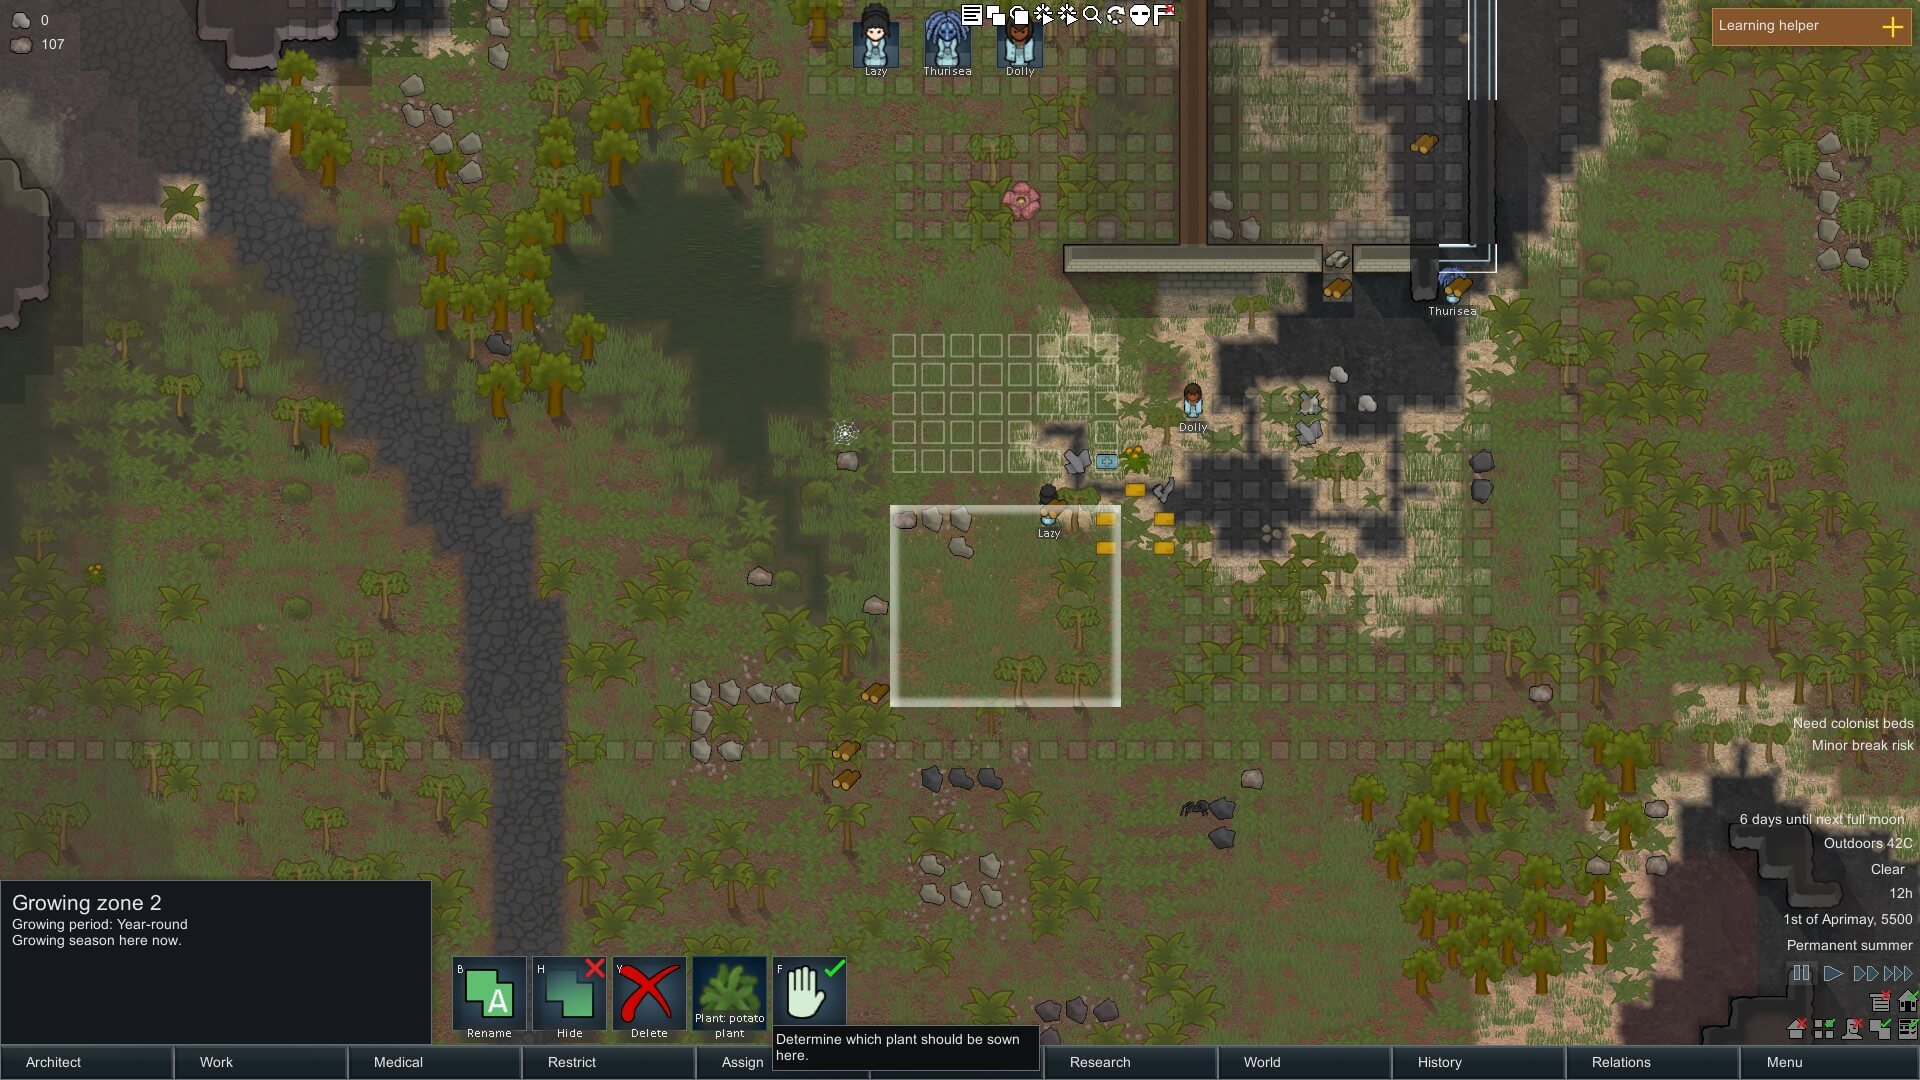
Before you start to run out of food, you need to think about growing your own. Find a reasonably large patch of ground (at least half the size of your kitchen) and place a growing zone there. You can only grow on soil-type terrain, so try to avoid marsh, water, gravel and stone.
When you click on the newly placed zone, you can click on the crop icon to choose what type of food you want to grow. Some take more skill than others, so at the beginning it’s best to go for either potatoes, rice or corn. Whichever colonist is assigned to growing will go over to plant it (if you have the Tilled Soil mod, place that as a floor type over the zone first) and then all you need to do is wait for it to be ready to harvest.
Even if your colonists aren’t great at growing things yet, they will learn, so set aside a space for growing medicine (healroot) as soon as possible. Around half the size of your crop patch should do, with an area of at least ten squares. The more, the better, but too much can be overkill. If your growers are low-skilled, you’ll just need to wait for them to practise a bit before they can grow them. In the meantime, be sparing with your medicine and look out for natural healroot to harvest.
Once you have all that food, what should you do with it? Pro-tip: no one likes eating raw rice. This is where your kitchen area comes in handy.
In the Architect tab, head to Production. There are two workbenches you’ll find useful here: the butcher’s table and the cooking stove. Since you don’t have electricity yet, you may be tempted to build a fuelled stove rather an electric one, but power systems are quick to set up and the savings in time later down the line — and negation of a reliance on wood supply — make up for any early stumbles.
So, place both of those in the kitchen (you can build the butcher’s table out of whatever materials you have to hand, as long as you have enough of it). Make sure you don’t block in the little circle when placing them, as this is where your colonists stand when working there.
When they’ve been built, click on them and then the Bills tab on their info panels. This is where you assign jobs for colonists to carry out and specify how many times you want them to do it. On the butcher’s table, add the task to butcher creatures and set that to do forever. As long as you have corpses, you have meat. If you want, you can go into the details section to see more information and which types of corpse are allowed, but we don’t imagine you’ll be that into cannibalism right at the start of the game.
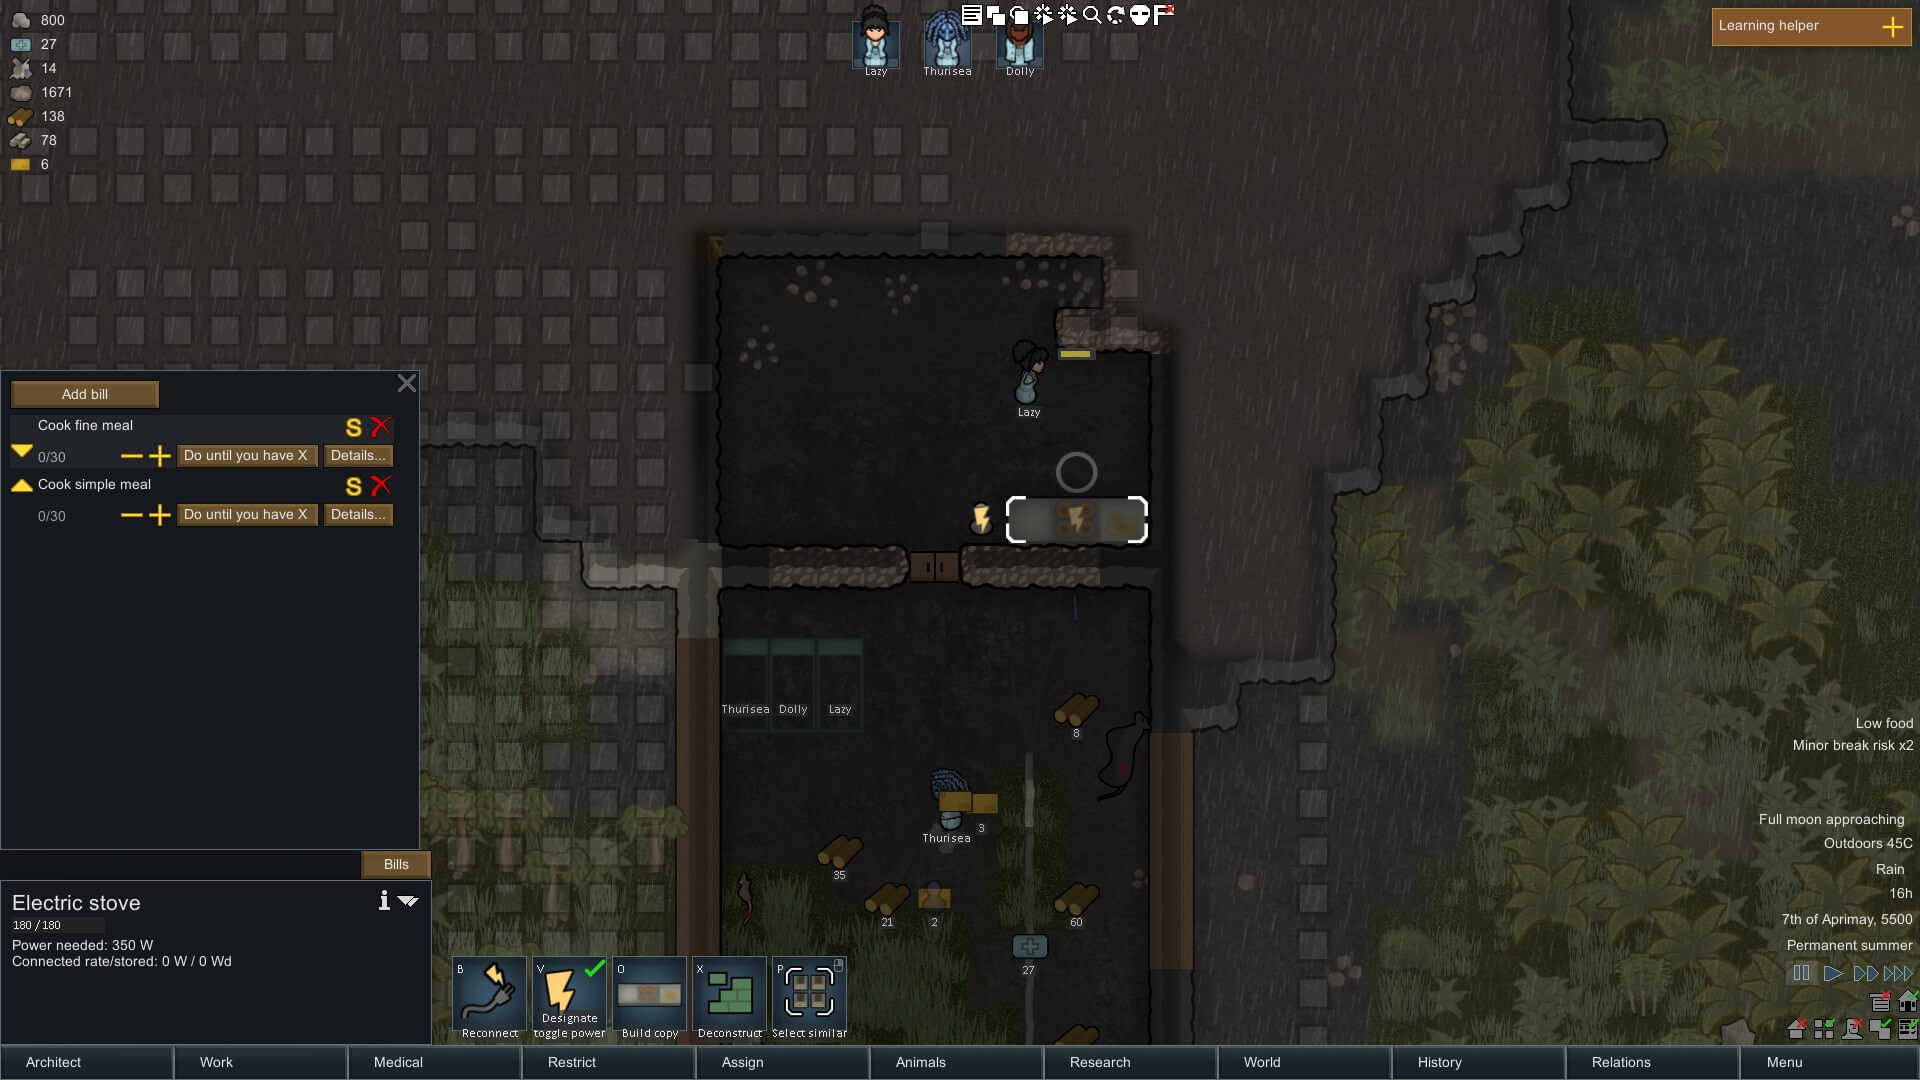
Now, on the stove’s Bills tab, you’ll have to go just a little more in depth. Add both simple and fine meal options to the list (it doesn’t matter if your colonists can’t make fine meals yet) and use the arrows to position fine meals at the top of the list. This means your colonists will always try to make these, which they like more, first. All fine meals are are a mixture of plant matter and meat, unlike simple meals, which are one or the other.
But you don’t want to have one colonist cooking forever. Instead, use the + keys and criteria buttons in the tab to set each to ‘Do until you have X’. X should vary depending on your number of colonists (C), but the general formula X = 10C works well.
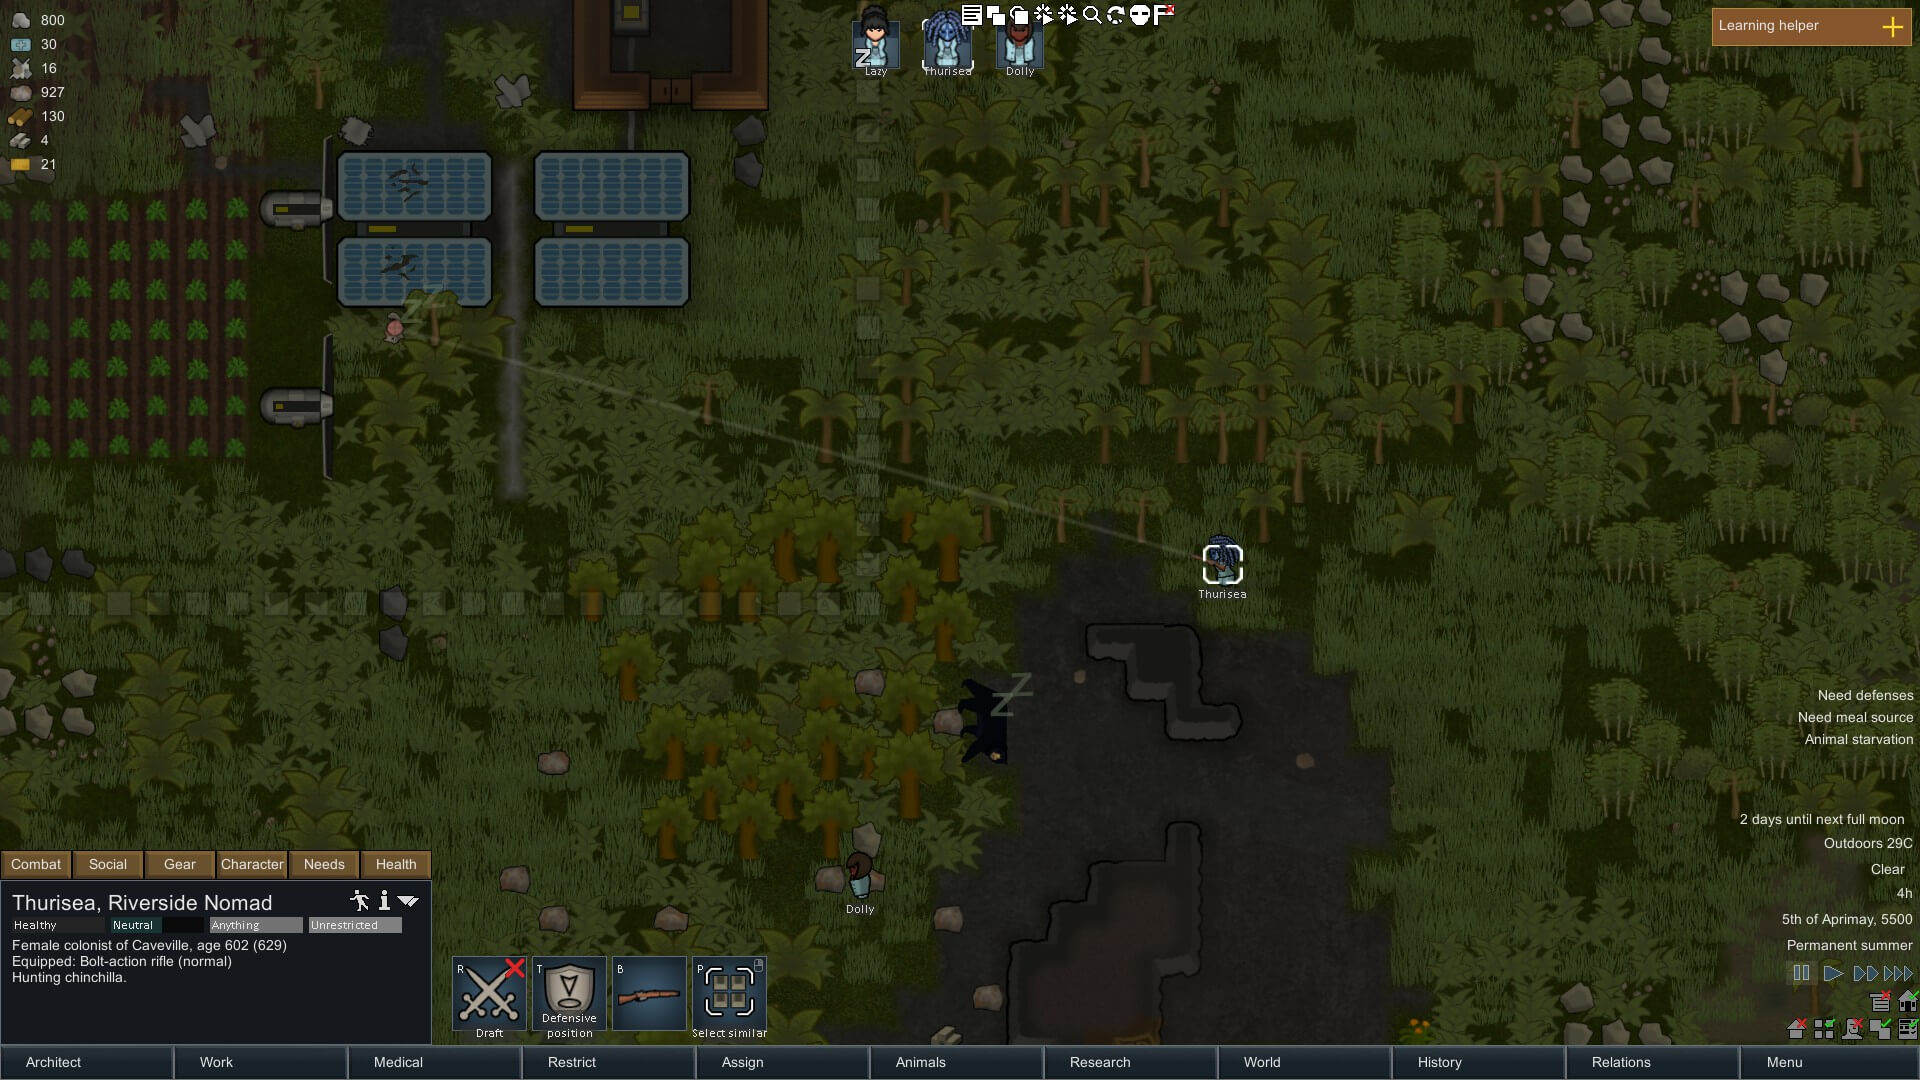
Wait, so we mentioned meat, but we haven’t really explained how to get it yet. Looking around you on the map, you should hopefully see a few animals wandering about. To set one as a hunting target, click it, then click the bow and arrow icon. Anybody you’ve designated as a hunter will go to seek it out as soon as their priorities allow. Make sure they’re equipped with a ranged weapon.
Watch out, though — some animals don’t like being attacked and some are more likely to fight back than others. Pick your targets carefully. (In the spirit of population control, I like to pick the oldest from a group, whittling down males before females.)
Once they’ve killed it, they’ll drag it back to the kitchen (or other designated storage area) where it will wait to be butchered. Cooking unfortunately takes priority over butchery, so if you’re short of meat to go into fine meals, you can force prioritise butchery. To do so, select your cook, right click on the butcher’s table and prioritise butchering creatures. Keep an eye on them, though — if you have too many corpses, they’ll keep going until they’re exhausted. Cancel their action once you’re done micro-managing.