Welcome to the fourth topic in our RimWorld guide. By far the biggest yet, this is full of handy tips on laying out what could be an ideal base.
The Big Picture
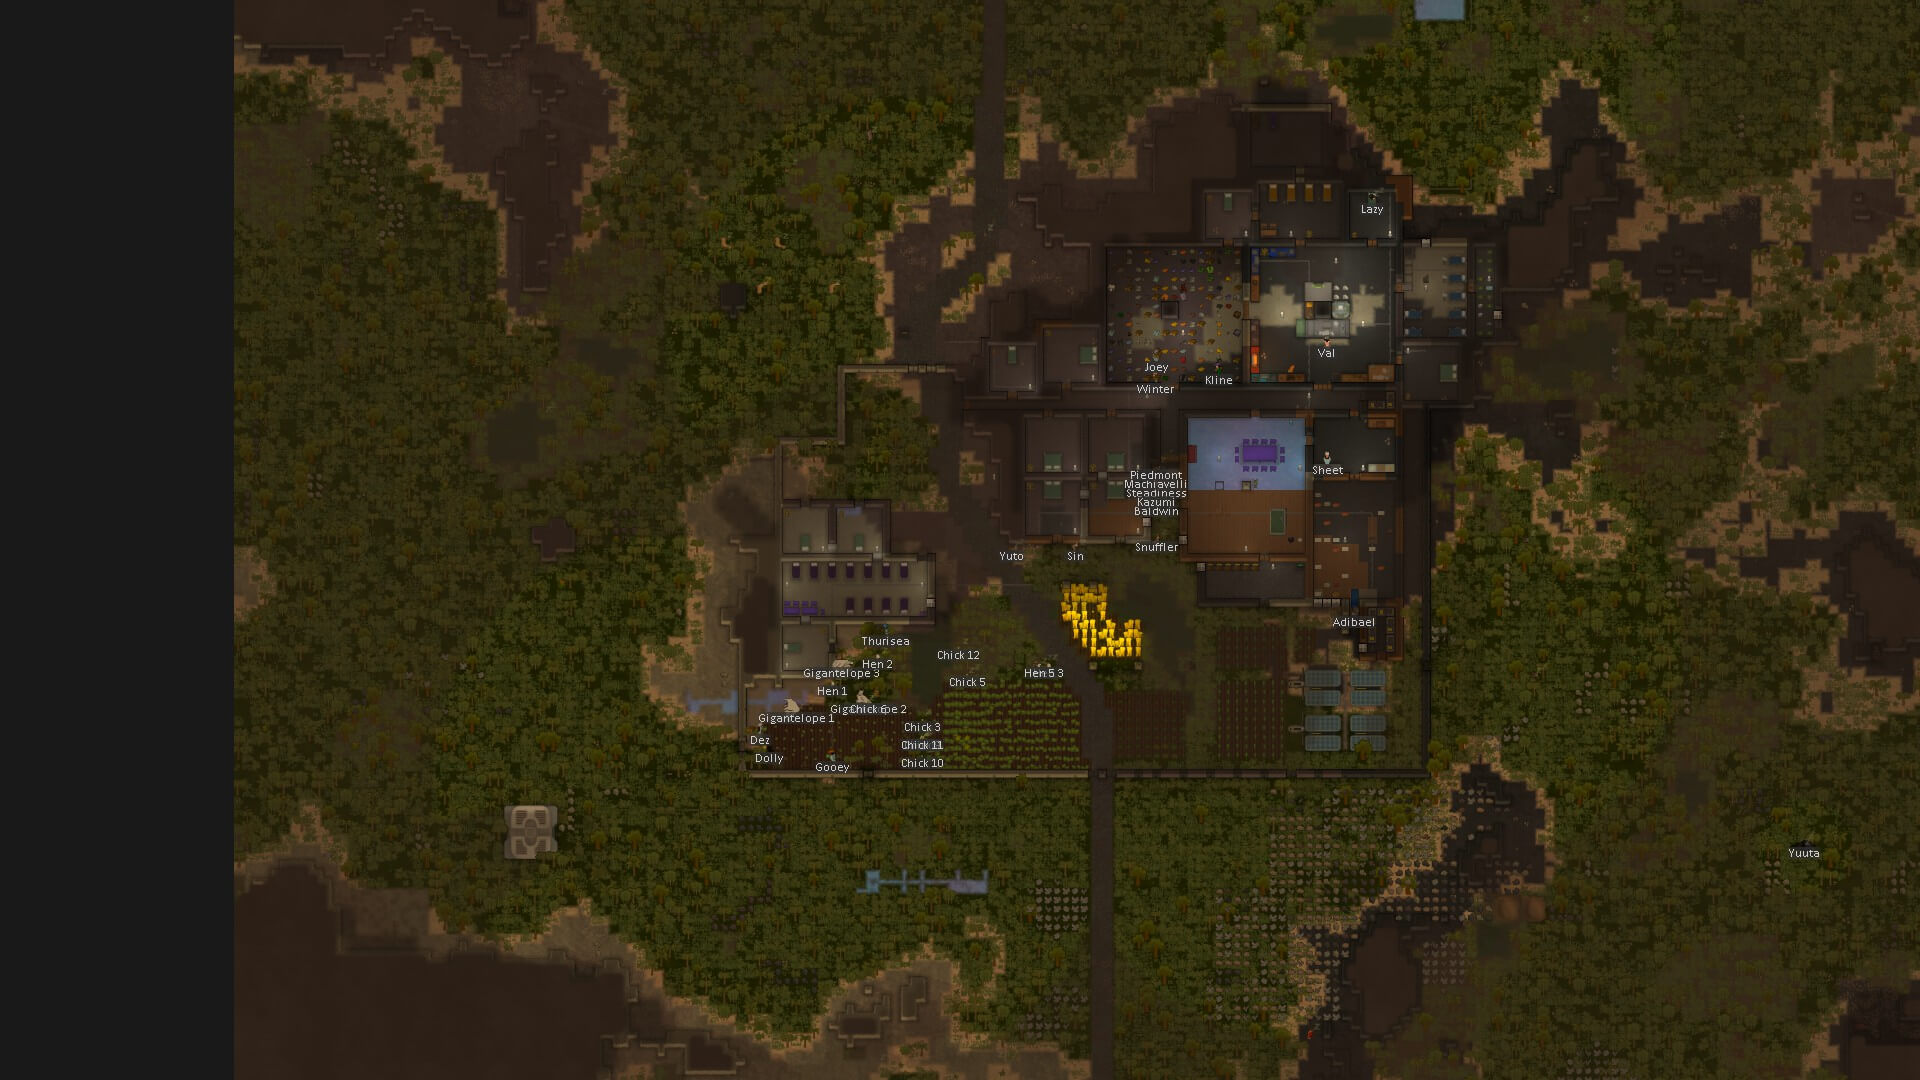
It takes a little while to get used to laying stuff out in RimWorld. At the beginning, you often tend to be rather slapdash and build things wherever, as quickly as possible. As you get more familiar with how things work, you become a bit more regimented. So really, laying out your base is a matter of practice.
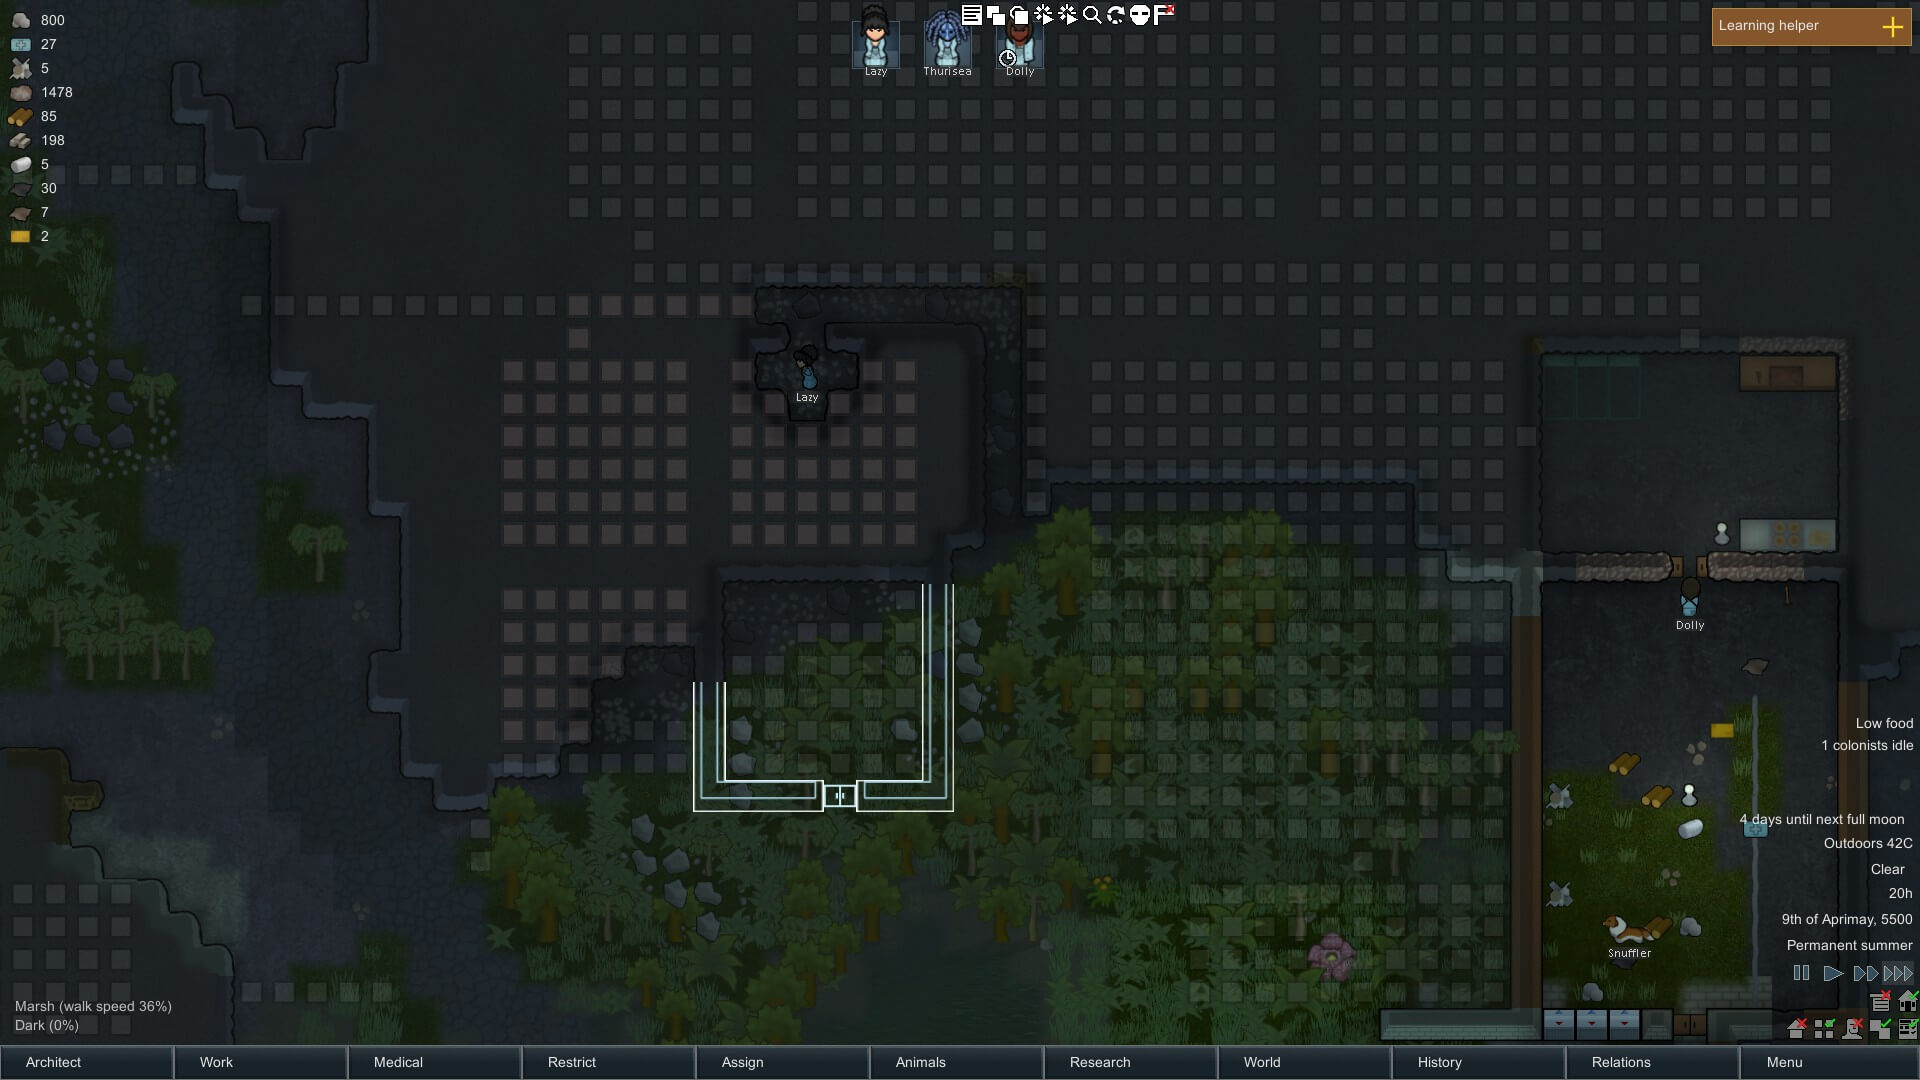
Nonetheless, we can recommend that you build, at least partially, into a mountain. It may take longer to carve out, but it uses fewer resources and provides a good natural barrier against attack.
Watch out for wet ground as well, as marshy soil can be tricky to spot and will scupper any grand designs should you encounter it.
Power Generation
With the strength of a full stomach behind them, what do your colonists need next? Why, power, of course!
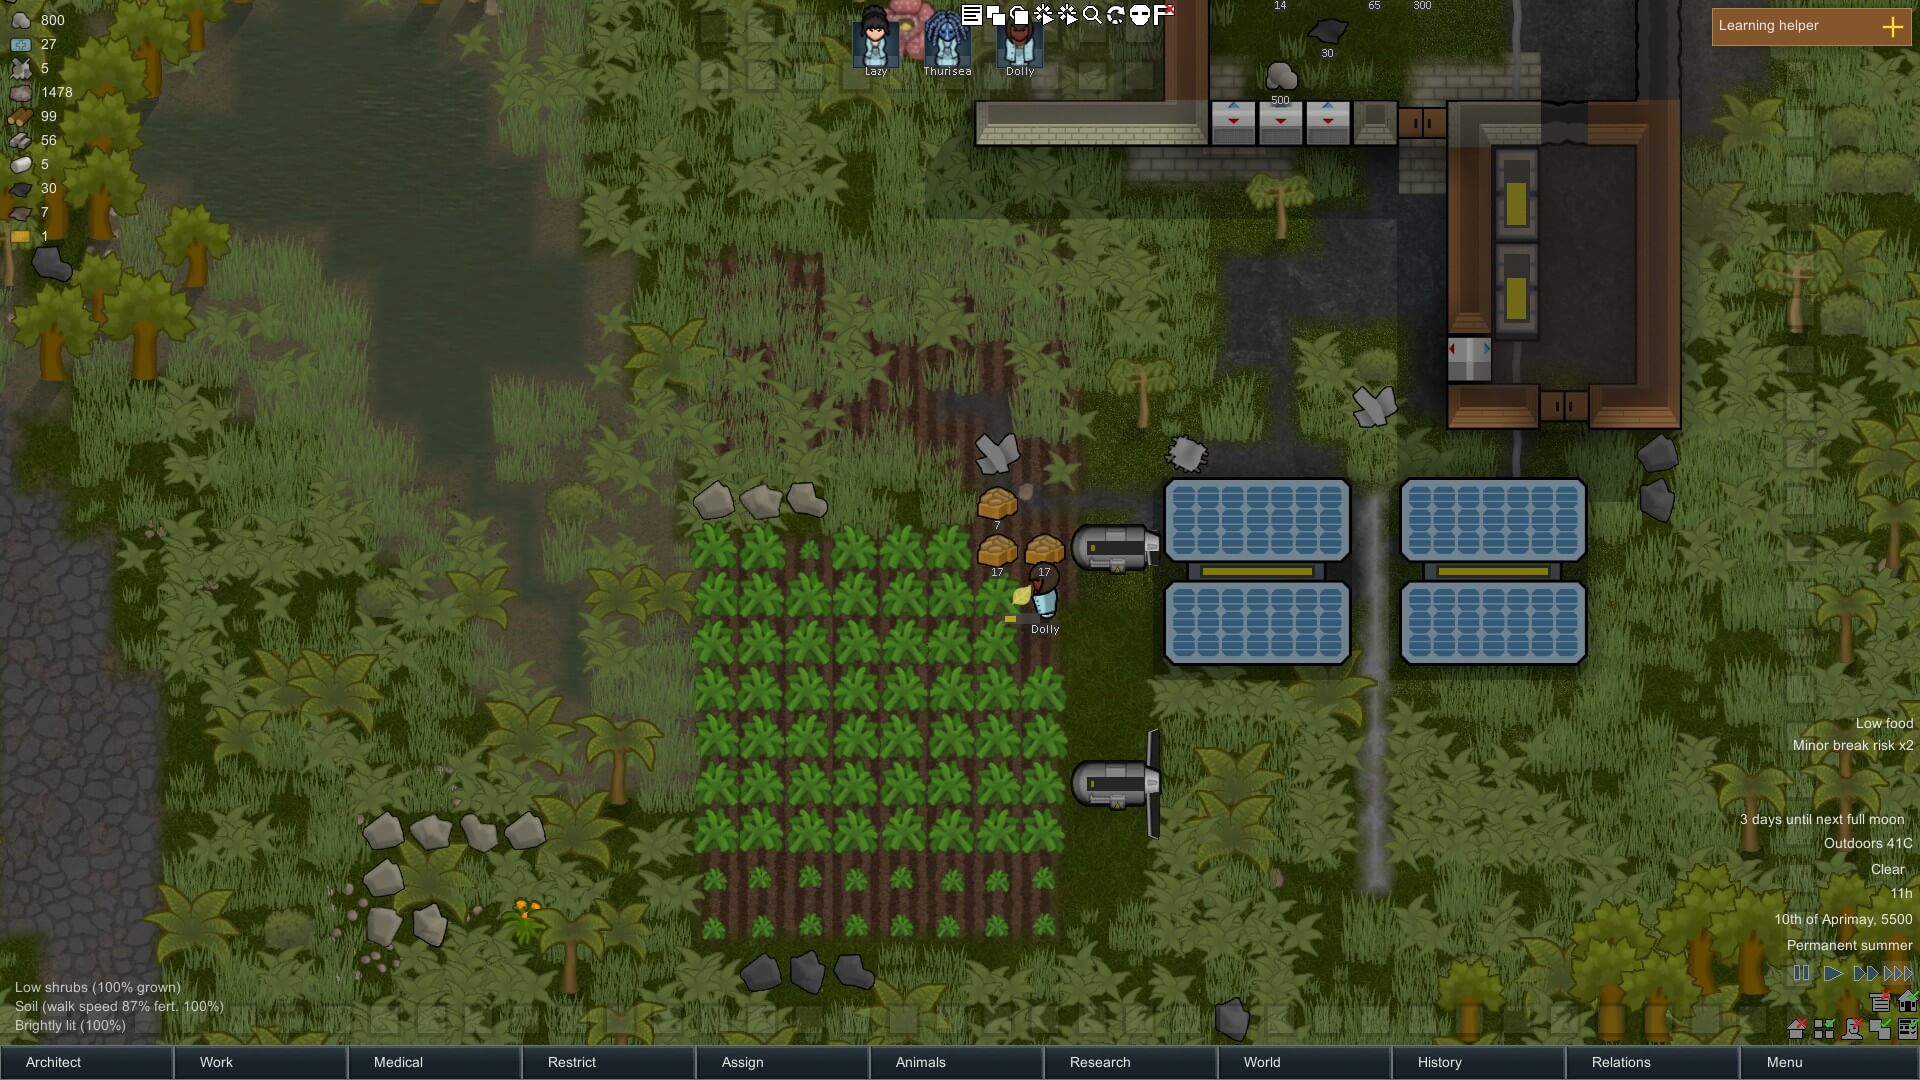
So, it’s time to set aside some space for power generation. To begin with, two solar panels and a wind turbine are the order of the day, but try to leave room nearby to build more. There’s a handy planning tool in the Orders tab if you want to draft out where to put everything in advance, but you can just wing it as well.
Wind turbines need plenty of vertical space to produce electricity, so you’ll want to build them so their catchment area (you’ll see it highlighted when you try to place it) lies as much as possible on top of solar panels or growing zones, which fit underneath them (unless you’re growing trees). Obviously building them next to walls or mountains won’t yield good results — just keep that catchment area clear!
If there’s still some empty space in a turbine’s catchment area, either use it as an excuse for another healroot patch or build a floor there to stop trees and other large plants growing to block it. If you click on a turbine, it will tell you if anything’s in the way.
Battery Room
All that electricity needs somewhere to go, and that’s not straight to your equipment. Build a room with walls 5×6 to house your batteries, with one door away from the edge on one side. Batteries explode if they get too hot, so build a cooler here as well and set it to -5°C (to be on the safe side if you get a power cut) using the icons that appear when you click on it. Since you’re about to power your base anyway, do the same to the coolers you built in the kitchen.
Then from the Power tab in Architect, select some batteries and place two around the edge, leaving room for four more batteries and a colonist to stand in the middle (in case your batteries break down, which they will — sometimes explosively so).
Now all you need to do, power-wise, is connect everything together. It’s easy to see this already, as whenever you’re on the Power tab in Architect, blue lines appear to show power conduits, which connect electrical equipment together. Depending on where you’ve built stuff so far, you may see some smaller blue lines connected straight to workbenches and coolers. These are auto-generated within a certain radius of power conduits. If a big blue line goes close enough, it supplies electricity in this way.
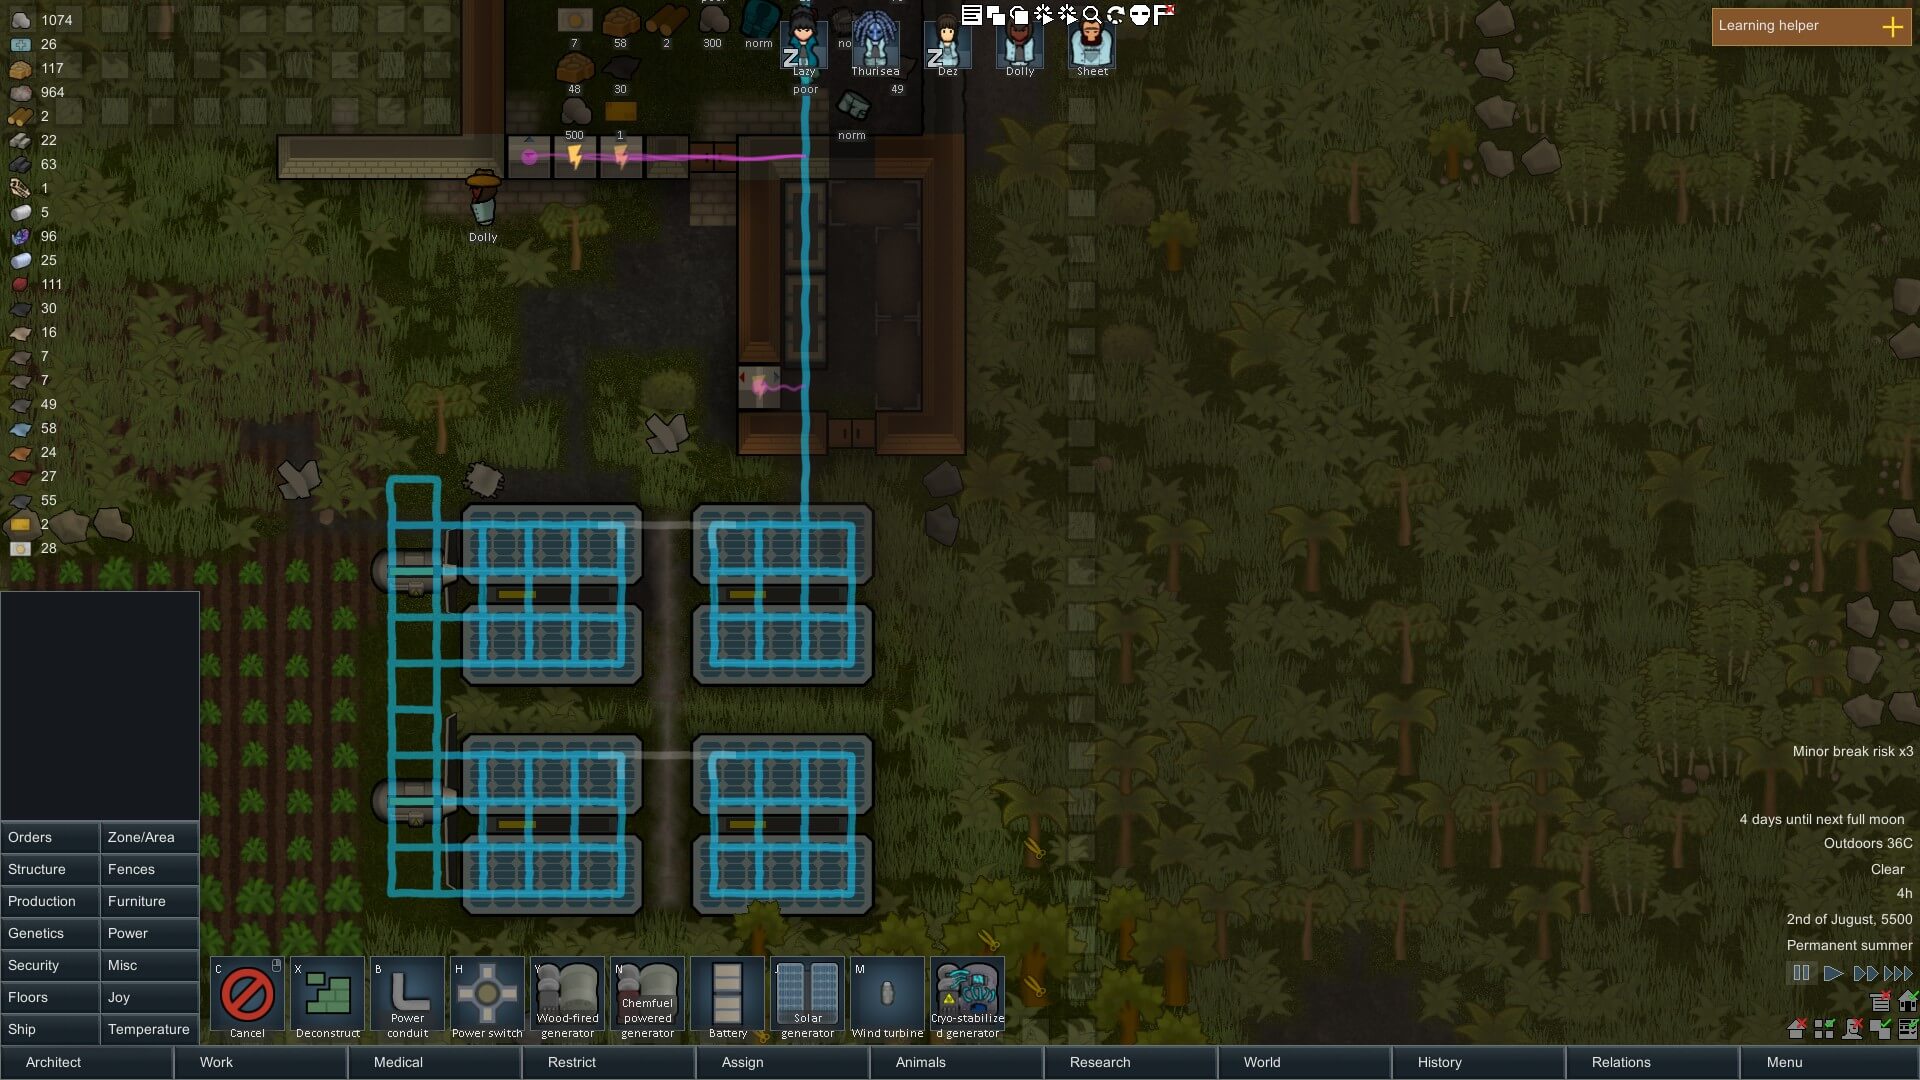
So, connect your turbines and solar panels to your batteries (don’t draw a line to every one — as long as the grid connects, you’re good), then draw a line close enough to your electrical equipment to power them. Try to build them under walls where possible to minimise damage if they short circuit.
With that out of the way, your power’s all hooked up with some places to go. But hey, it’s a little dark for your colonists and you can’t have them tripping over power cables, so grab a few standing lamps (not sun lamps) from the Furniture tab of Architect and place them where your colonists live and work. Now you have power, they’ll light the place up no problem.
Dining/Living Room
If you’ve been examining your colonists’ Needs tabs, you may have noticed a lot of them are whinging about eating without a table. Rather entitled of them since you’ve managed to save them from slow and painful deaths so far, but oh well. It’s time to build them a place to eat, drink and spur themselves to go gravedigging… or be merry. They could do that instead.
This is going to be one of the biggest rooms in your base, planted right next to the kitchen and preferably in the middle of, or at least near, your residential area. 13×15, excluding walls, is a decent size to aim for. At these dimensions, you need to be careful: build one stone wall piece in the middle of the room to make sure the roof doesn’t fall on your head.
To solve the table issue, go into Furniture again and grab a 2×4 table of any material you like, then ideally put in somewhere in your new room that leaves two squares around the edge. If you’re flush with resources, build dining chairs around the outside. If not, opt for stools, as they’re less costly (but less comfortable) to make.
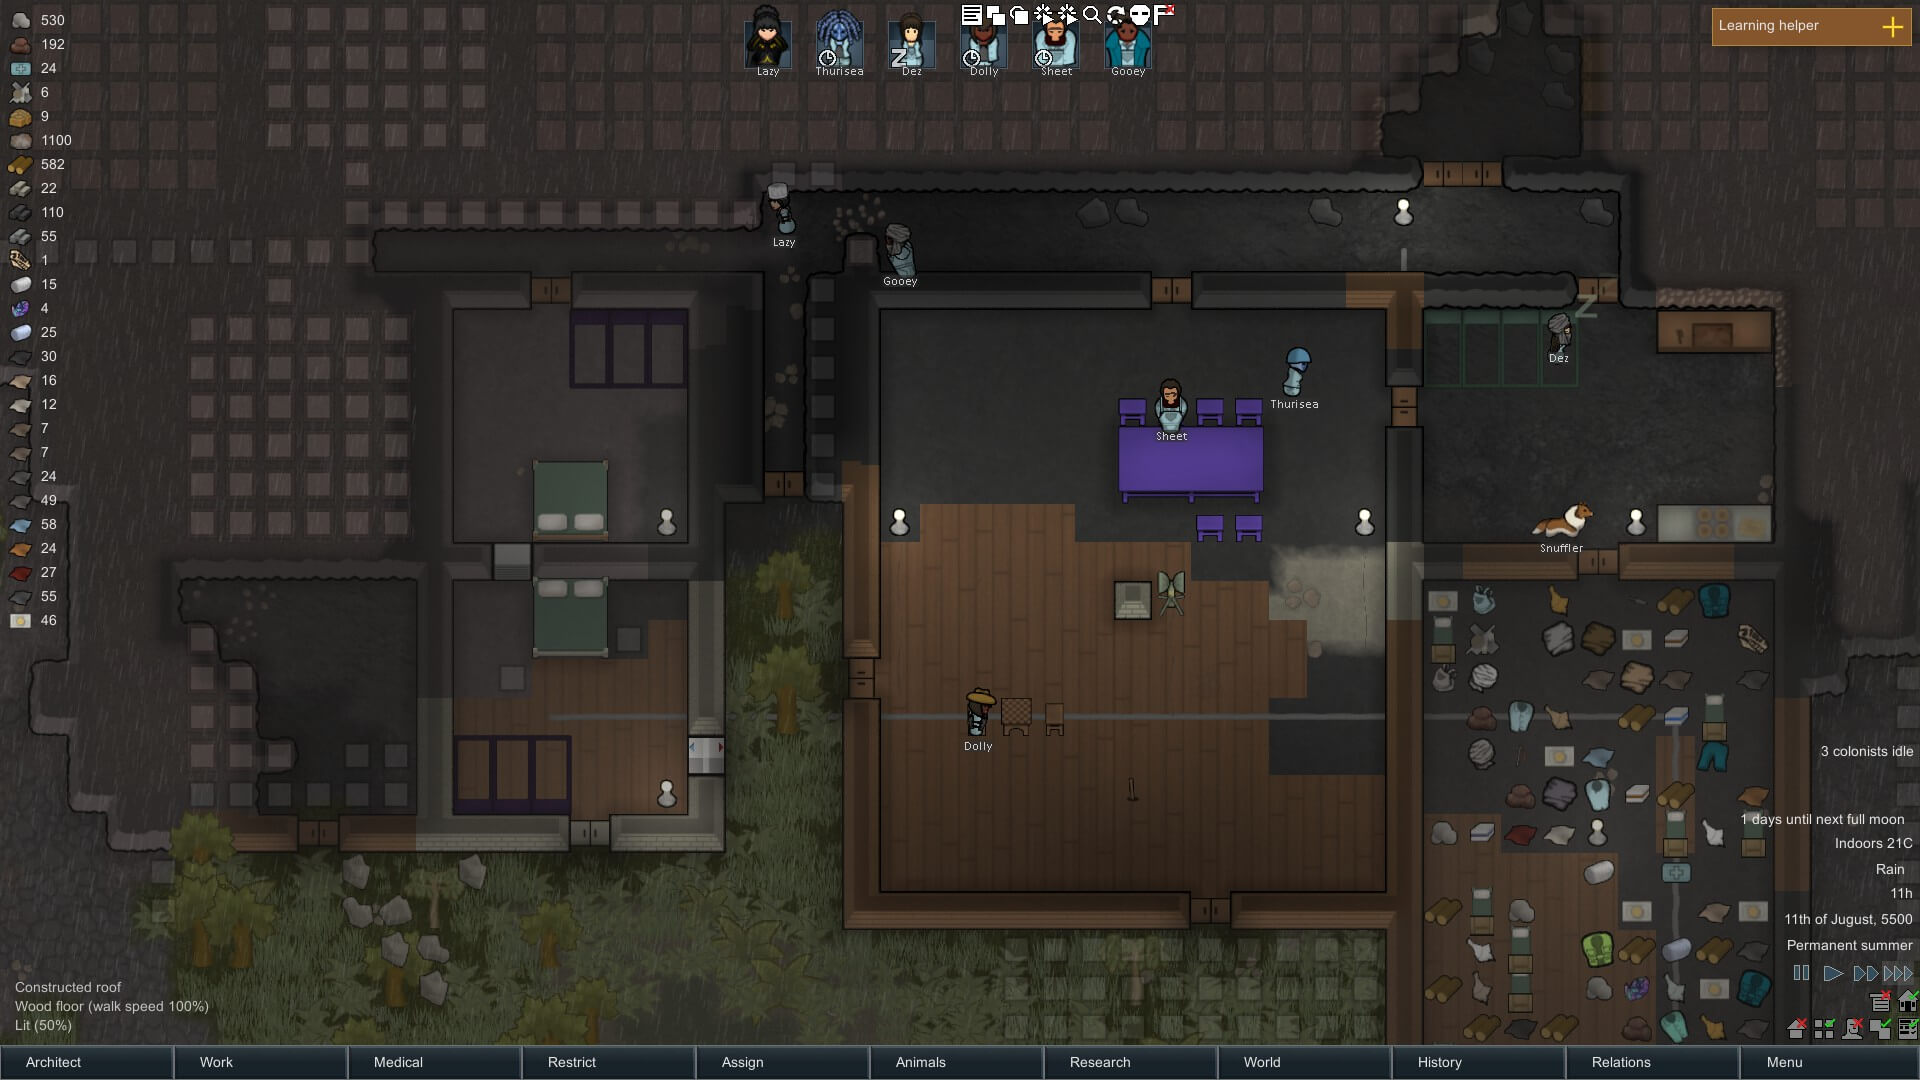
Entertainment is part of the key to happy (or at least non-violent) colonists, so head to the Joy tab and build a horseshoes pin next to one of the walls somewhere. If you have enough resources (bearing in mind you’ll still need some for other rooms), build a chess table and two chairs or stools as well. Try to keep at least one square around this, but tuck it out of the way so you have room for more later.
Planning ahead, you may want to tuck an extra little room on the edge of your living room, backing onto the outside world. If you build a cooler there and keep it below zero, you can use it as a beer freezer later on.
This is only one way of planning eating space, of course. Others opt for a modular approach, with tables in the centre of sleeping and recreation areas, while others opt for a recreation room on its own and give each colonist a table in their room. What you choose is up to you.
Bedrooms
So far, your colonists are probably all sharing the same room. It’s time to give them their own space. Bedrooms quickly become standardised, so there are two ‘templates’ we should tell you of.
Single rooms are 4×4 (excluding walls) rooms with a single bed at the centre of one wall, opposite the door. Each corner leaves a space for a plant pot, a light, a sculpture and even an armchair, if you want. Unless you have the Modular Tables mod, adding a table here might make it feel a bit cramped.
Double rooms are 5×5 (excluding walls) rooms with a double bed at the centre of one wall. Again, there’s plenty of space for ornaments, plus a dresser if you want to give your colonists extra comfort. Depending on the space and resources available, you may want to give these to every colonist, but this can see you run out of space when more join. What it’s really good for is couples, who get a massive mood boost from sleeping together (and apparently ‘getting some lovin’’ up to three times a night!).
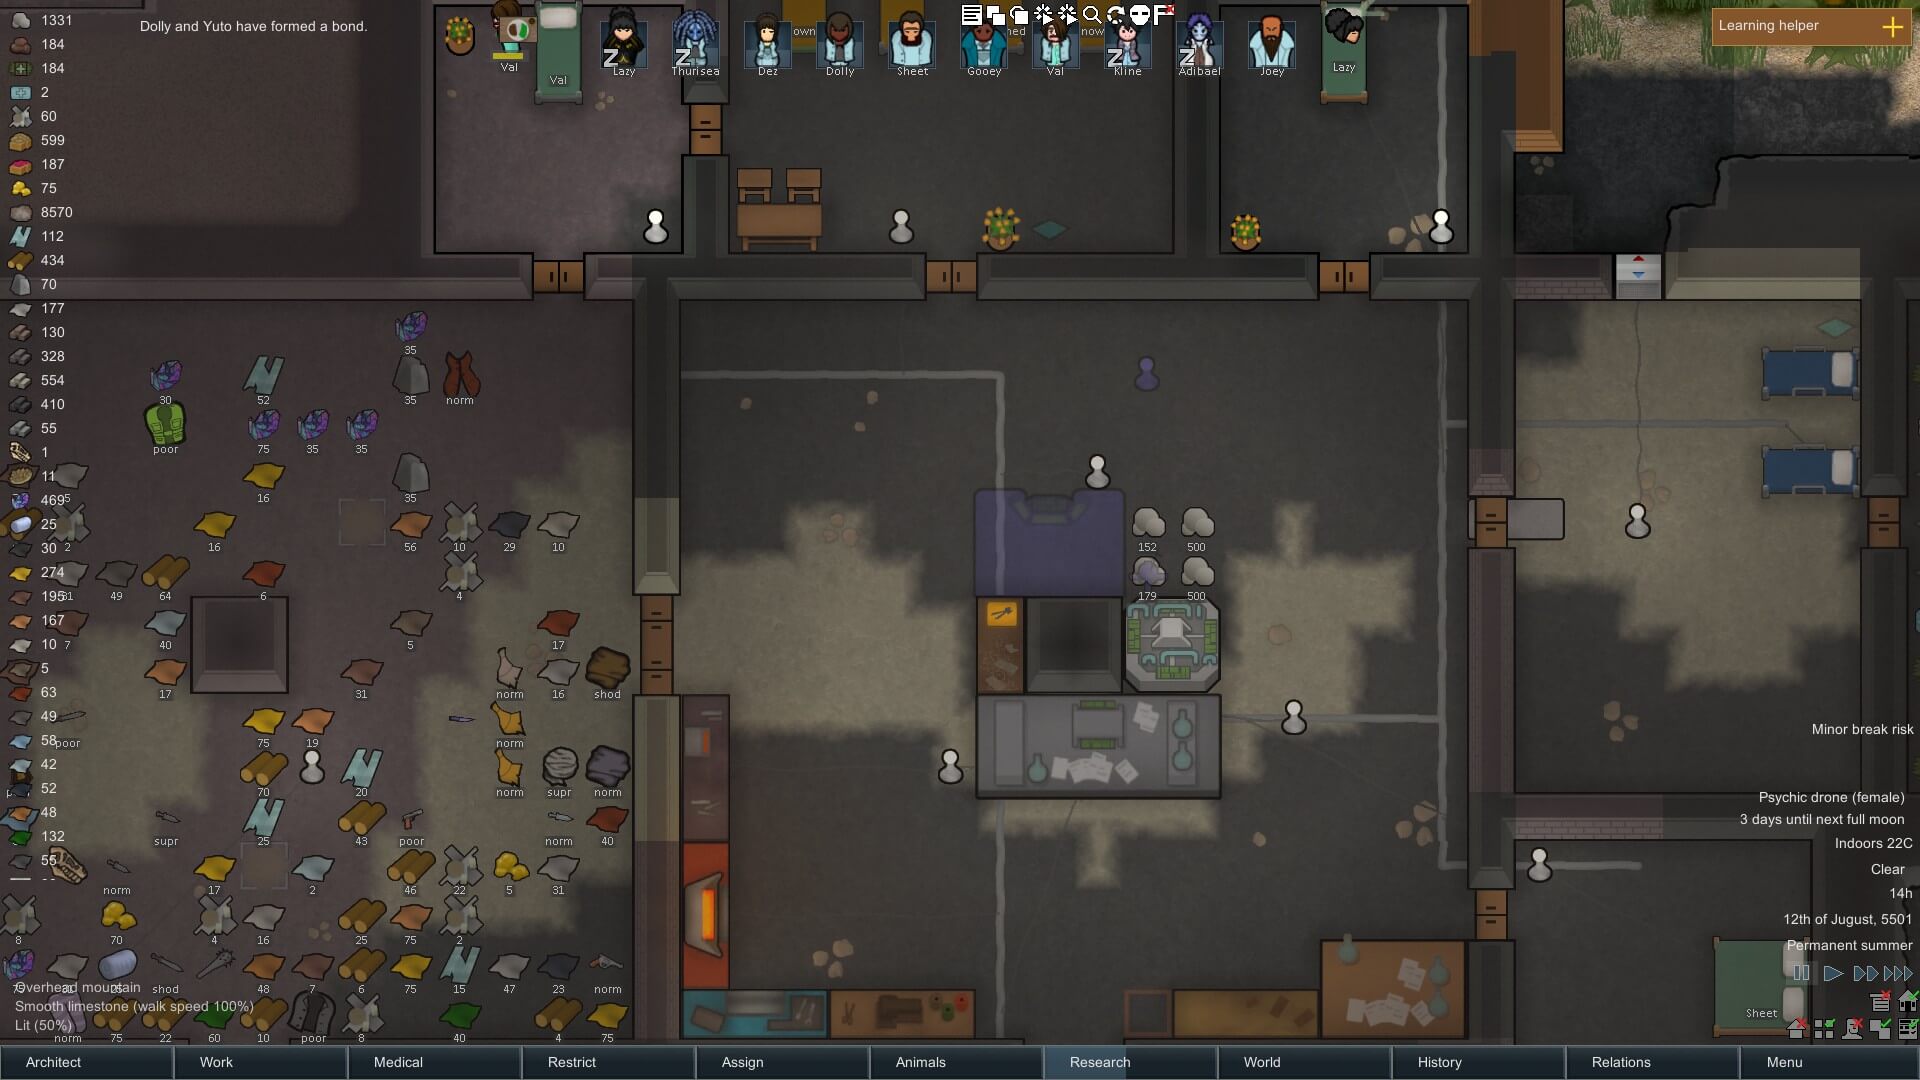
Crafting and Storage Rooms
Before too long, you’ll have to think about other things than food. Clothes, for one thing. It takes far less time than you’d imagine (or one misplaced bullet) for a colonist to come back home complaining of tattered clothing, so you have to make some more. This means building a tailoring bench. But what if you want to make a sculpture, craft some bricks or smelt shoddy weapons? Well, there’s a workbench for those as well.
You need a lot of space. We’re talking around 15×15 at least, though we recommend 20×20 if any of your mods (like Expanded Prosthetics and Organ Engineering and Genetic Rim) use their own workbenches, as they soon start to pile up. Too small and your workers feel cramped, too big and… well, that’s just inefficient. It doesn’t matter so much where you build it as long as it isn’t miles away in the middle of nowhere, but somewhere near your dumping stockpile is wise for access to some materials. Keeping your base centralised is a good idea.
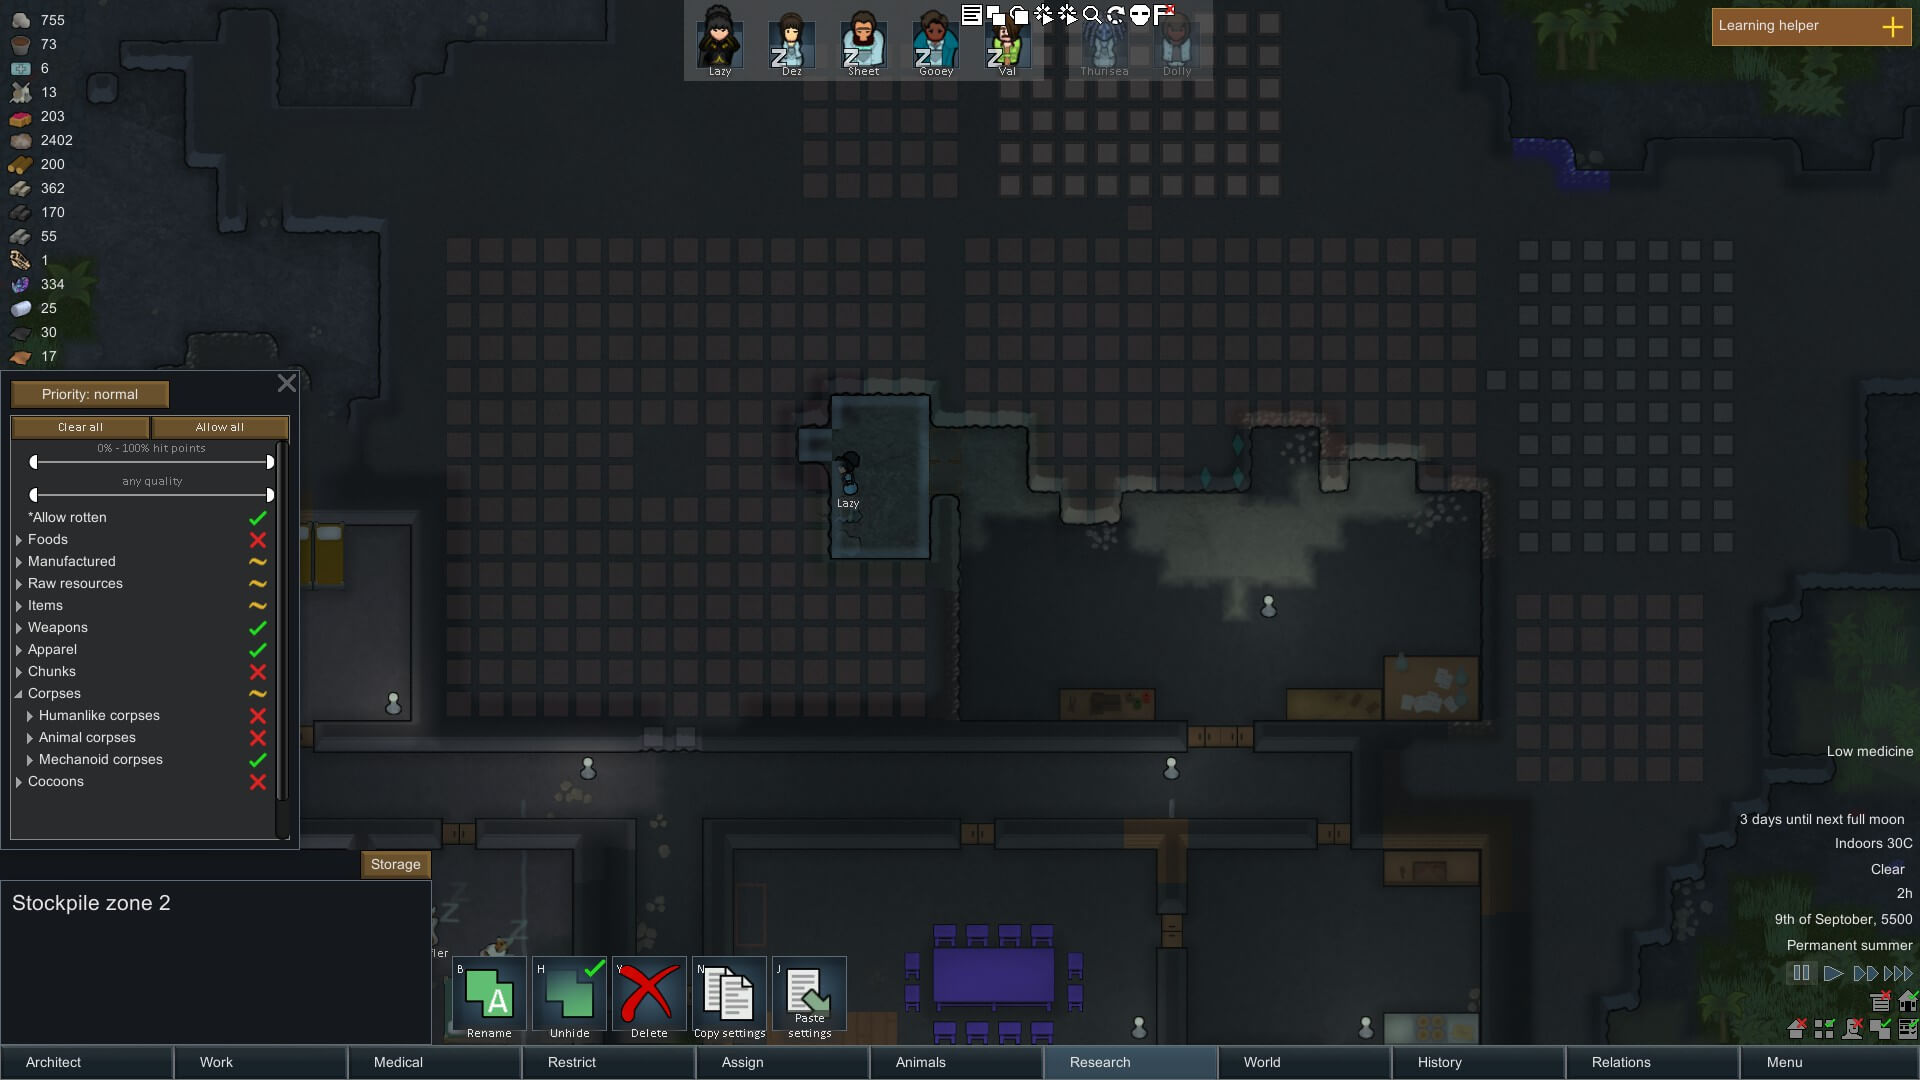
Crafting, especially as your colony grows, takes a lot of resources. Whatever dinky little room you kept them in when you started just won’t live up to the task, so it’s time to build a big one. This job’s pretty simple, though: make it around the same size or slightly bigger than your crafting room, cover the floor space with a stockpile zone, plonk some lights down and forget about it.
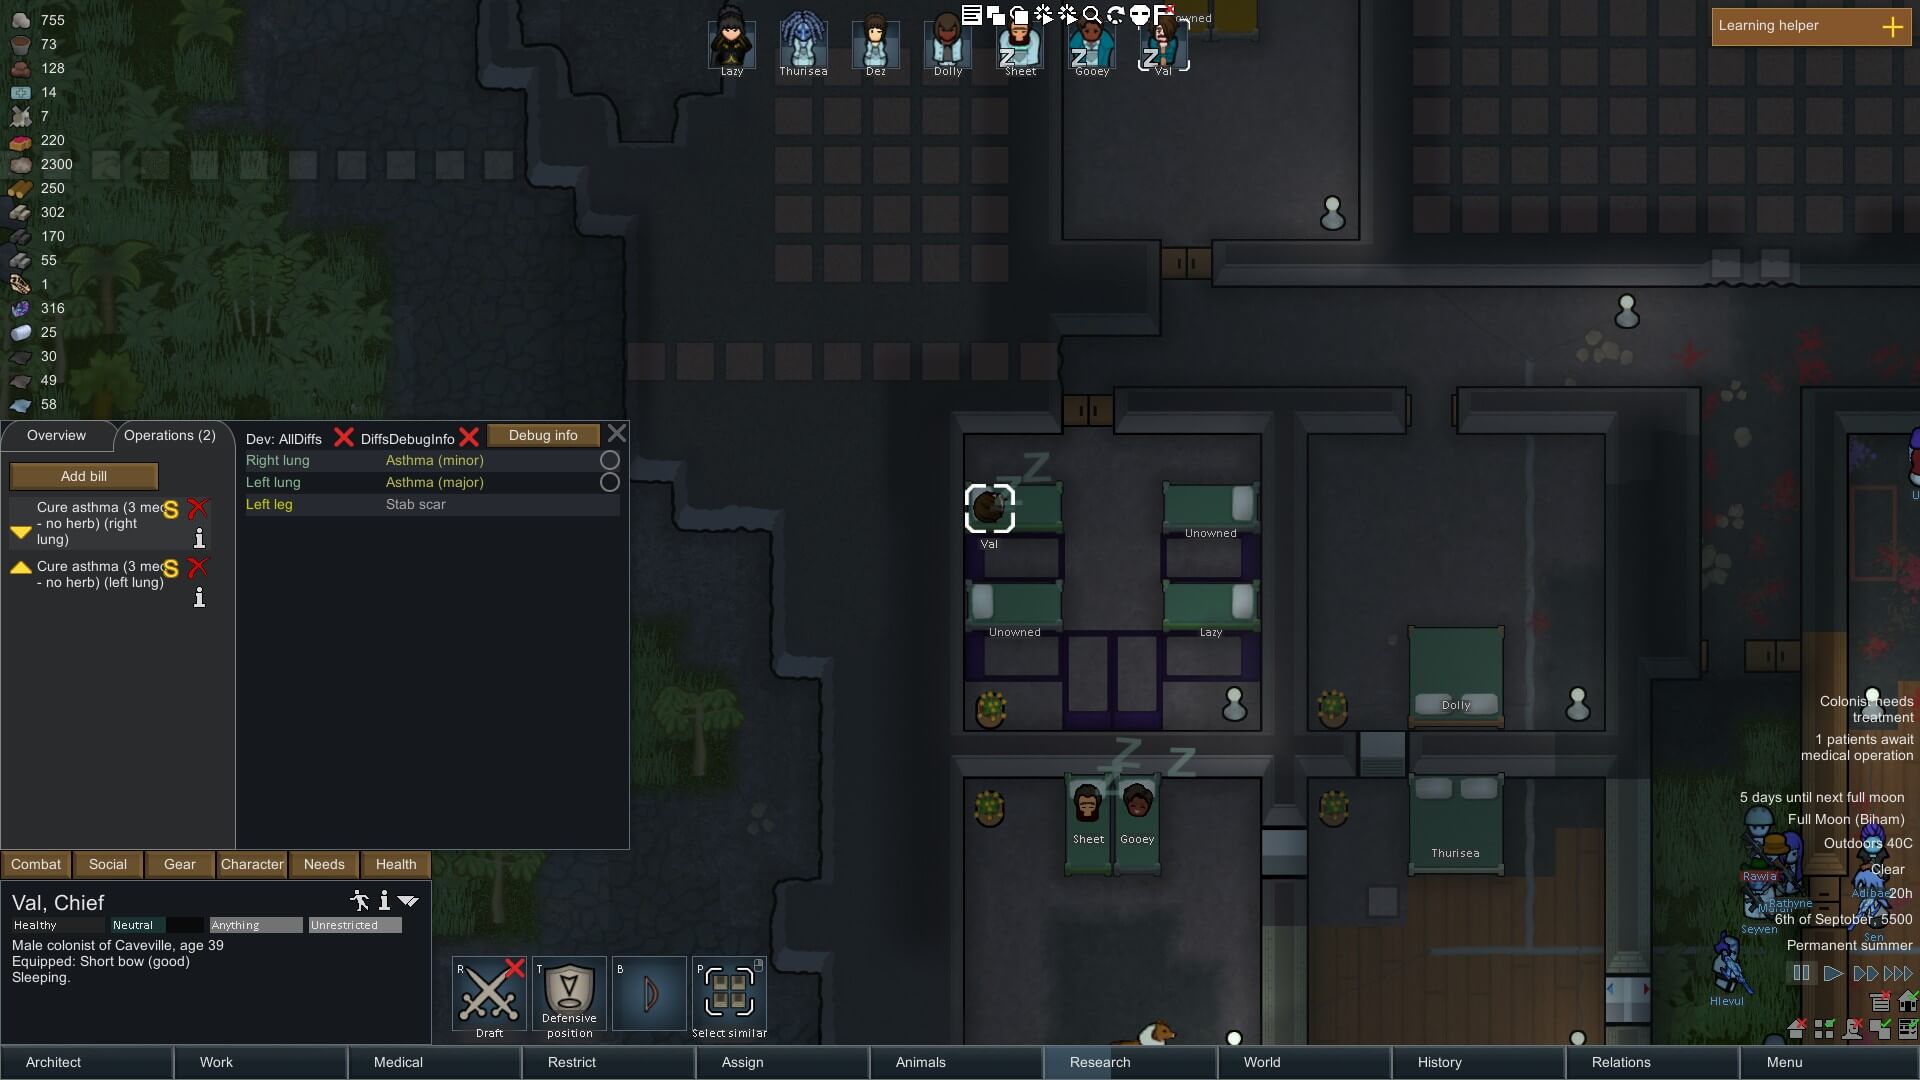
Hospital and Prison
On the sadder side of things, you need to cater for the times when your colonists are injured (or you want to carry out some ‘routine’ organ harvests). Build a room to act as a hospital at least 5×8 squares in area. This leaves space for a medical bed every other tile along the walls, facing inward. (Medical beds are just normal beds, toggled to Medical in the options when you click on them.)
To give your doctors quick access to any medicine, body parts and drugs they need (although perhaps not beer, unless your doctors are that way inclined), build a smaller room next to this, preferably backing onto the outside and not a mountain. With a cooler in here to keep the room below freezing, you can create a medicine stockpile zone. To make sure it always stays chilly even it the hottest temperatures, aim to keep it small. Two or three squares deep is usually enough.
It should probably be more disturbing that building a prison is a similar process. Try to build a room of roughly that same size somewhere it’s difficult to break out from — far back in the mountain, for instance, but close enough that you can get to it. You may want to build an adjoining bedroom for your warden to live in so they’re close to deal with any escape attempts.
The only real difference between the prison and hospital, aside from the lack of a freezer, is that it’s best to put a table and chairs in the prison. This keeps your prisoners happier and makes them easier to recruit.
If you have the mod Hospitality, follow this same process to make a guest room, but make sure to fill it with guest beds instead of normal beds. It might be an idea to give them more tables and space, with more plant pots and exuberant architecture. Then again, you might as well do the same for the hospital.
Spare Some Room for the Animals
At this early planning stage, you probably only have a couple of dogs or cats, so farming and animal husbandry are likely far from your mind. Still, if you think you’ll be down for keeping some chickens, alpacas or other livestock somewhere down the line, make sure you have a big area set aside next to your base for pasture.
In case of colds snaps, heat waves and radioactive fallout, you could think ahead even more and build a small shelter for them with a number of animal sleeping spots.
But wait, how do you make the animals go where you want them? For this, go to the Zones tab of Architect, click on one of the Allowed Area buttons and choose the option to manage them. By default, you already have an Animal Area 1, so rename that to something like ‘Pasture’ and use the tools to highlight the area you want your animals to live in.
When it comes to it, make sure they have something to eat. Either fill their pasture area with a haygrass growing zone and don’t let any stockpile store produced hay, or grow some elsewhere and store it on-site. You can even build a fence to keep predators away if you have the Fences and Floors mod.