Today, we’re going to write about something a little bit different to usual. We cover a lot of miniature board games here, but you may have noticed that it’s been a long time since any of those games had painted models. Well, that’s hopefully going to change — because I’ve started painting and I’d like you to go on the journey with me.
Full disclosure, I am a complete novice painter. I did pick up a brush about twenty five years ago, but back then we didn’t have YouTube or any other reliable guide to work from, and it’s fair to say that my efforts were nothing short of disastrous. Now, I’ve got all the gear, a little bit of an idea, and I’ve been watching videos like crazy.
In this article, I’ll initially cover some of the basic concepts to help you get to a basic standard — more or less where I am. My hope for this article is that people come here with absolutely no idea how to paint, what to paint or perhaps even what to get started with — and I want you to leave with the confidence to dive straight in. Grey plastic miniatures can look OK in small numbers, but even a basic paint job will elevate your games to the next level.
I’ll share with you the techniques that I’ve been using for applying base coats, in some cases with an additional “zenithal” or “slap chop” highlight on the base coat, and then how I’ve used contrast paints, speed paints and washes to get to a decent standard. None of my models look fantastic, but I want to show you them “warts and all” in the hopes that you’ll agree that they do at least look better than plain ones.
As my painting journey continues, I am planning to add specific “Let’s Paint” articles to the site, with links in an index below. You can always come back here to see what I’ve been painting, and if I add new skills or methods to my skill set, I’ll also share them here under new sub-headings. With all that said, let’s dive in and start talking about painting:
Choosing the Right Equipment:
Whilst there has always been a level of artistry to choosing the right materials for your painting project, the market now is broader and more confusing than ever. Citadel Colour remains the market leader, but The Army Painter is now a recognised and leading brand. Others like Humbrol and Vallejo (who I remember from painting airplane models in the 1980’s) are still around, with offerings for both solid colours and speed (or contrast) paints, washes and metallics. Brushes are now available for pennies from Amazon, but vary wildly in terms of quality.
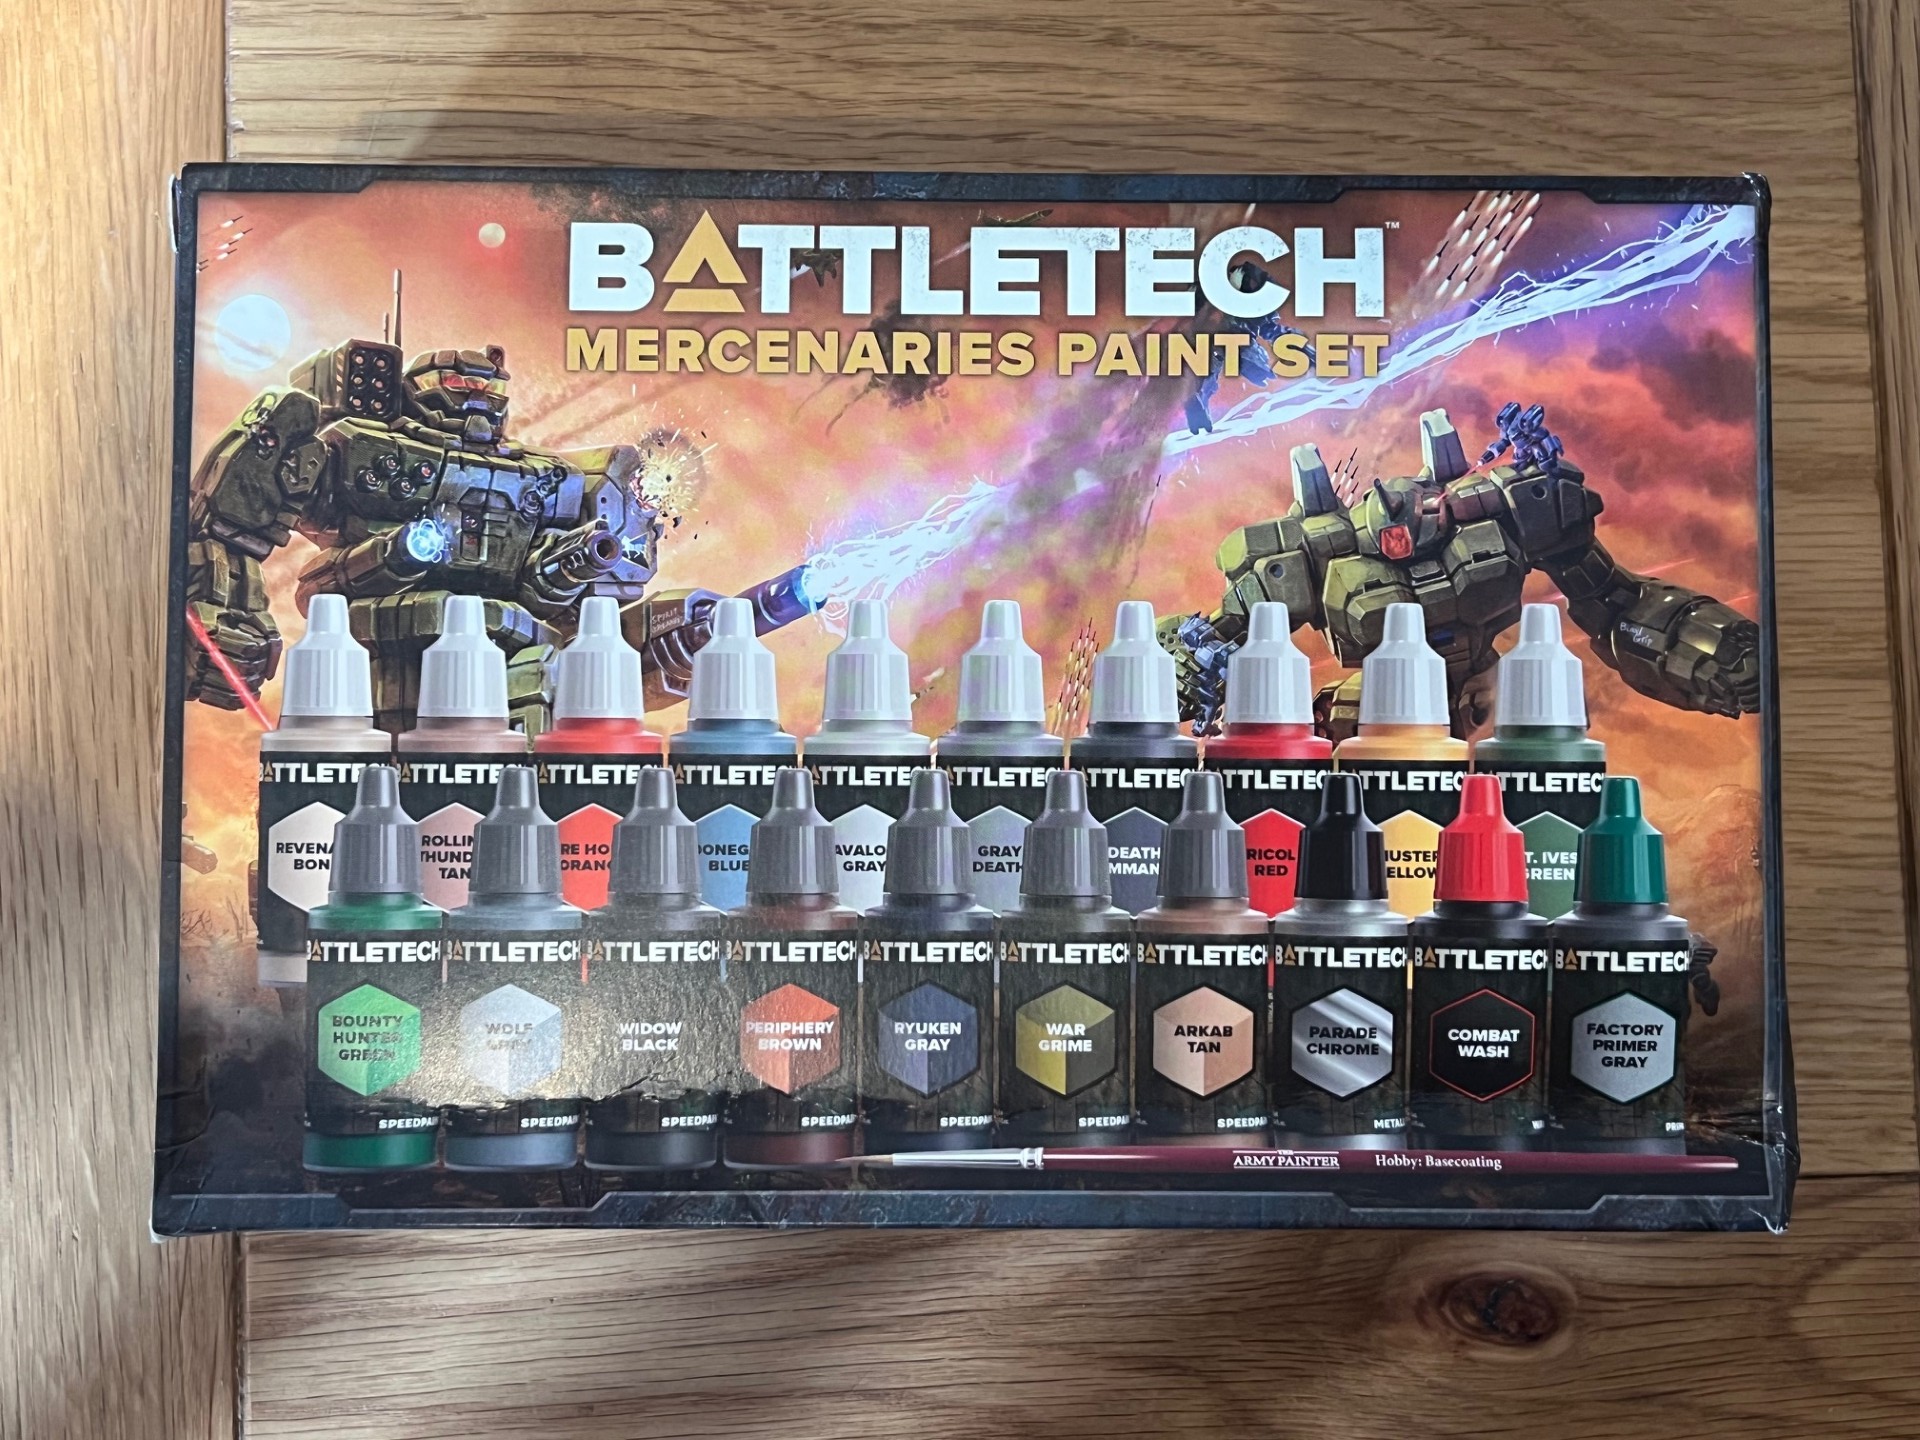
Personally, I think you can start with a small box set, such as this one from The Army Painter in collaboration with Battletech. Buying a box set can save you up to 40% on the individual price of paints, so the key thing is just to find colours that will suit what you want to paint. Most sets come with a decent range of colours, and will often include a primer, multiple speed paints and then some acrylic paints and washes to finish off your models. This set includes one medium paint brush of good quality, and I augmented this with a cheap pack from Amazon that included a couple of dry brushes and then small and very small detail brushes.
After this, I visited both Warhammer and a couple of friendly local game stores to grab some specific colours, as well as rattle cans with grey, white and black primer spray. A comment on this is that you just need a basic plastic primer — and generic paint (not produced by any modelling supplier) will generally be cheaper and work just as well. My primer sprays are mostly sourced from a local auto spares supplier.

Picking the Right Models
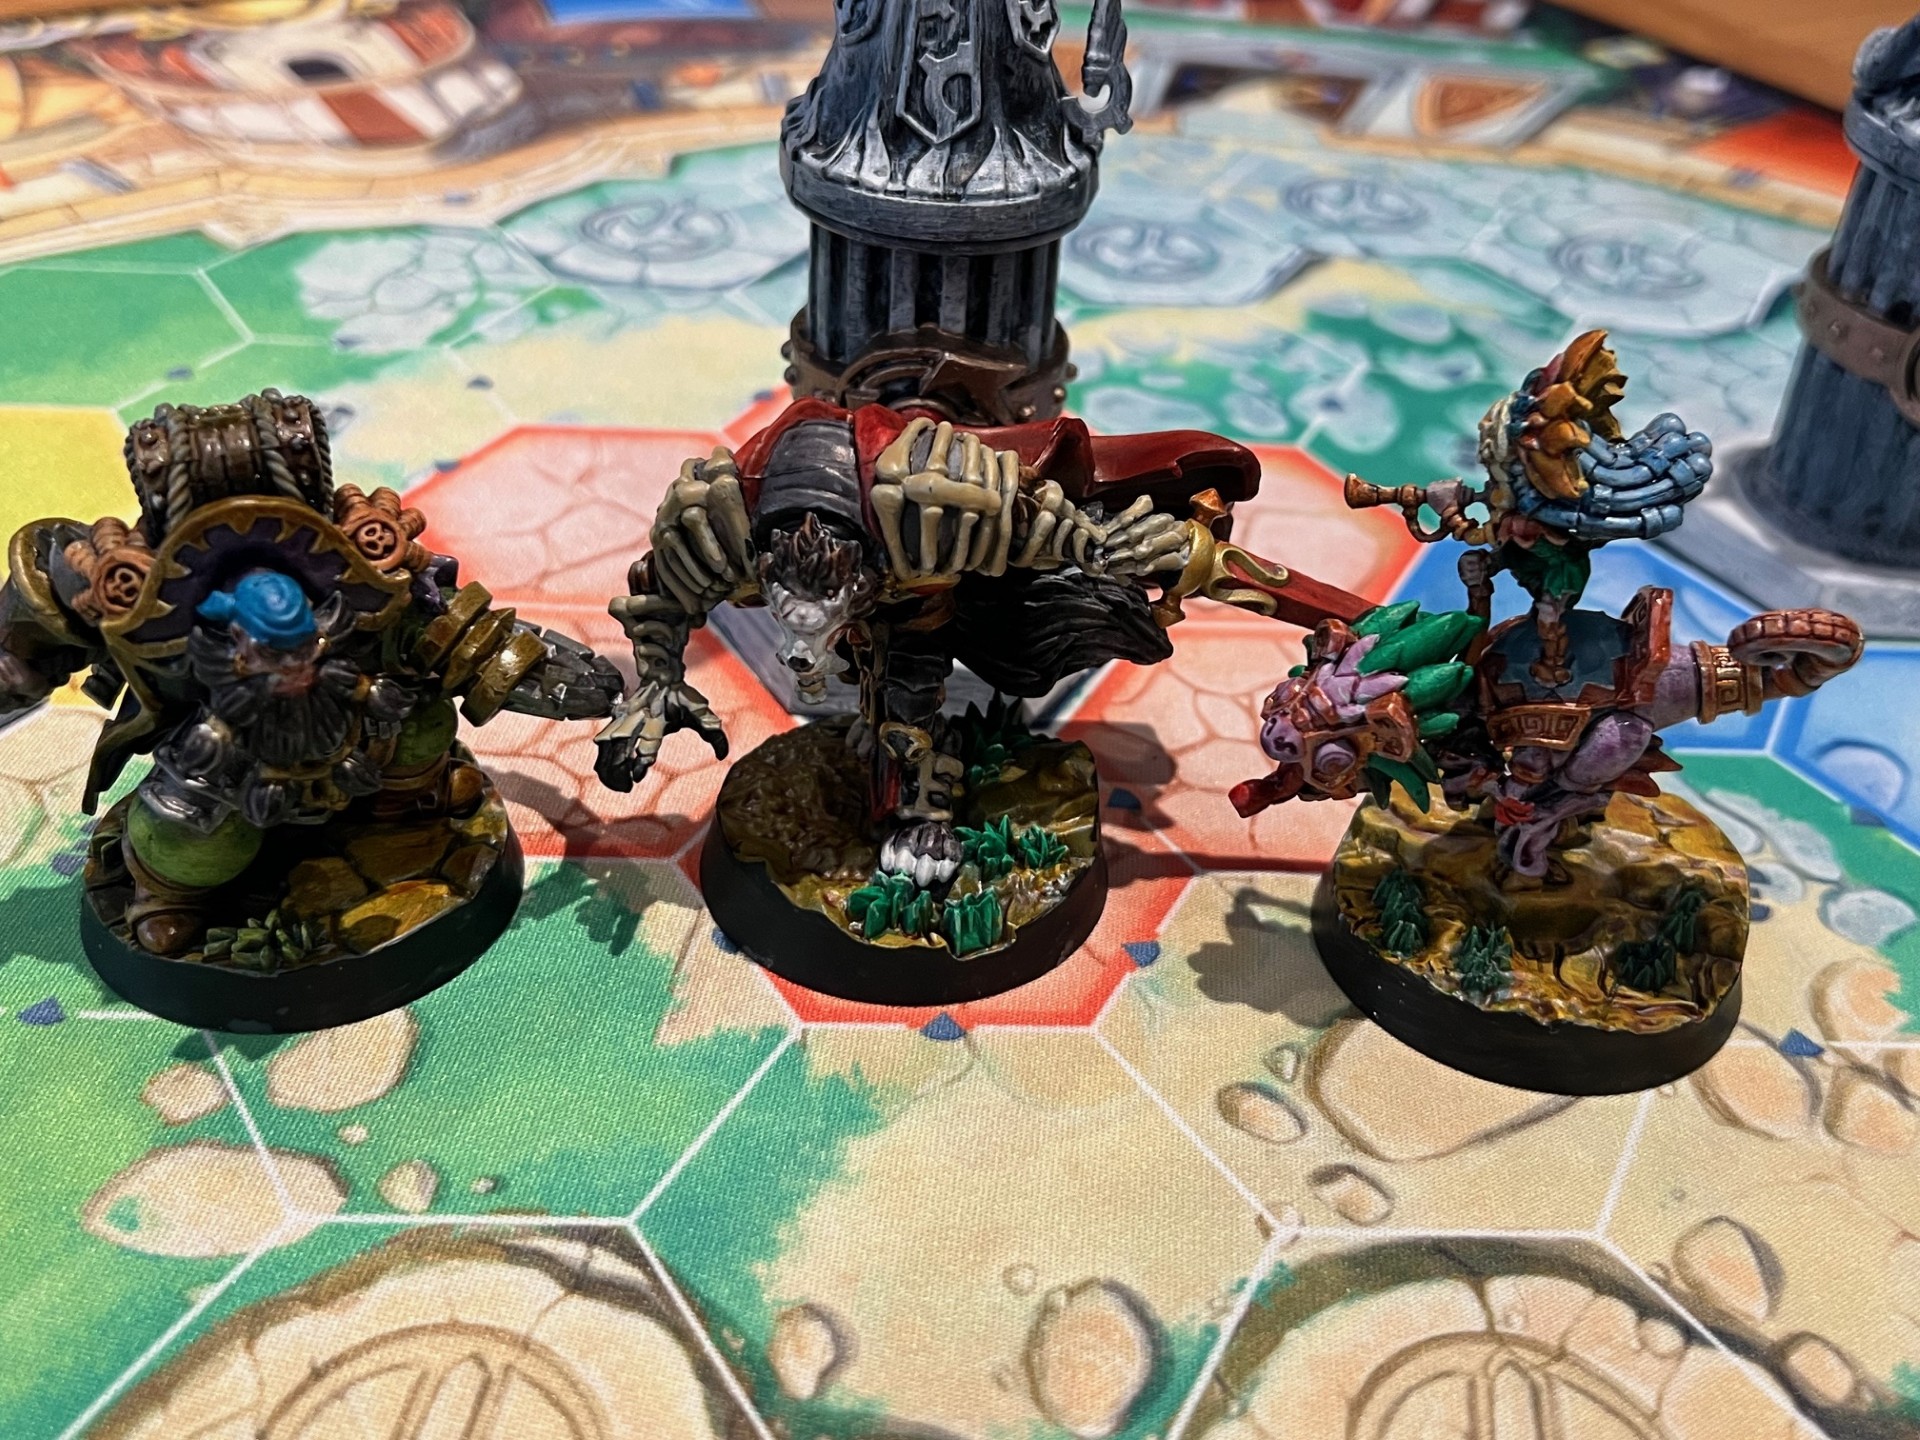
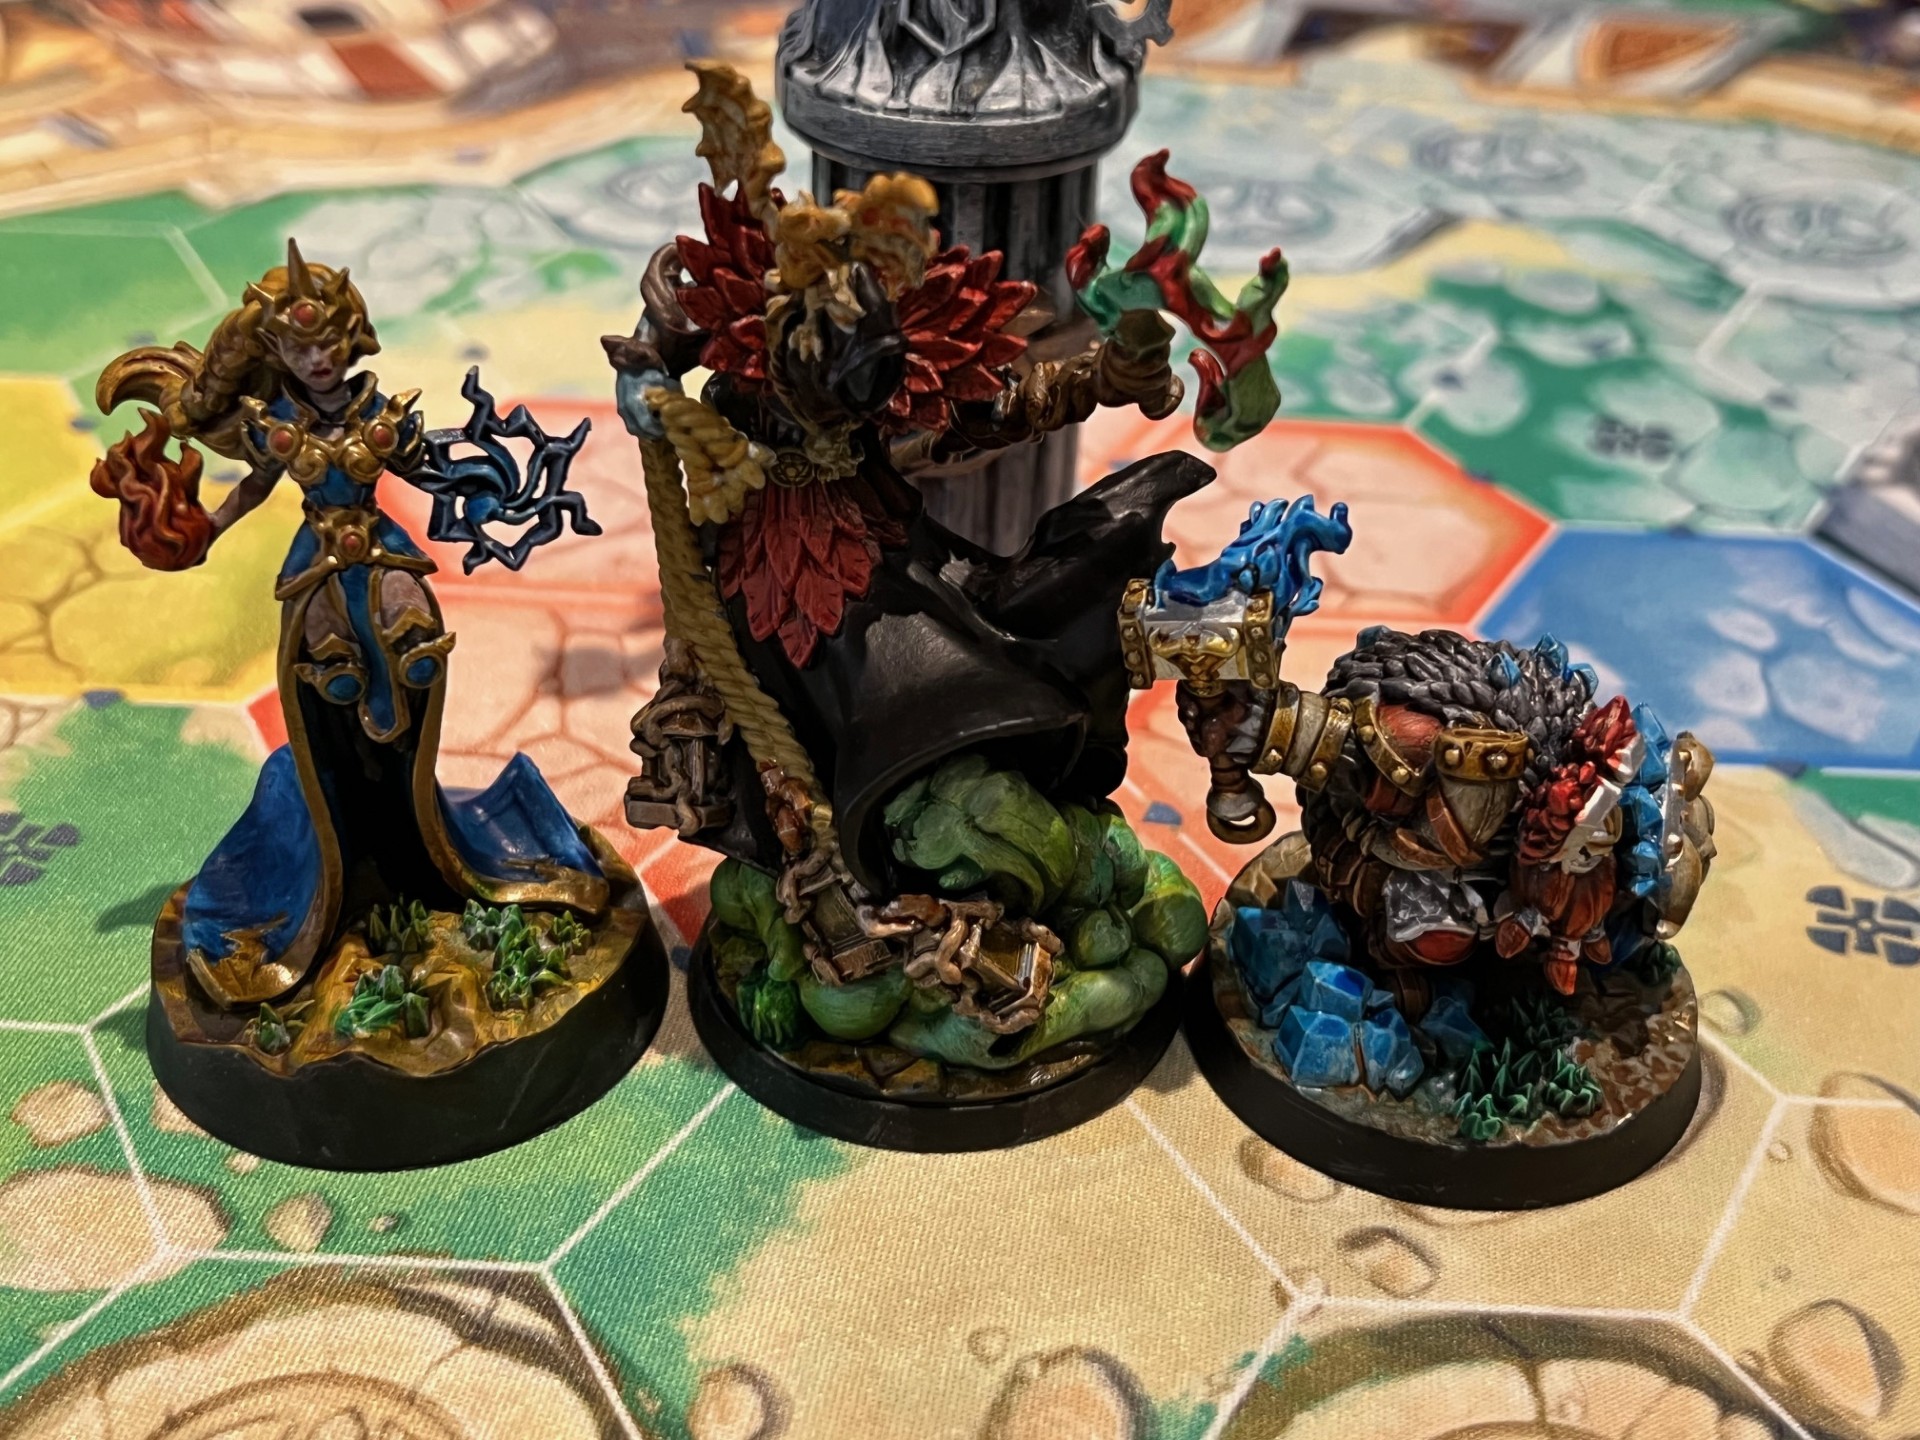
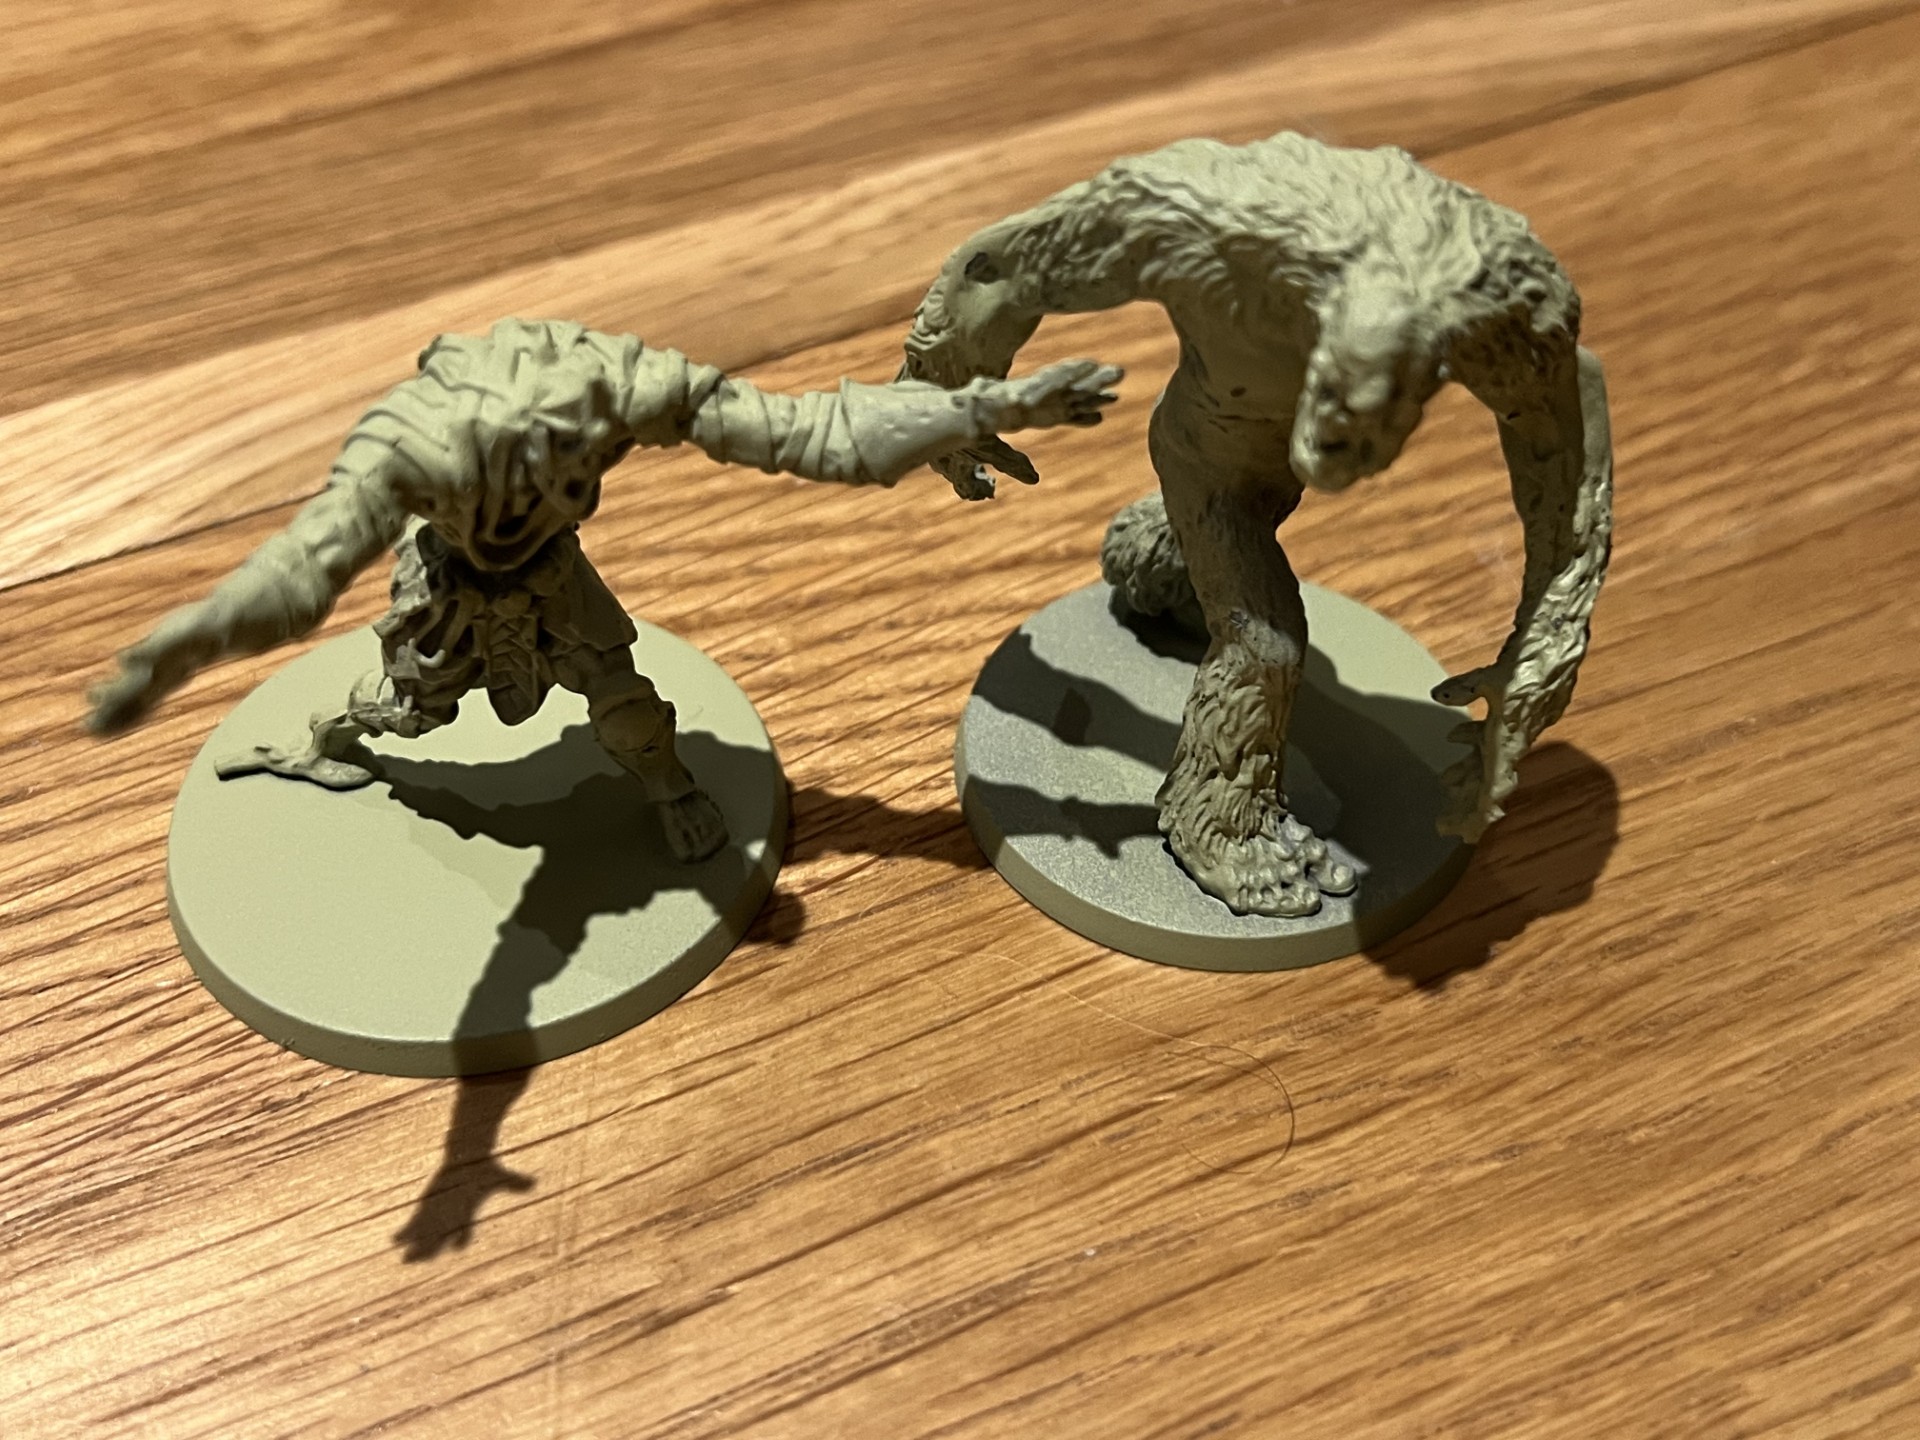
This might seem like an obvious one, but if you’re a novice painter, don’t choose to start your journey with small, complicated and fiddly models that could leave you feeling frustrated because you can’t get a good outcome. The first models I chose were from a game called Super Fantasy Brawl, which happens to include some very large models with quite a cartoonish style.
Larger models give the painter more margin for error, and allow use of a larger paintbrush. You’ll also find that big models work better with speedpaints — which will very likely be your go-to product when you start your journey. In my specific example, because of the cartoonish features of the model, I also found that there were relatively few details that challenged me. The one exception to this is that larger models usually “require” painted eyes, which is a challenge for the novice. Bright, single colours (like luminous green or red eyes for example) can help on monster or supernatural models, but for humans you’ll just have to practice until you feel comfortable with the outcome.
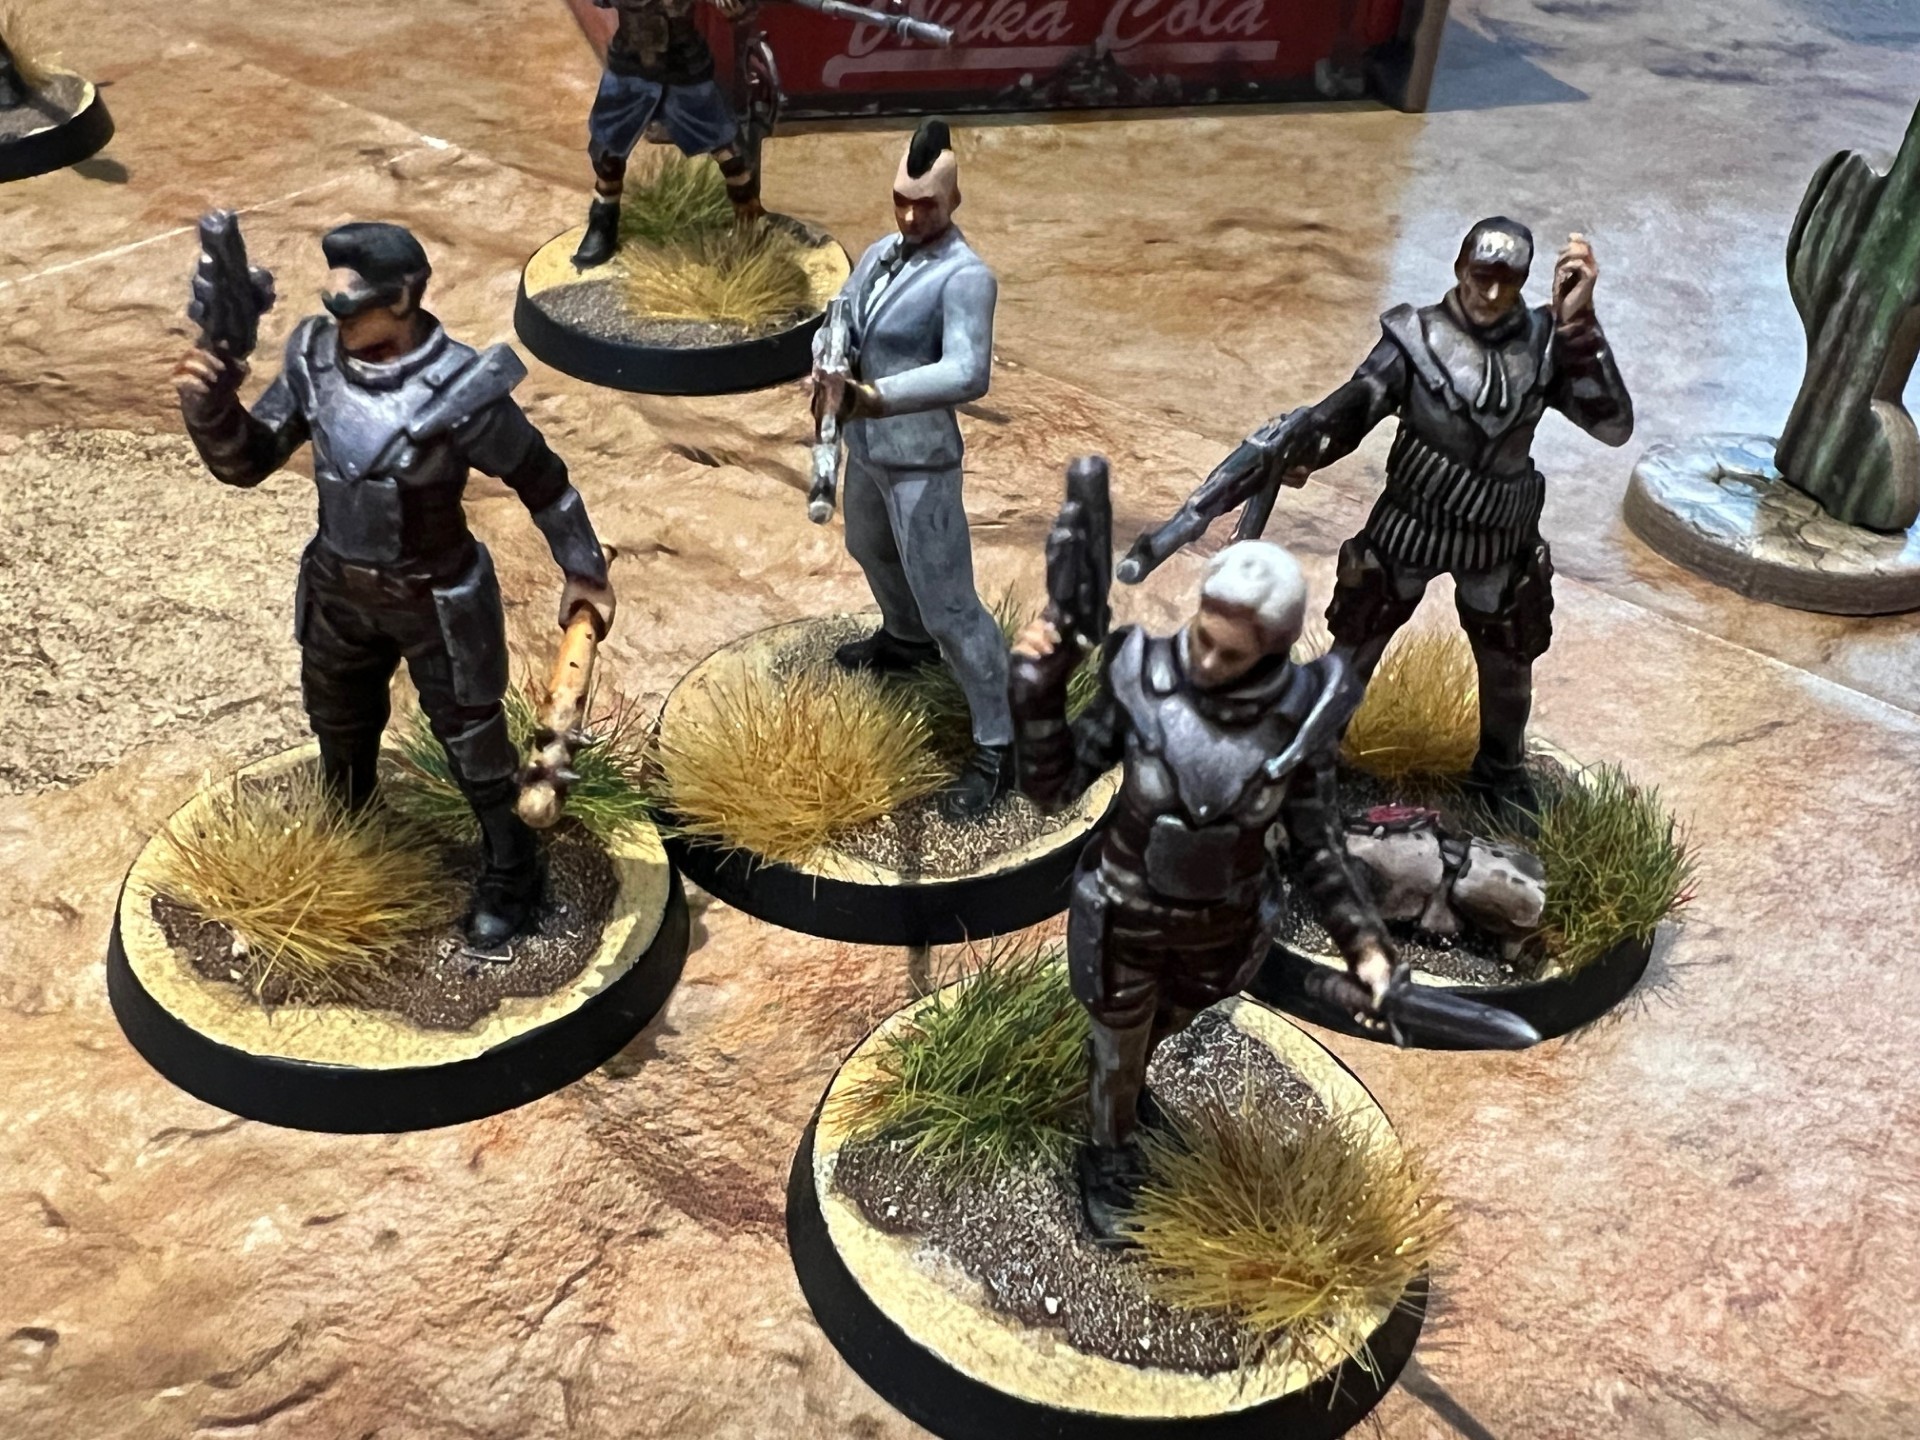
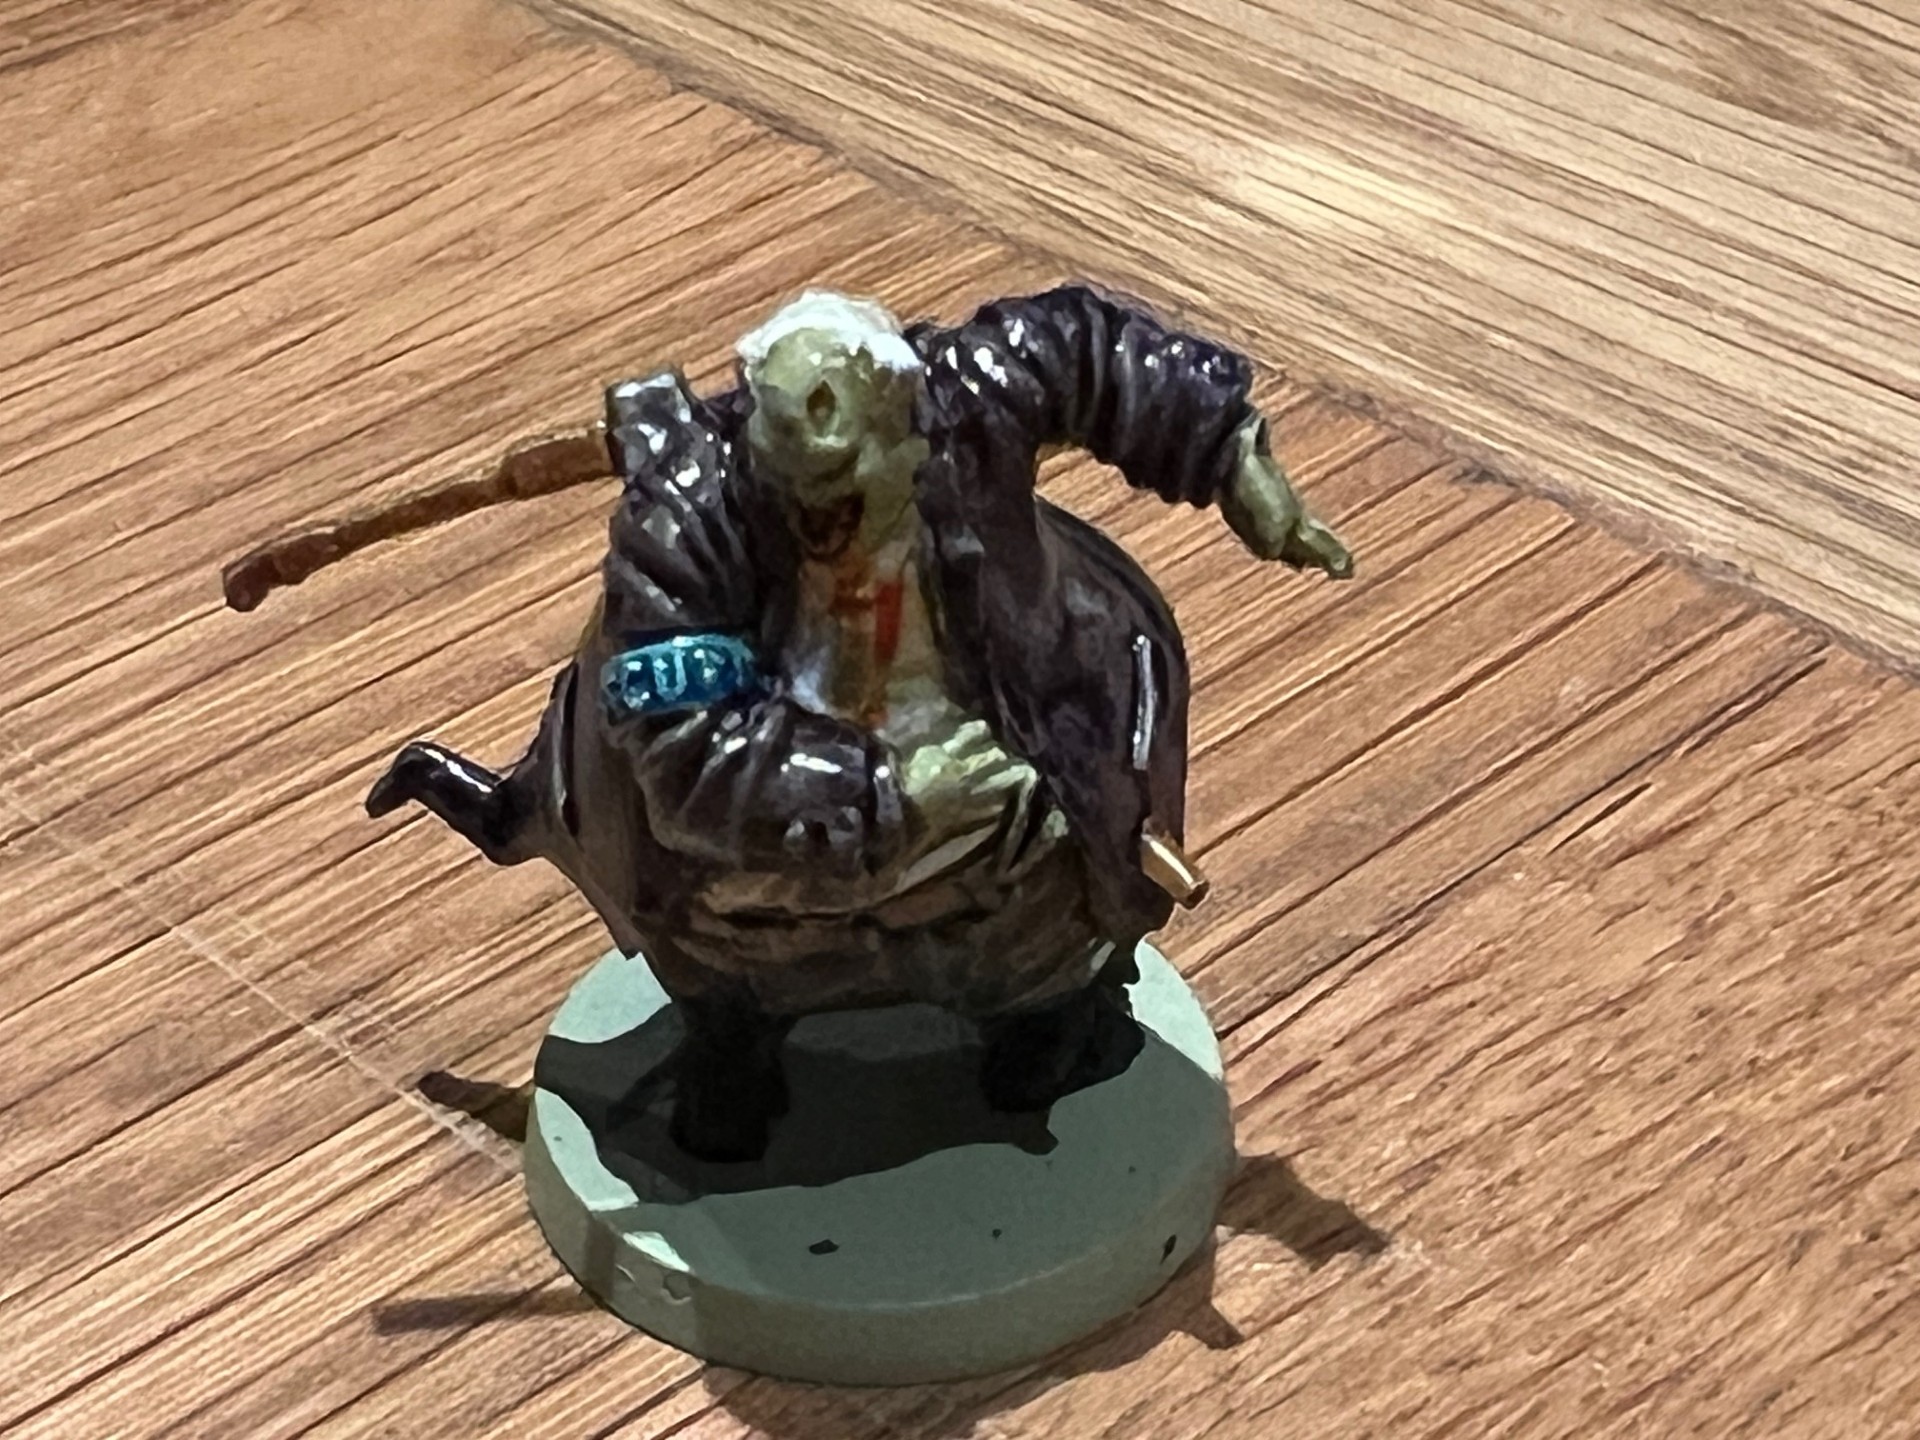
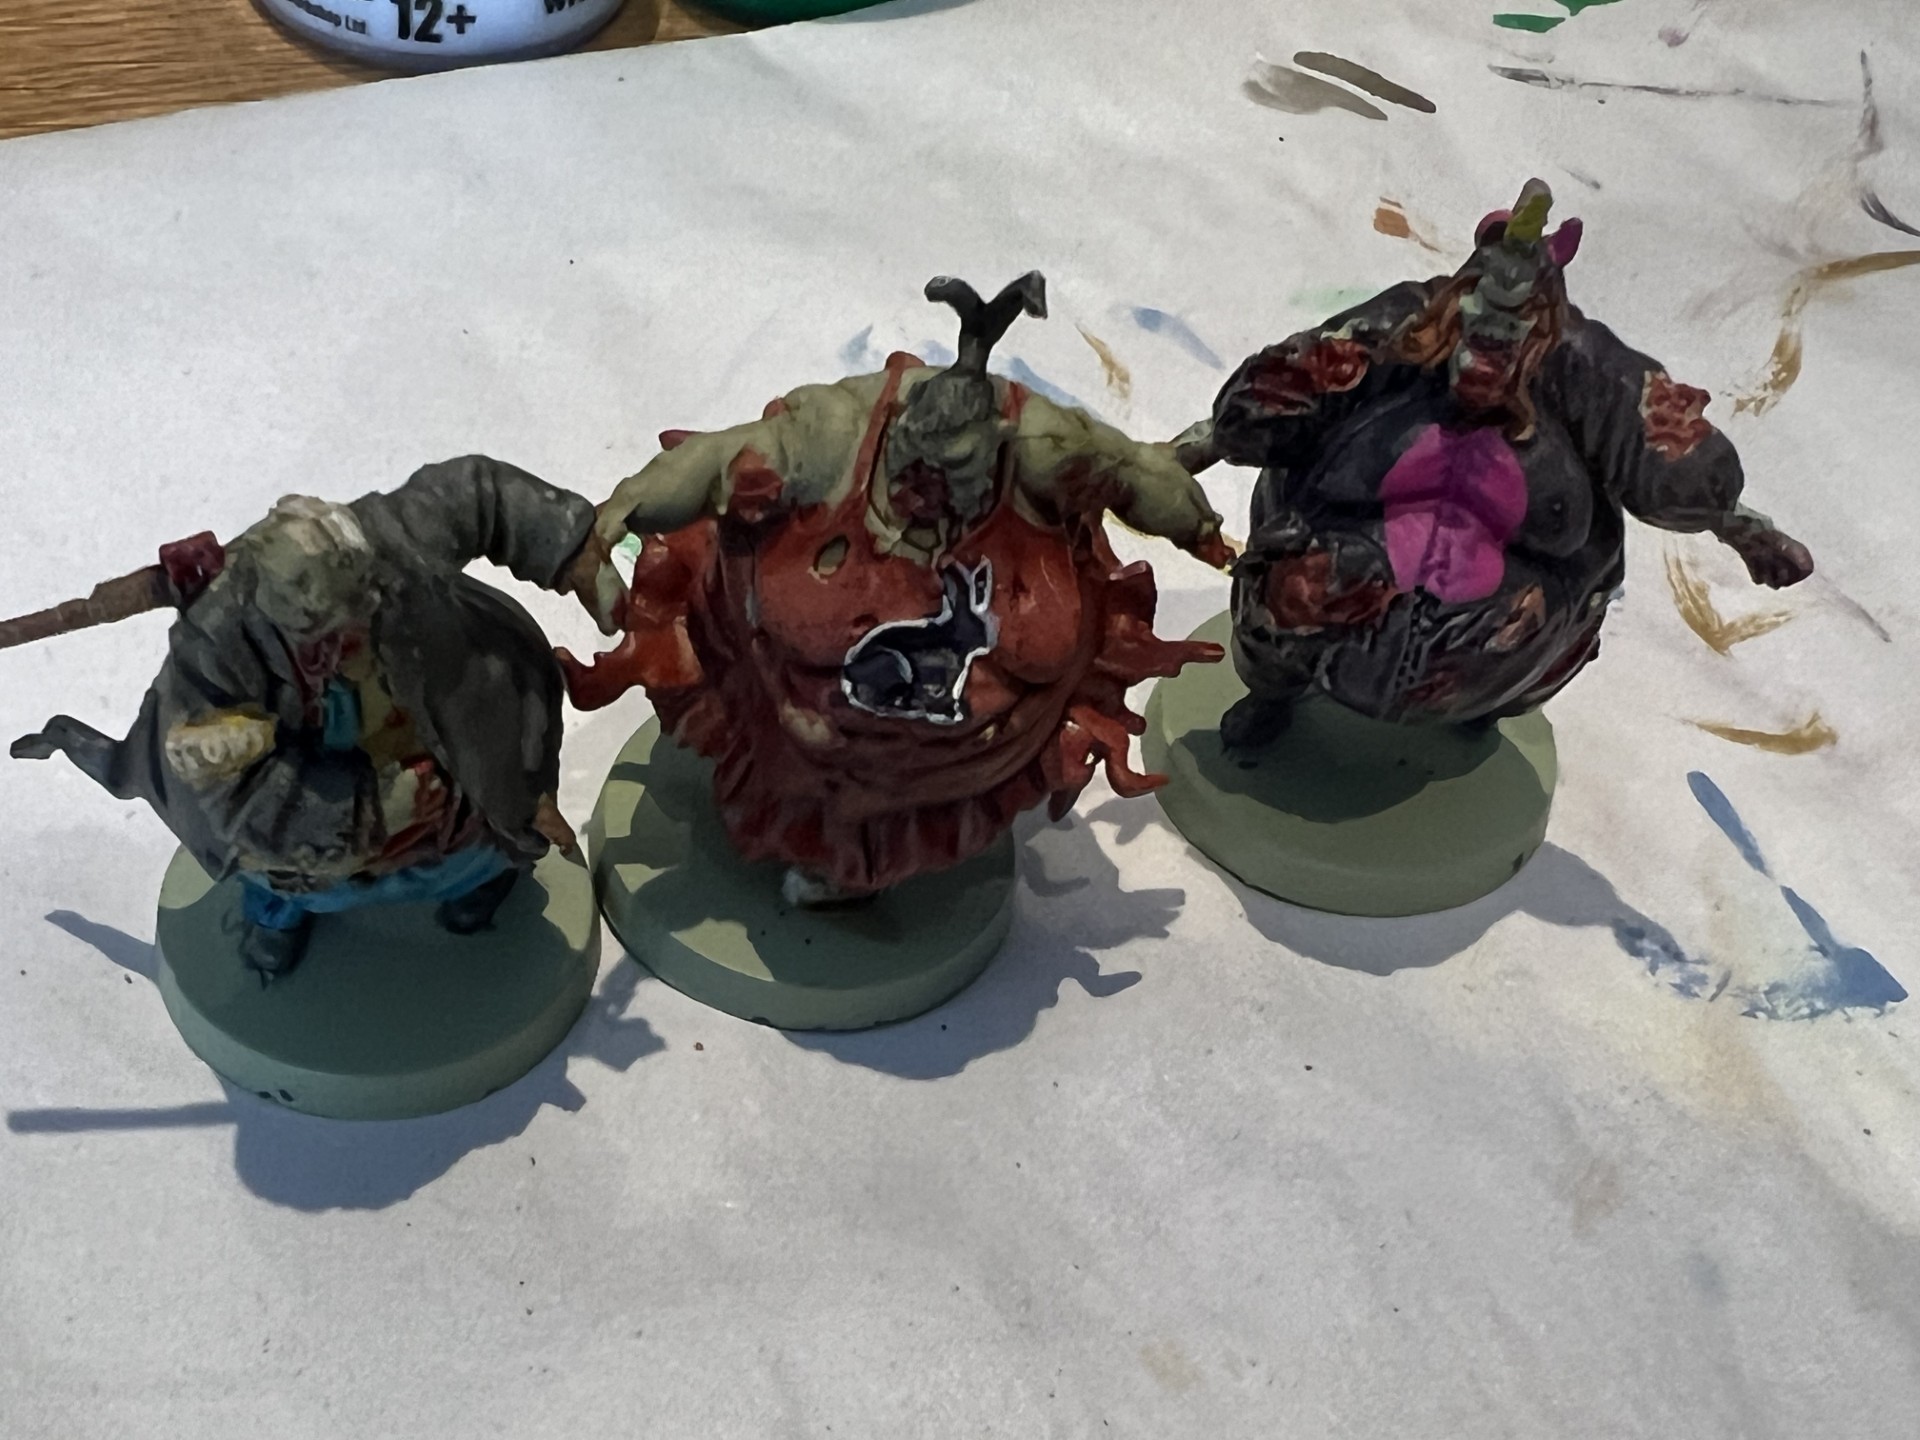
Another good choice for your first few projects is to choose something with lowish detail that you’ll see on the board in bulk. For example, I’m also painting a lot of Zombicide miniatures, and whilst these are small, the details are quite basic and the number of models you’ll see on the board is high — so mistakes can go unnoticed. Zombies are always a good option, but so too are rank and file troops that all share the same basic uniform detail — this approach is known as “batch painting.”
Priming and Dry Brushing
When you are ready to start painting, you need to prepare your models by priming them. This involves applying one or more thin layers of basic paint which adheres to the plastic and then allows further layers of paint to stick properly. The paint you prime your model in will dictate some of your future decisions and have a profound effect on the final outcome. Dark primers look good in cracks and low points (shadow) but are harder to paint over, whilst bright colours require more finesse as you apply additional layers, but result in a brighter model.
One technique to help get the best of both worlds — especially on larger models or those that you really want to stand out — is zenithal (or slap chop) highlighting. This is a two to three step process where you will start with a dark colour (like black or dark grey) all over the model, and then you’ll use dry-brushing to bring lightness to the higher points of the model. With the first coat done (usually via spray can), you’ll take a very dry, often thickly bristled brush and wipe most of the paint off — then you’ll just very lightly catch the model on all of the raised surfaces in light grey or white.
Typically, I do this in black for the base coat, then I’ll use grey for the first dry brush — catching almost all large surfaces and not worrying too much about whether I catch the underside of the model (where things might be in shade), but being careful to avoid deep recesses. Then I’ll repeat the process with white — this time only catching the extreme high points of the model, the face, any exposed skin and anything that might later be painted in a very light colour.
Speed and Contrast Paints
A relatively modern innovation, speed and contrast paints didn’t exist when I first painted models as a teenager. They work differently to your standard base and layer paints and are designed to give you a “one coat finish” on most parts of a miniature. This doesn’t mean that you can’t layer on top of them or apply highlights, but for models painted in bulk (like zombies or rank and file soldiers) you may not need to.
When choosing these paints, you need to consider your colour choice very carefully. I don’t think I’ve found a single one that actually looks like the colour on the outside of the bottle, and it might be a good idea to stick a white label on each one, and just paint a thin stripe of paint so that you can see how it will come up. That said, these paints are designed to run into the cracks of your model to create contrast — hence the name — and so you’ll always find that high points of the model will be lighter in colour than low points and recesses where the paint settles.
Speed and contrast paints are superb tools for the novice painter because they allow you to get great coverage whilst also adding the effect of both shading and highlighting layers in a single coat. They work really well on textured parts of the model such as fur, and work far less well on large, flat spaces like breastplates or panels. I don’t have any major preference between Army Painter or Citadel as a brand here, and I use both on my models interchangeably based on whatever colours I prefer at the time.
Base Coats, Layering and Washes
Whether you use speed paints or not, you are going to need to deal with base paints and layers at some point. Base paints are typically flat, solid colours that you use to cover a fairly large area — perhaps the first shade of darkish blue in a pair of jeans, or a dark green on a camouflage suit. Layers are the paints that you apply afterwards — often lighter and usually only to part of the area you covered in base coat — to create texture and interest.

A typical approach (let’s talk about those jeans again) would be to paint the area in dark blue, wait for it to dry and then paint over the highest points (like the thighs, calves and possibly the bottom) in a lighter blue — avoiding any recessed areas or the “underside” of the model. You may then do a further, even lighter layer, or a very, very light touch of white with a dry brush to highlight.
When you’ve got an effect that you’re happy with, you will usually want to apply a wash to tie it all together. In this example, you’ll now have solid dark blue jeans with lighter blue high points and a bit of highlighting. It will look OK, but may be a bit unnatural — to finalise the look, you might use a blue wash (which is a really thin, watery paint) across the whole area. This will join the colours together, but will also run into the deep recesses and off the higher points — a bit like the speed paint we already discussed. Working with layers in this way is more complex than a single coat of speed paint, but as you get better at painting, the potential for a fantastic outcome is much higher.
In addition to these articles, we’re also going to start doing some specific “Let’s Paint” articles, where we choose a game and paint it, then write about the experience in more detail to help you in your own efforts. These articles will be listed below:
- Zombicide: Second Edition
- Marvel United (Coming Soon)
- Maladum: Dungeons of Enveron (Coming Soon)
- Halo Flashpoint Spartans (Coming Soon)
- Warriors of Rohan
- Hill Tribesmen
We’re hoping to keep adding to this list as time wears on, so please check back regularly to find more Let’s Paint articles and more useful information about how to wet your brush in the exciting world of hobby game painting.
brilliant article and one that I will refer back to as I start this journey
Thank you Rob, we really appreciate your comment and feedback! Hope you enjoy – I am close to finishing my entire Zombicide 2E box now (inc Kickstarter) and it’s been quite a slog…. If I were to add anything to this piece now, it would prob be “don’t bite off more than you can chew” ha!! 🙂