Yes, if you hadn’t already guessed it — I’ve been painting a shedload of one of my favourite dungeon crawlers; Zombicide: Second Edition. The base game comes with ten survivors, four abominations and a huge number of walker, runner and brute zombies to paint, but worse still, I’ve foolishly thrown the Reboot Box stretch goals into the mix as well. This means that I have about 300 models to paint — even if I do plan to leave the survivors aside for now. I guess I better get on with it then!

I started off this paint job by spraying all of the zombies and abominations with a green “putrid flesh” rattlecan from The Army Painter, and all of the survivors with a generic white plastic primer. The green works well for the zombies because it really does work well for the skin tone, but I will admit that some of the abominations have needed to be re-primed in black or grey. You live and learn I guess. I chose white for the survivors because I want them to be bright and bold — and mainly because I want them to look alive!
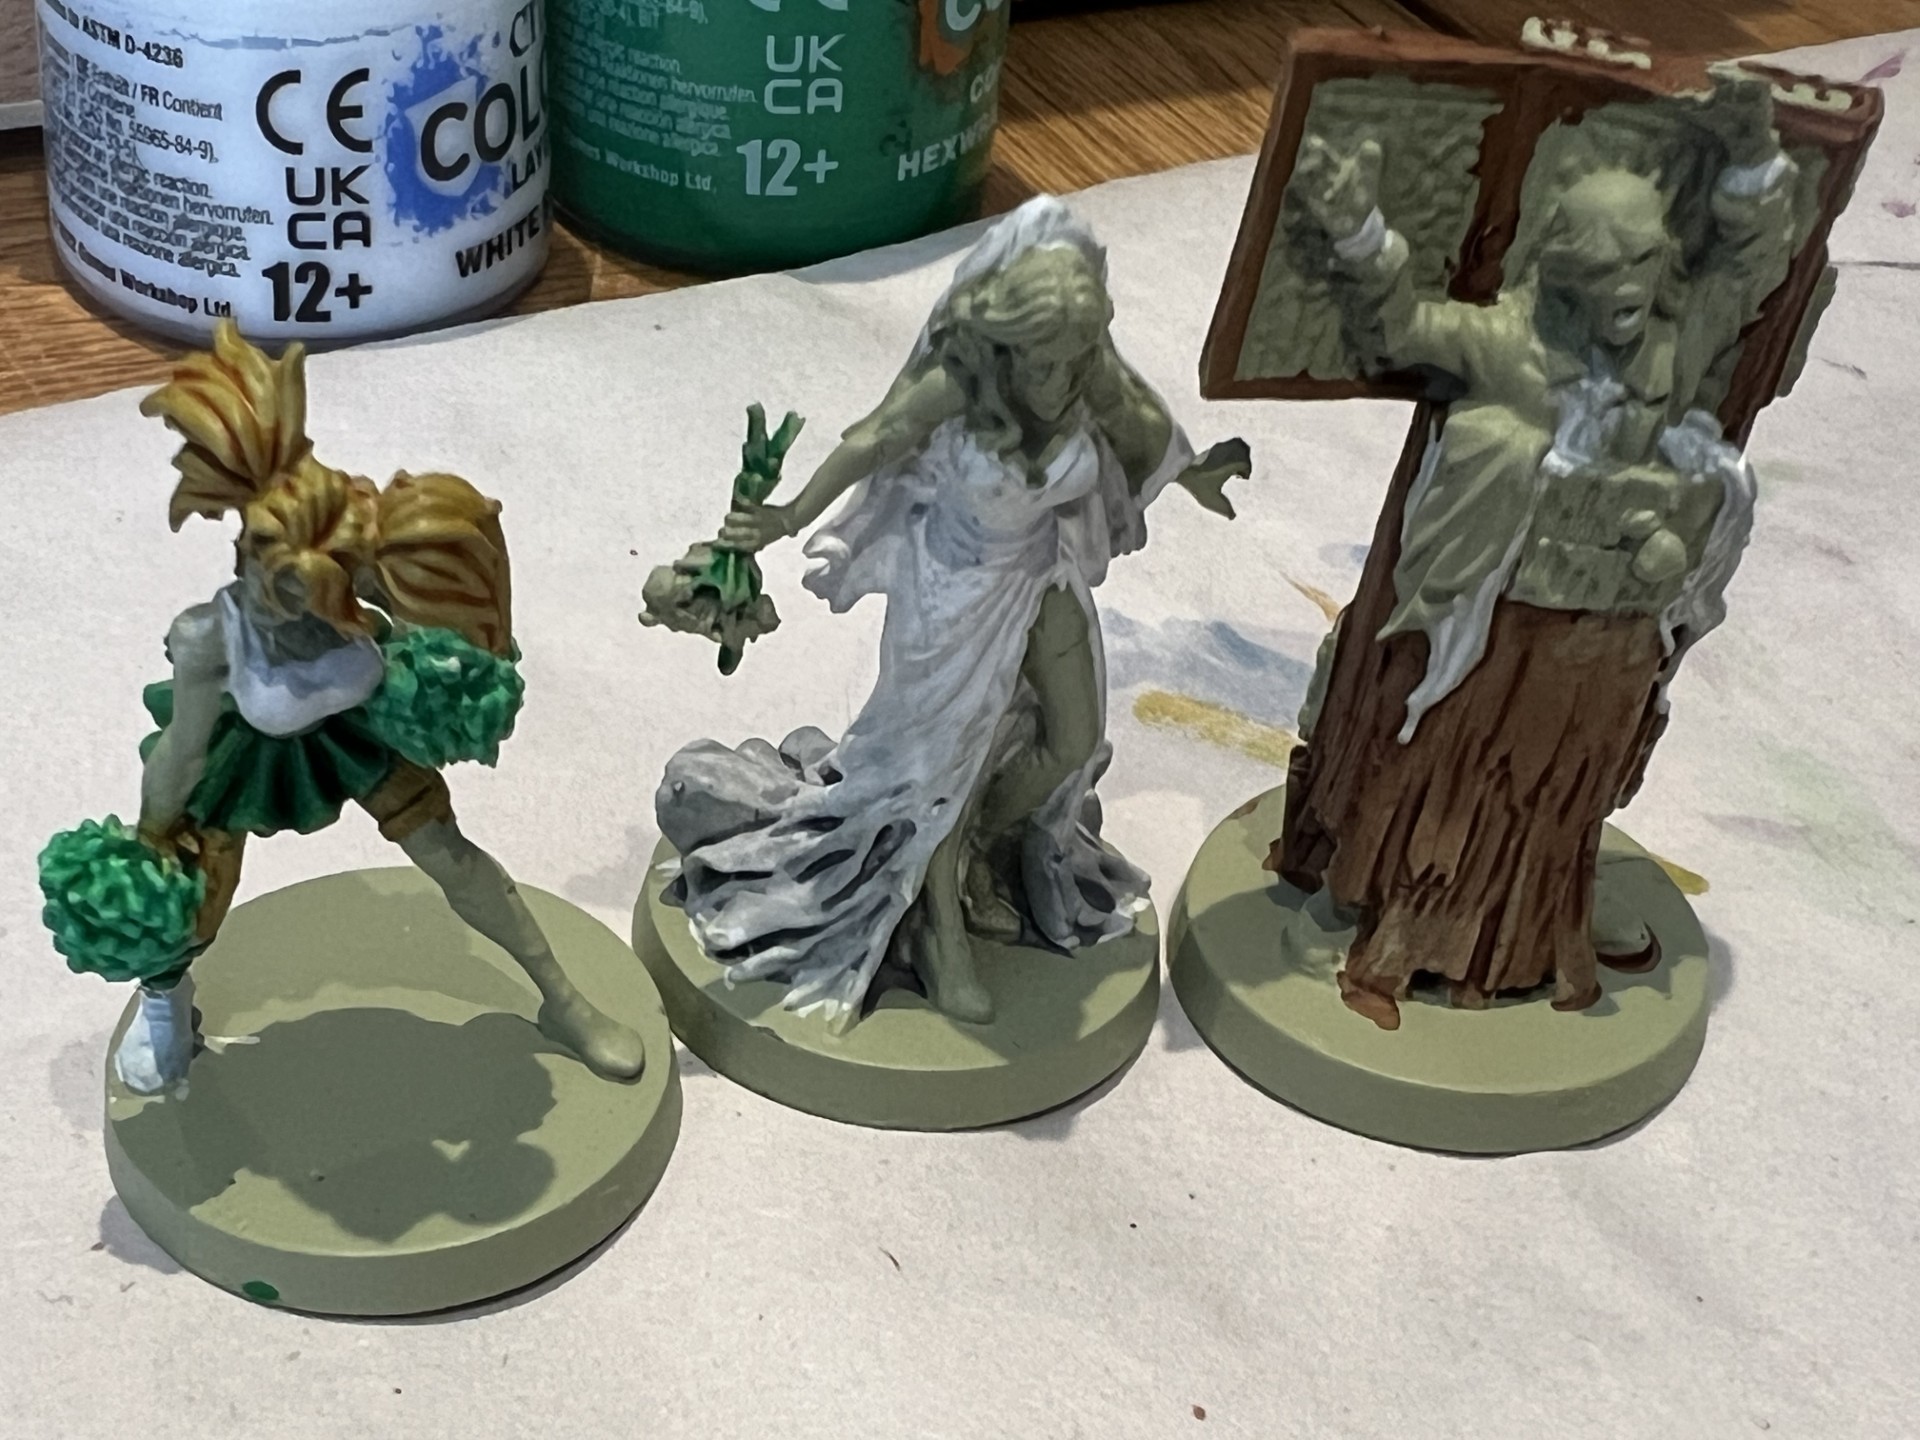
I then set about attempting to batch paint the zombies with a mixture of Army Painter Speedpaints and Citadel Colour base and contrast paints. My general approach here has been to put some paint on my palette and then grab miniatures one at a time to give a single item of clothing a colour that seems suitable. In this way, for example, I’ll get some blue ready and then paint about 20 pairs of jeans one after another.
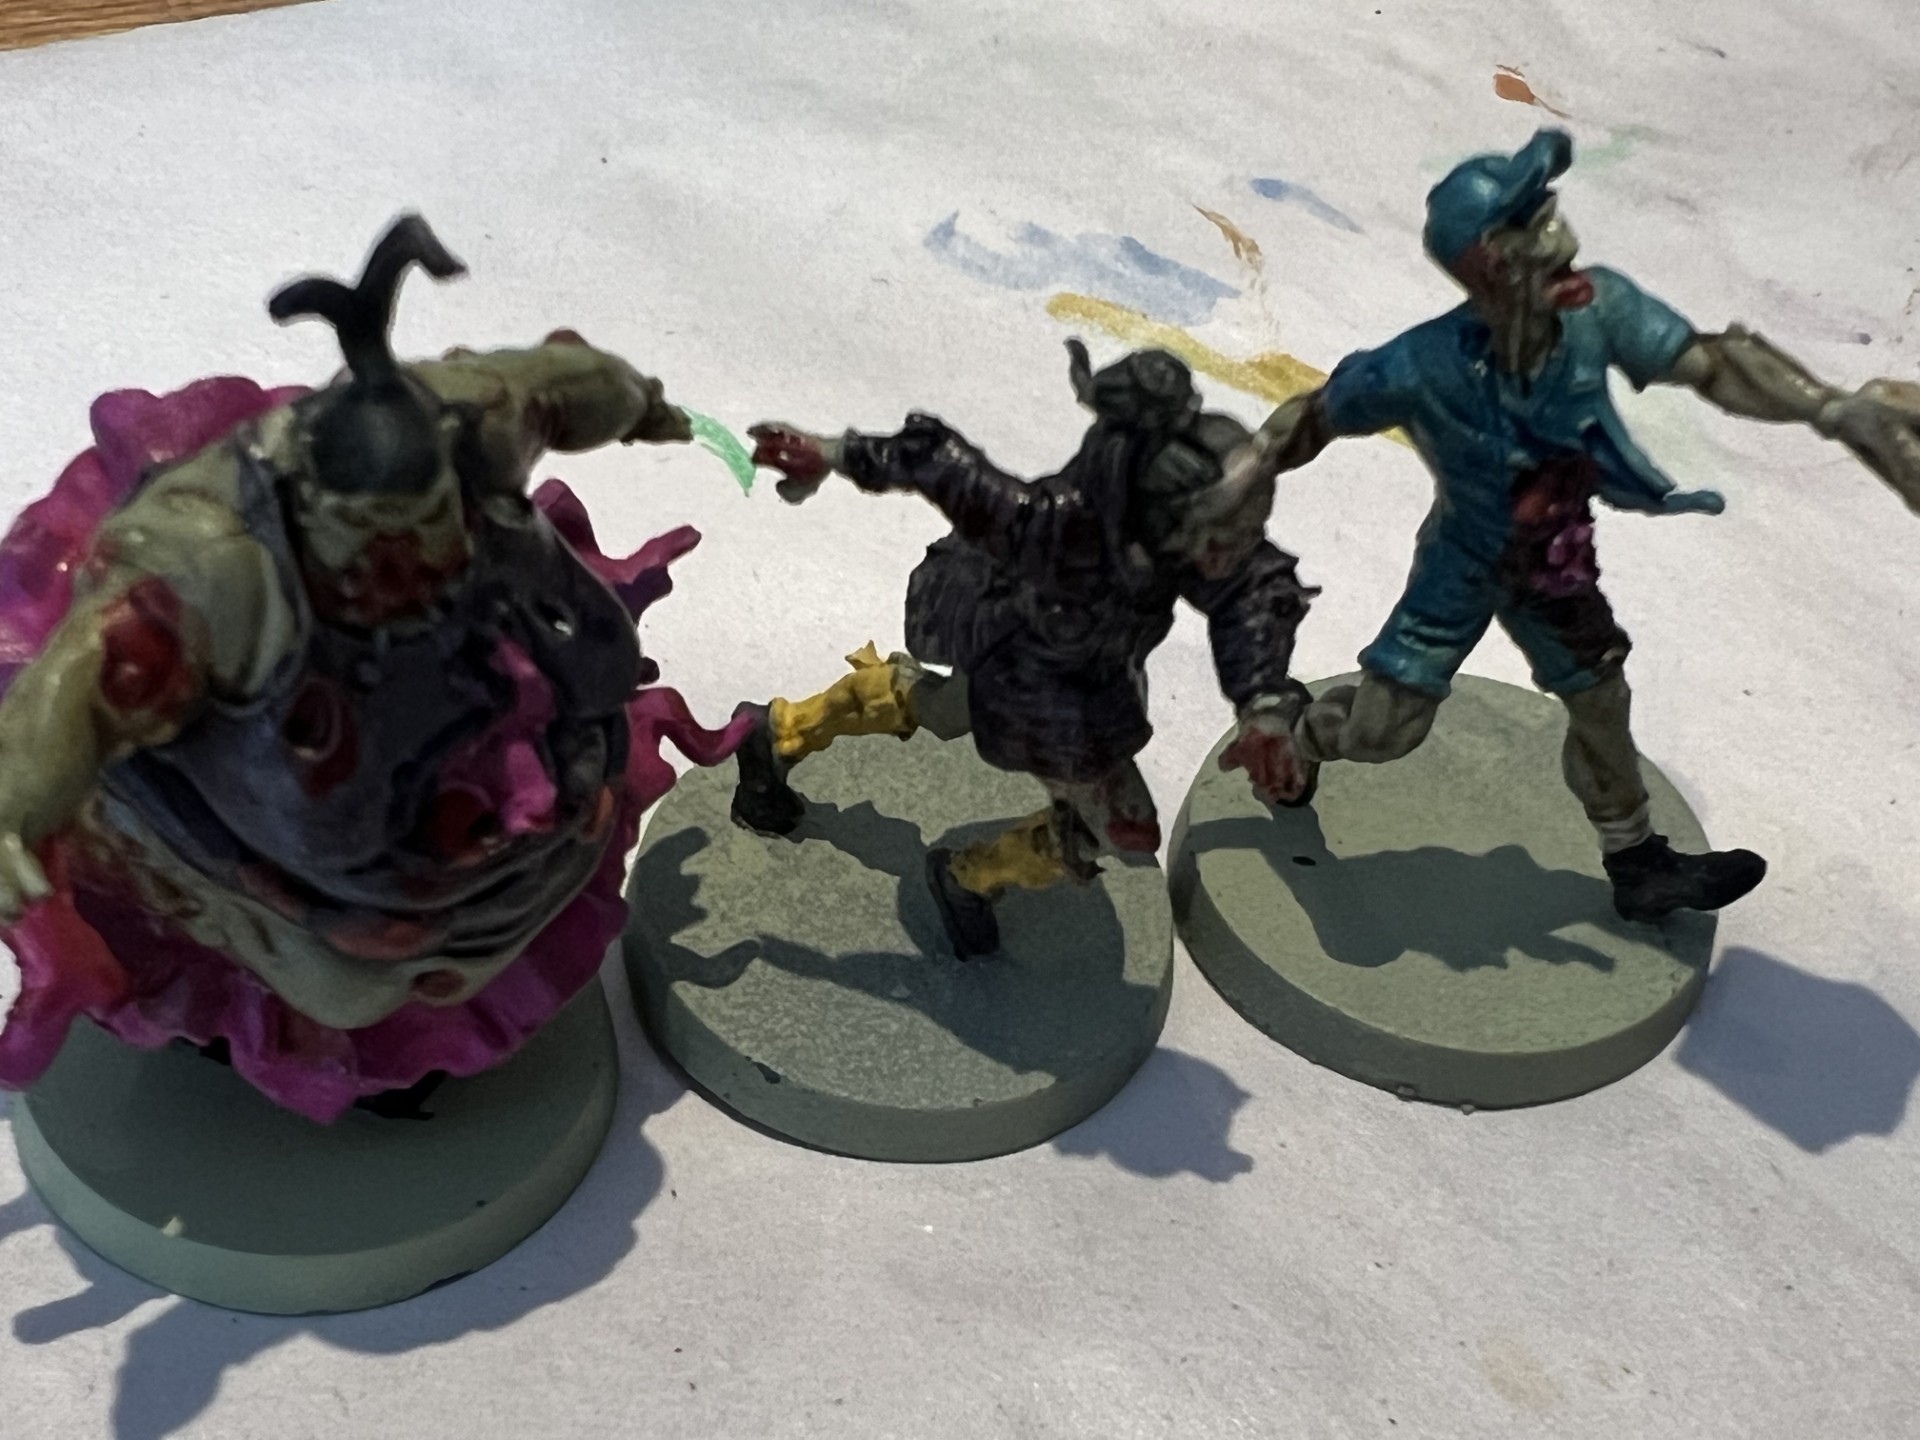
After I’d got a single colour on every zombie, I basically repeated the process with different colours — adding colour to dresses, T-shirts, blouses and jackets. Most zombies in this set only feature two or three items of clothing, and after this it was time to start picking out details like shoes, hair, belts and other outstanding features. I concentrated mostly on the “basic” zombie sculpts for all of this, leaving the unique sculpts from the Reboot Box aside for more focussed attention.
Once each zombie had a single layer of colour on all skin parts (the primer), all items of clothing and all smaller details, I generally washed them in Army Painter Strong Tone and then attempted to add some highly randomised blood detailing. Blood is a bit subjective and can look quite bad if overdone, but these guys are zombies, so in my opinion it’s necessary. One note here – make sure you apply your wash before any blood, as the wash makes the zombies skin and clothes look dirty and ragged, whilst the blood needs to kind of sit on top of that to work thematically.
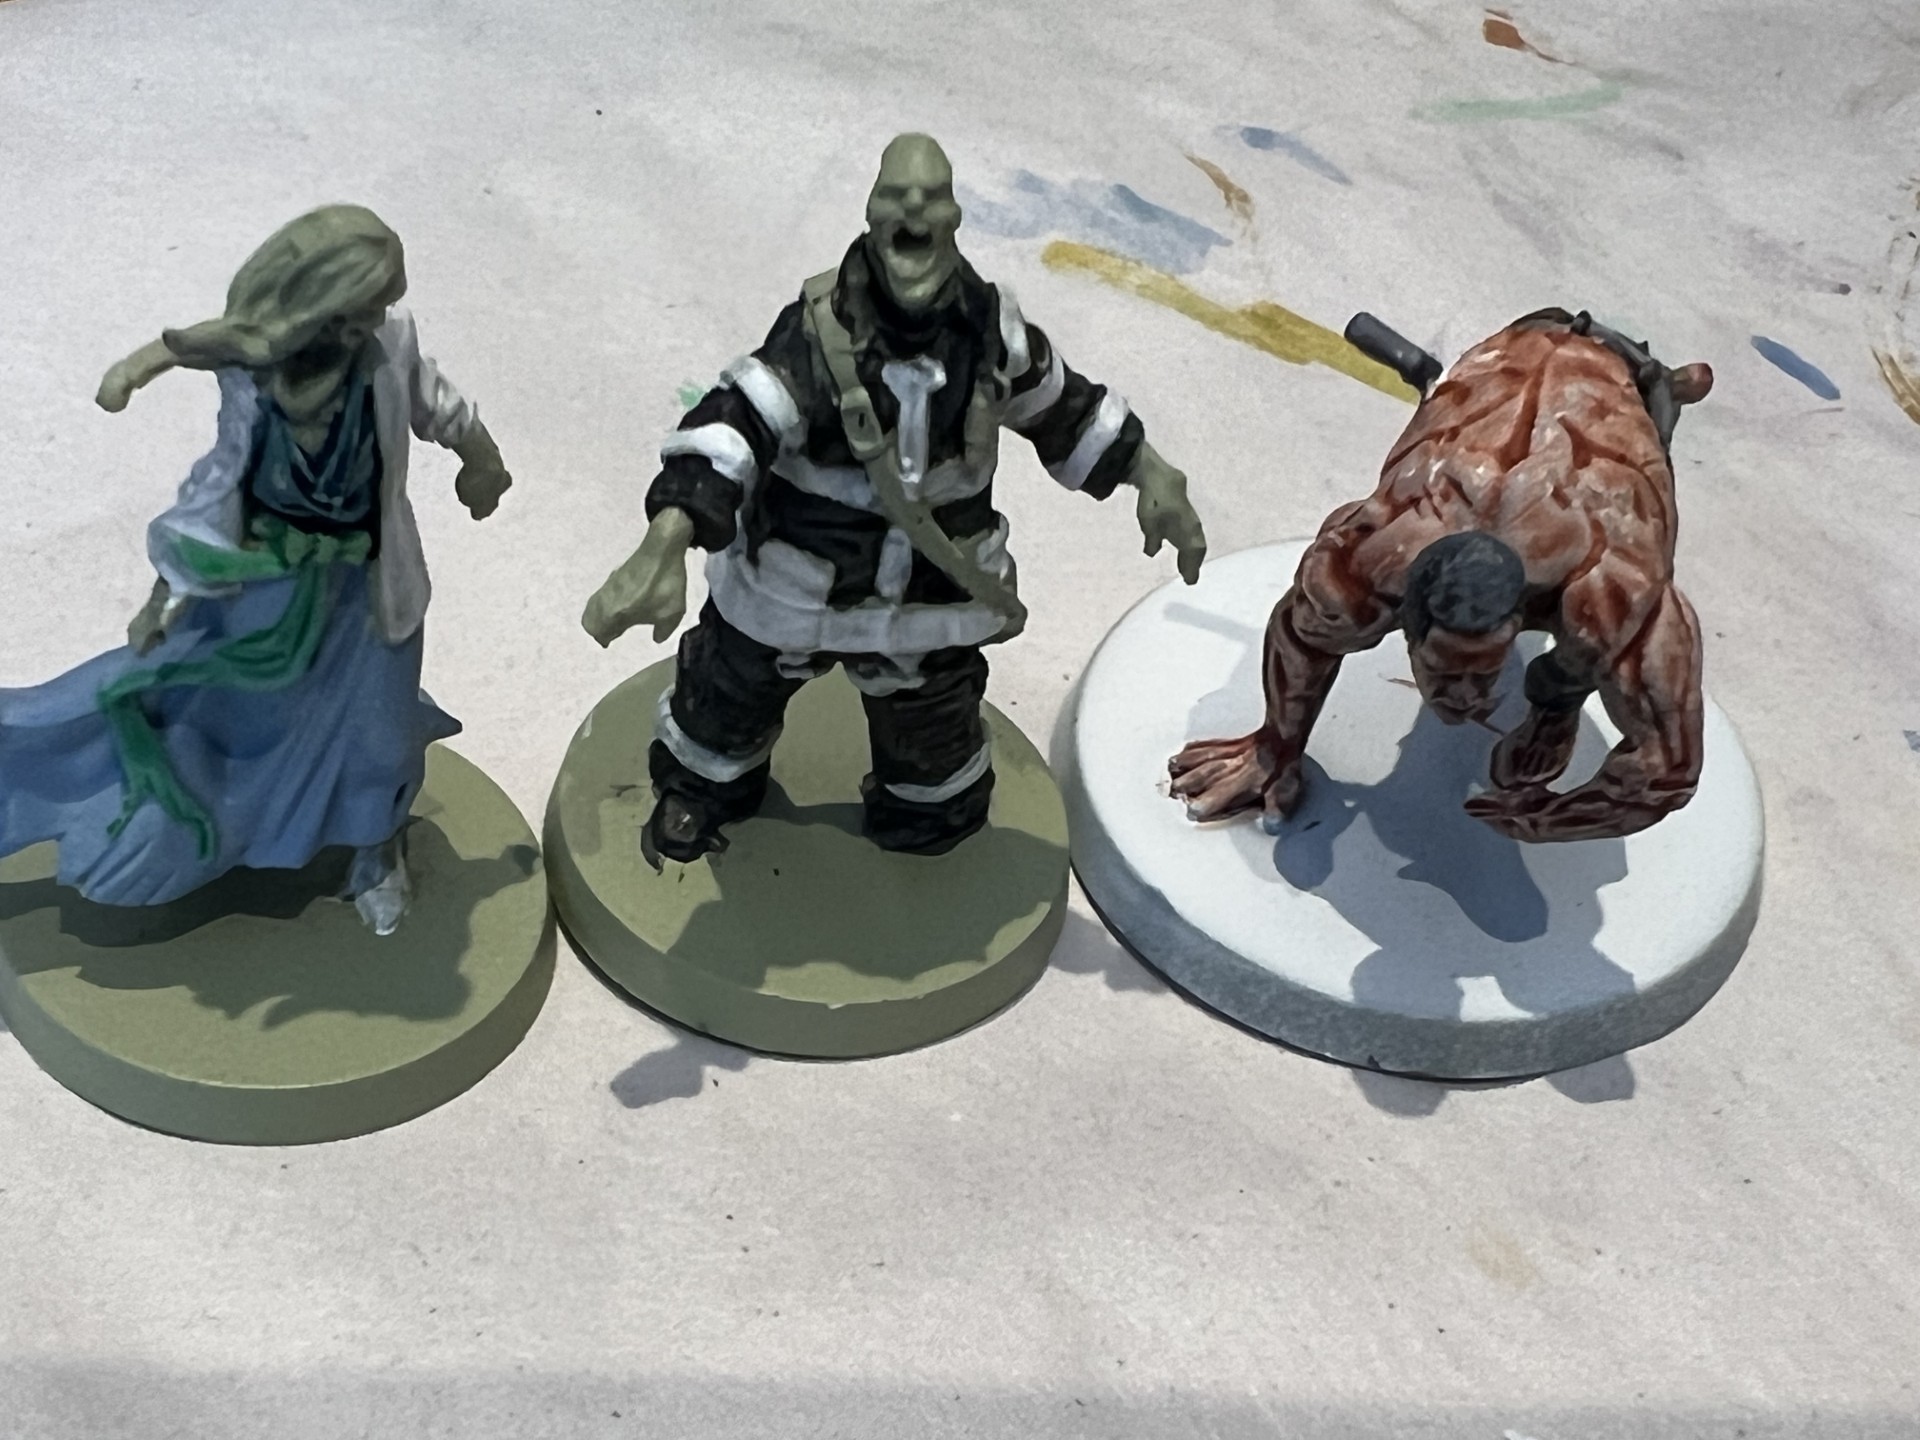
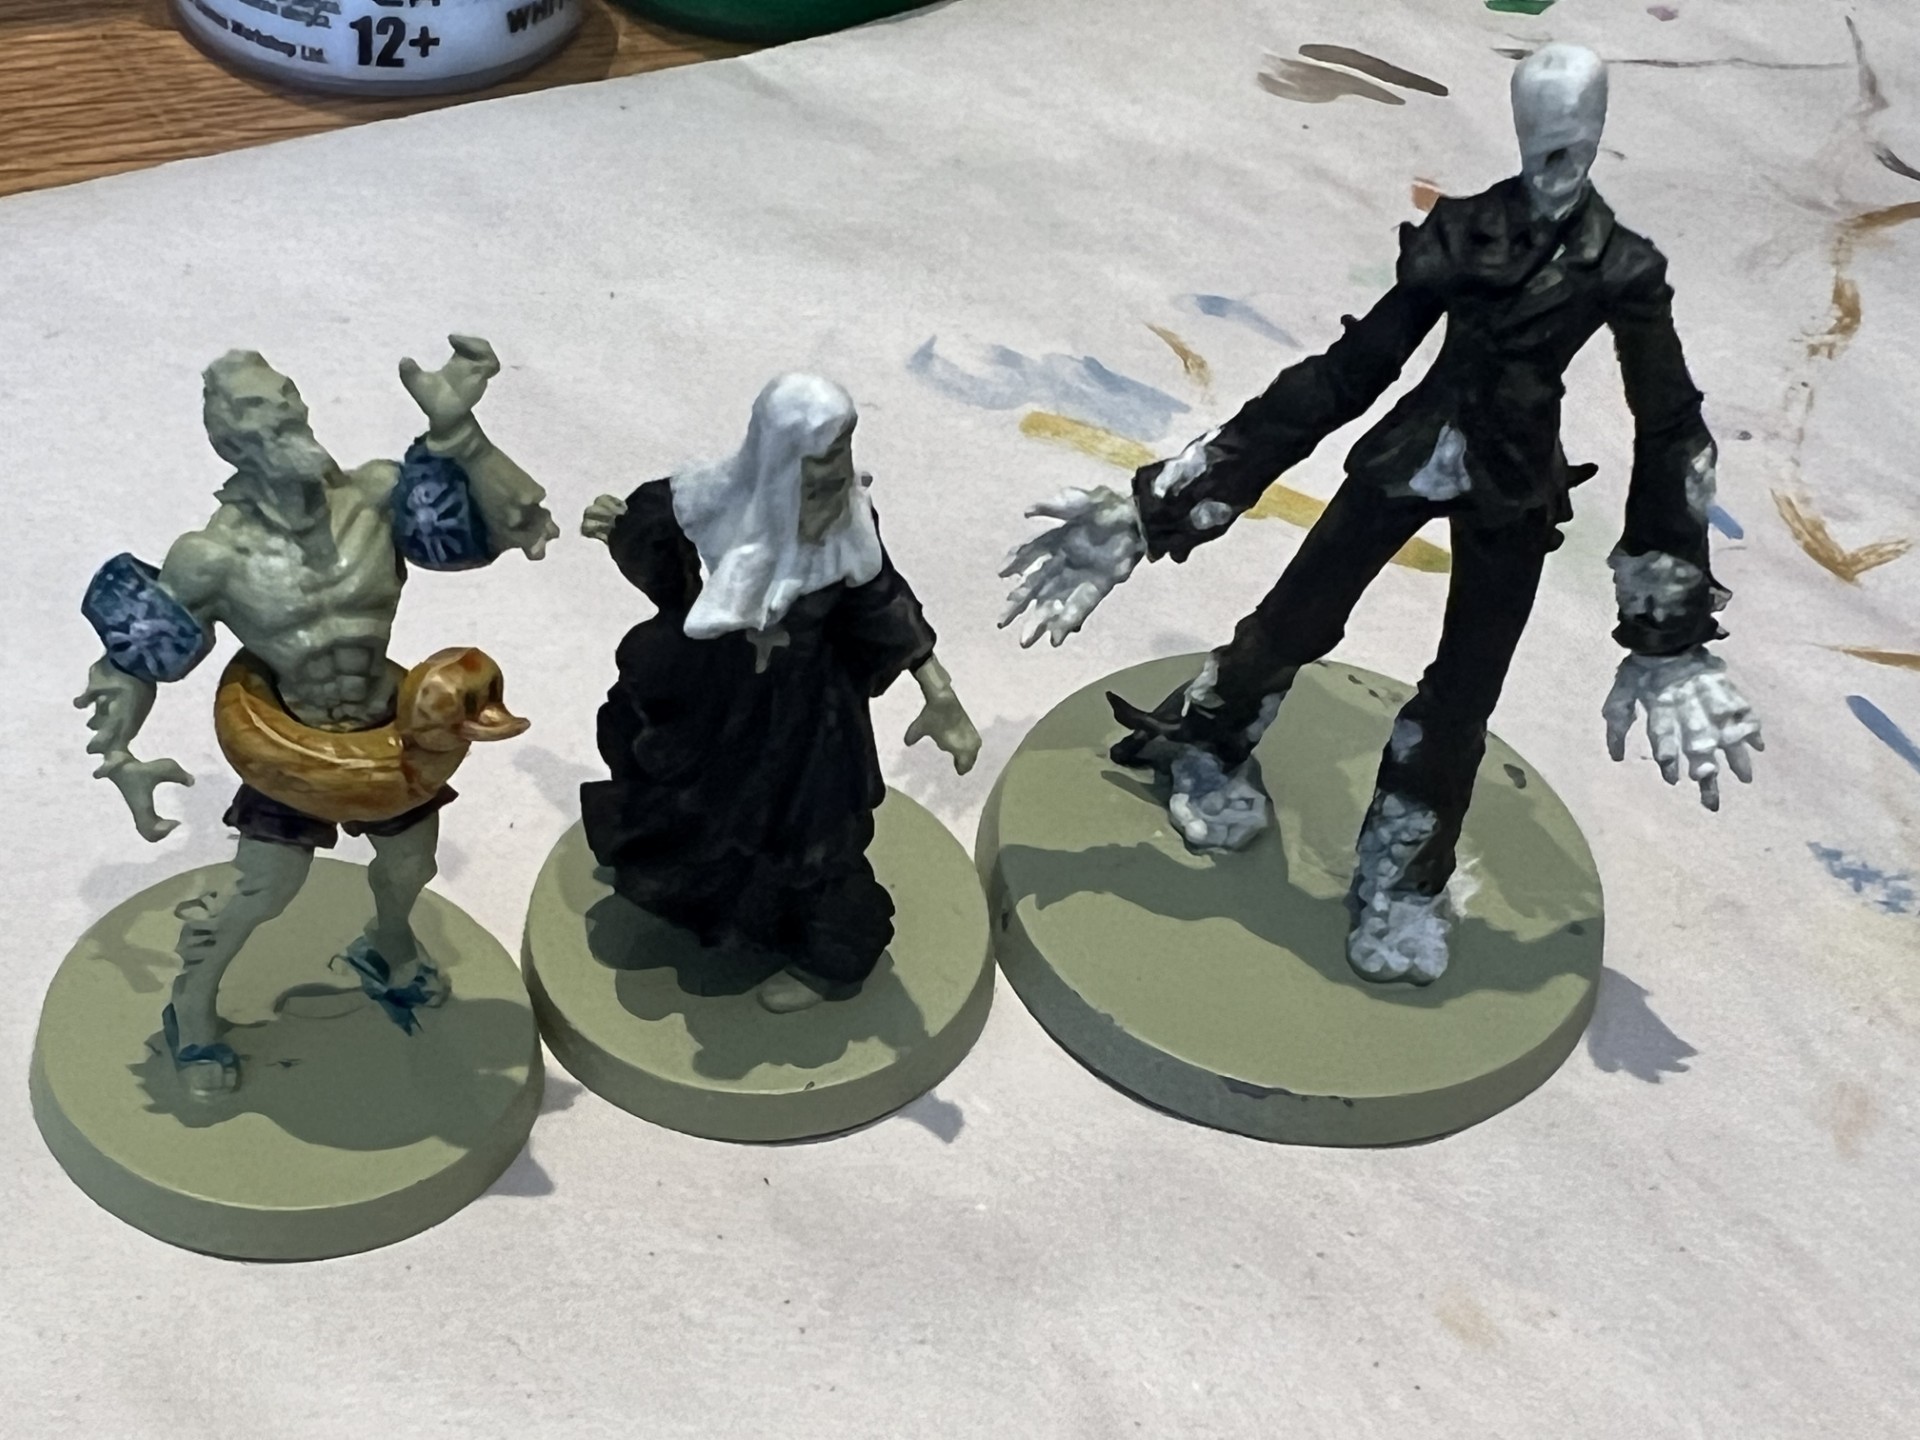
With most basic zombies done, I turned my attention to the abominations. These are mercifully a lot larger than the zombie sculpts and come with details that can be picked out to create some nice effects. Models like the Hobomination and Patient Zero just require a straight paint job to match the artwork, but others like the Lankyman, Manbearpig and Black Dog are very simple thanks to being largely 2-3 colours. As always, contrast and speed paints work really well on fur, so getting a few of these big, impressive models done was easy enough.
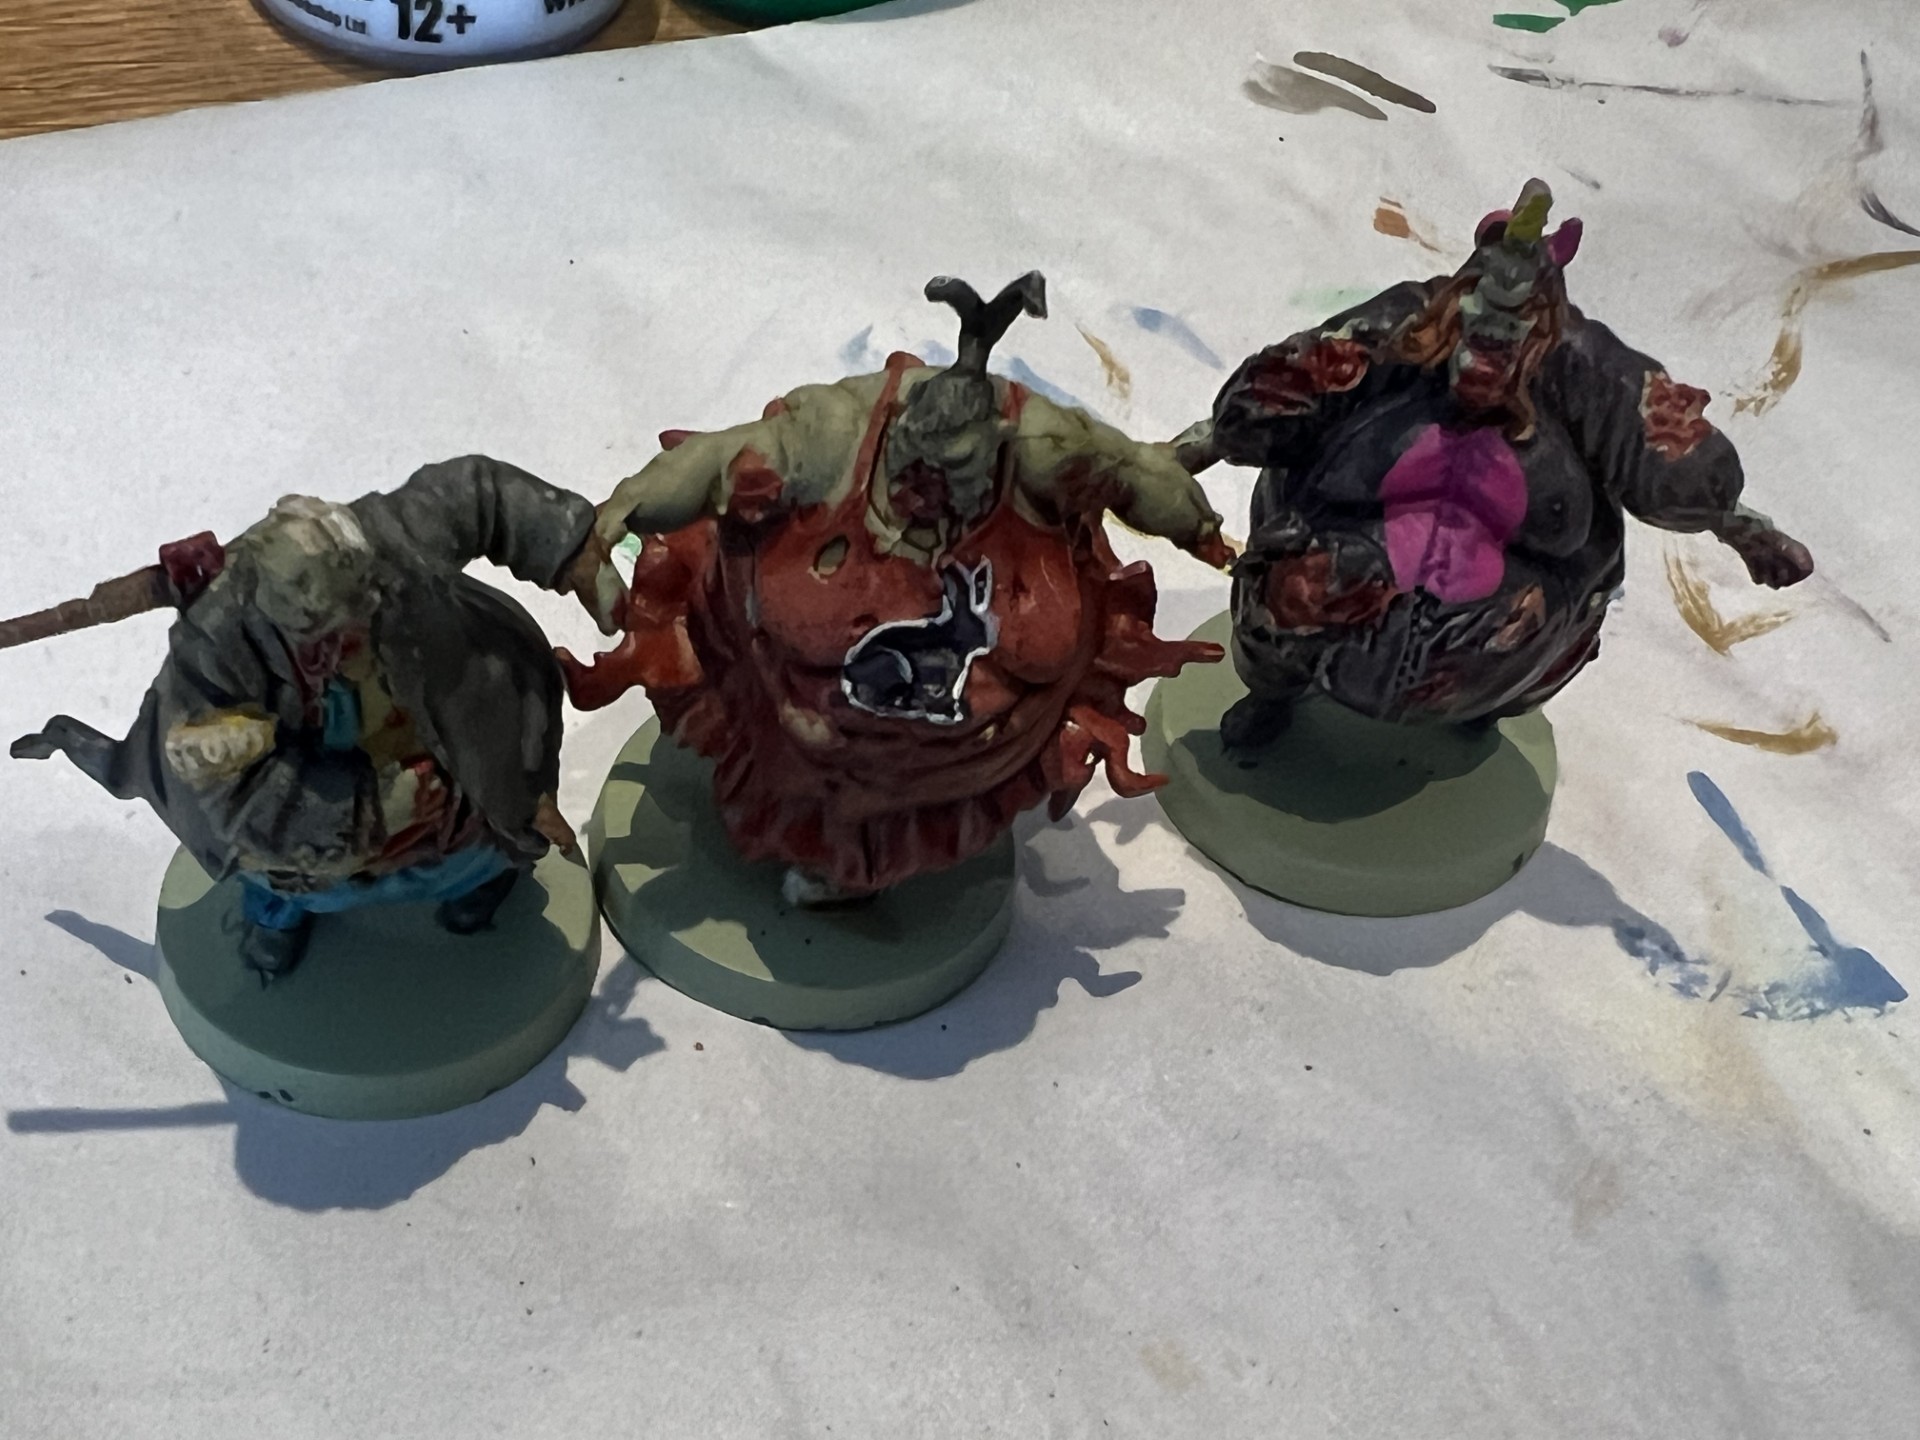
The Actual Cannibal was also a simple one to paint, with just Barbarian Flesh for his skin tone, War Grime for his trousers and then a few details in black, red and white making out the rest. In general, I still feel a lot more comfortable painting larger models (like the abominations) but I think the zombies look great when placed on the board in numbers. The more unique (and smaller) sculpts gave me some trouble, but the overall effect is far better than just basic plastic models.
I am yet to tackle the survivors at this point, having already covered about 250 miniatures. That said, the challenge they pose will be quite different since each and every one will need to be painted specifically. The key to dealing with zombies in the bulk that Zombicide has is to find an efficient way to batch paint and work through the whole lot in volume. I hope you’ll agree that these look decent for a novice painter, and I’m looking forward to finishing the survivors and moving on to the next challenge.
As always if you’ve enjoyed this guide then please leave a comment below, and don’t forget to check out our Painting Guide Hub for more Let’s Paint! tutorials and content.
Comments are closed.