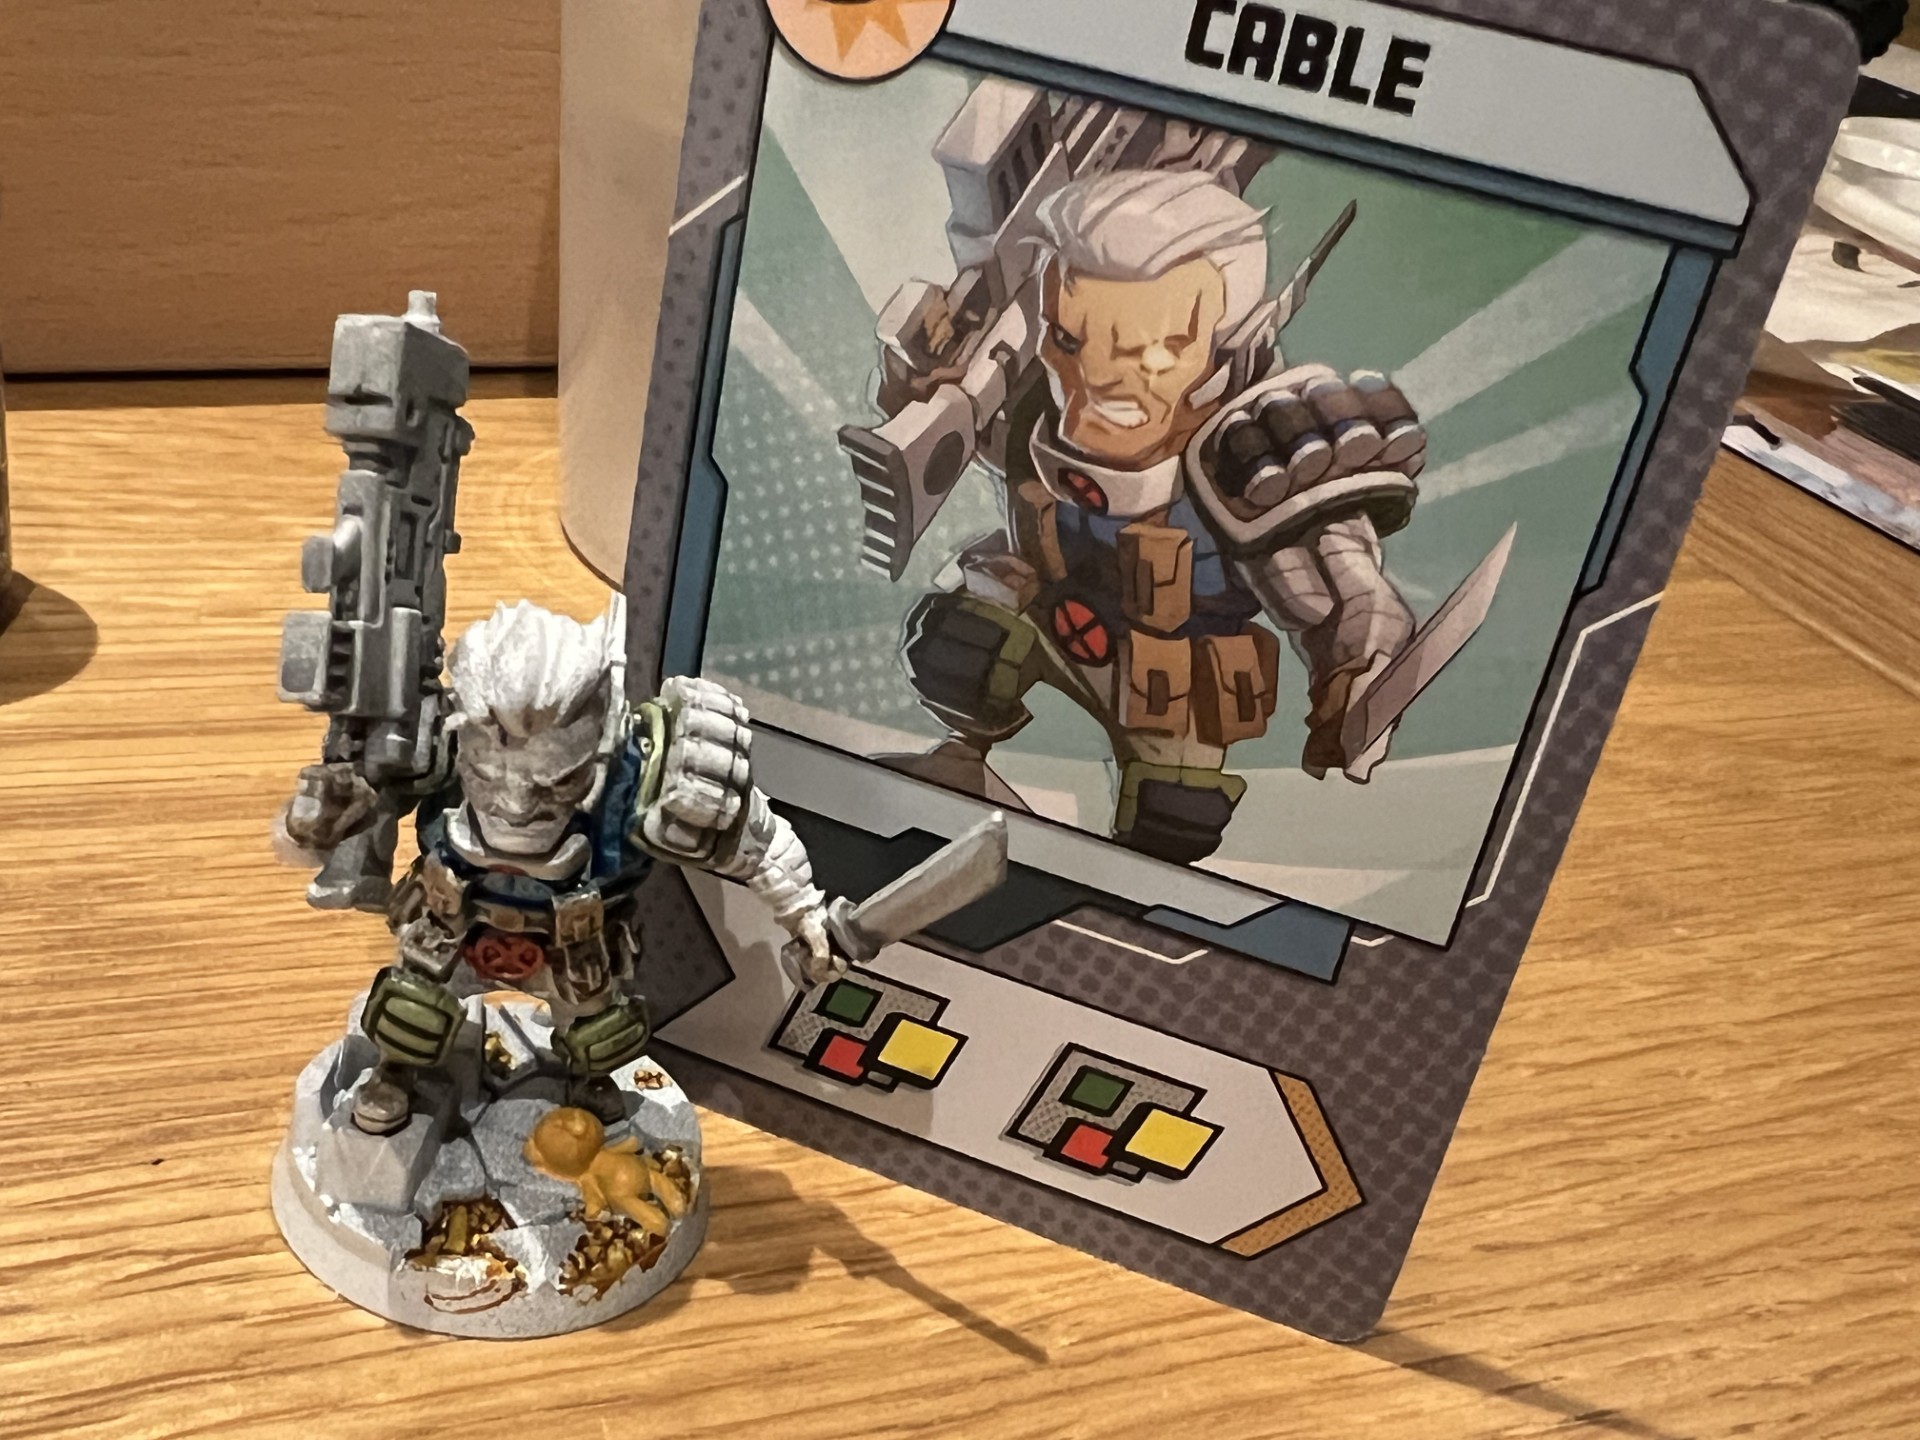
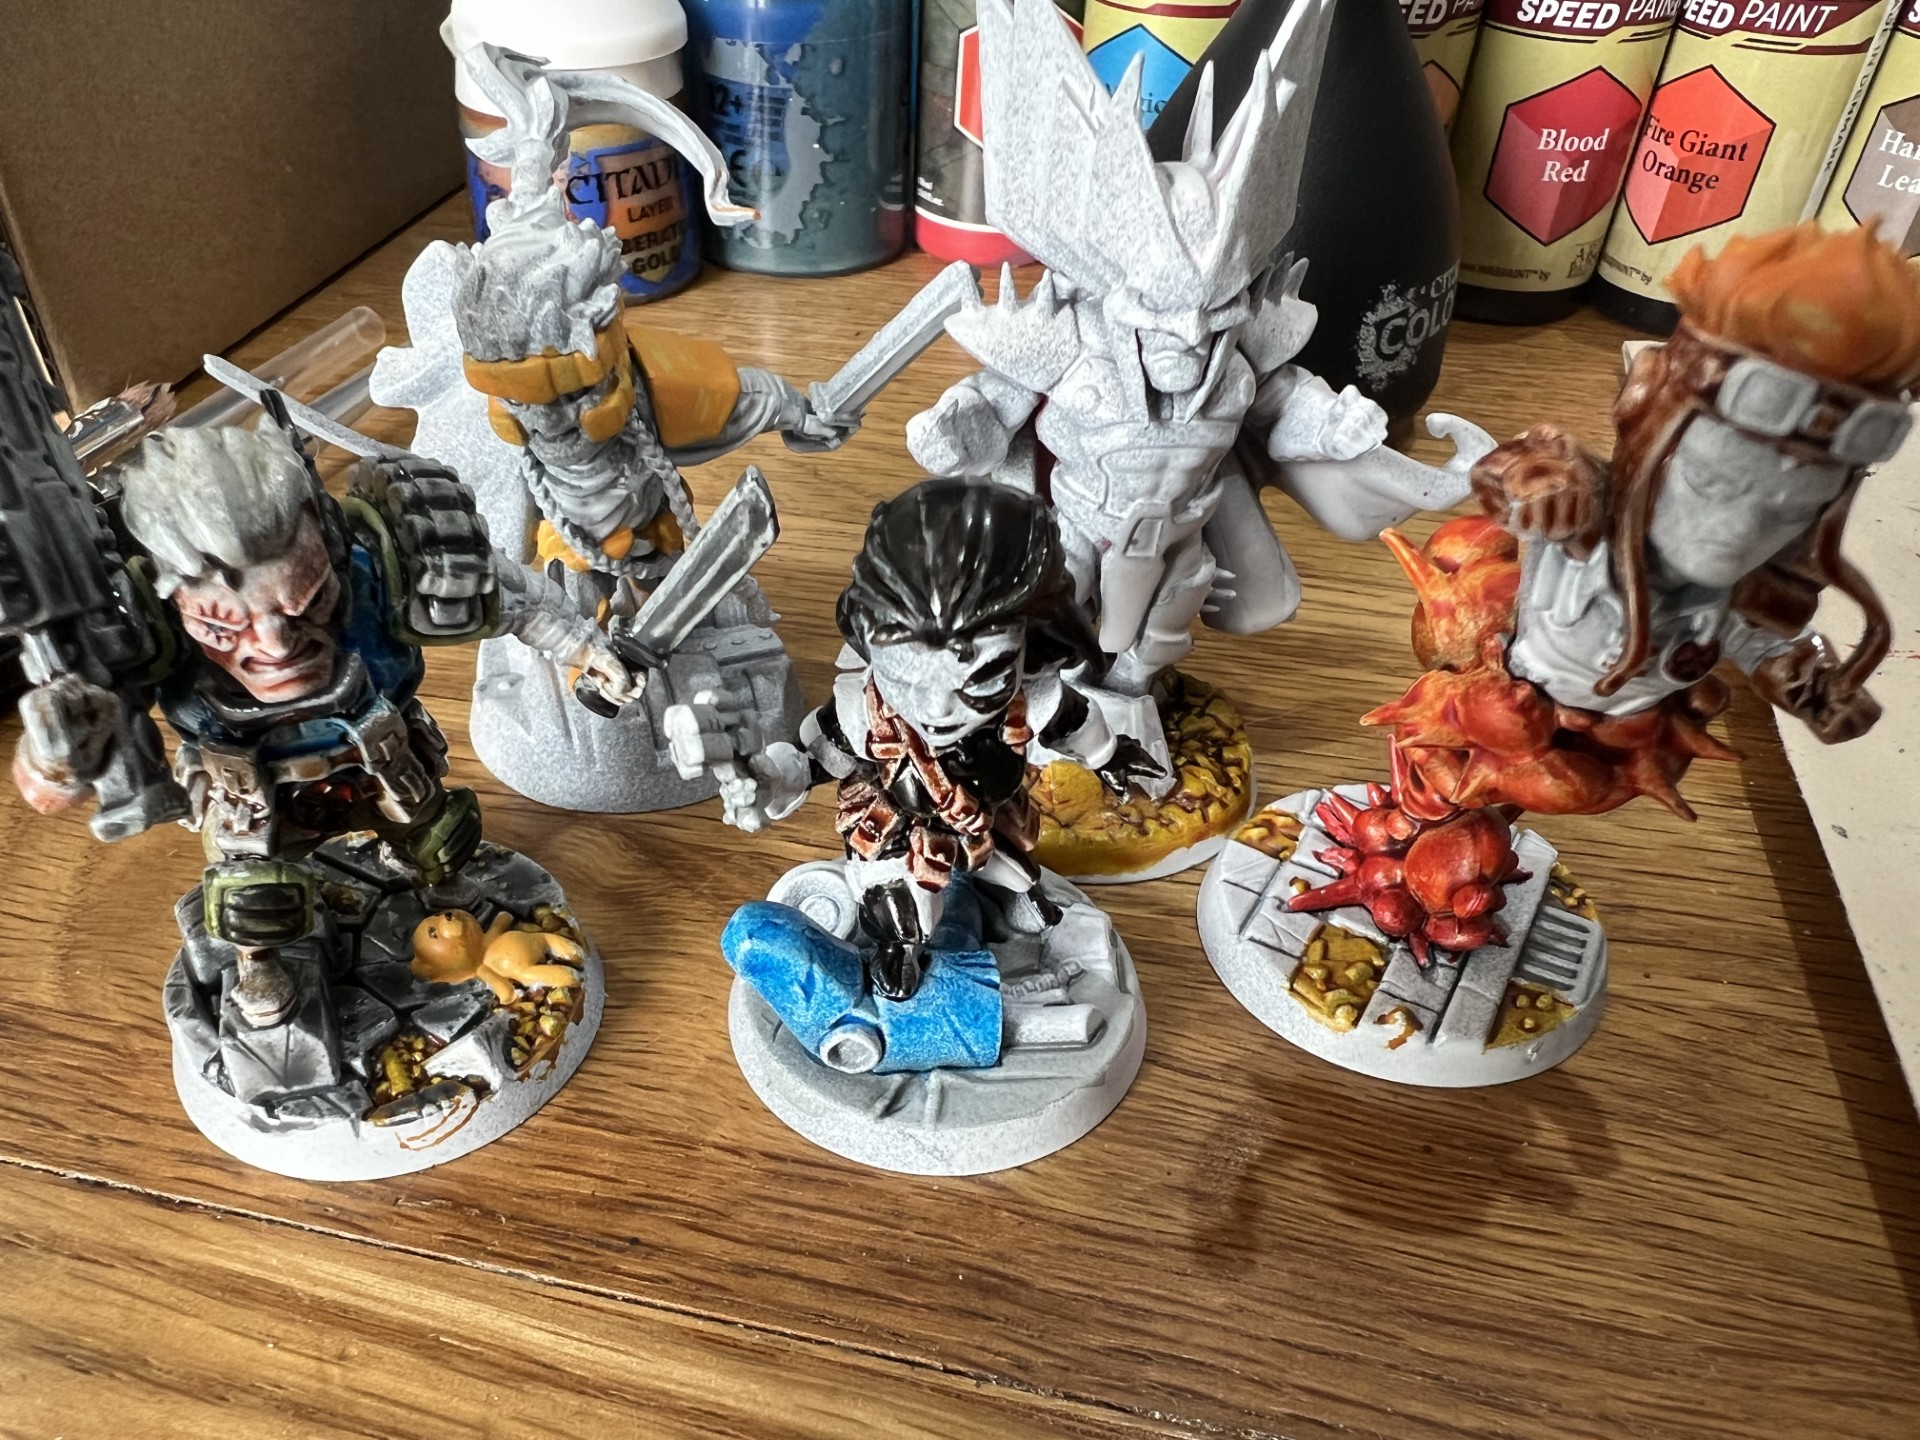
For the novice painter, there’s nothing better than fairly large miniatures with overstated features and relatively few small details. Having good quality cast miniatures is also beneficial, and that makes CMON’s Marvel United series of games a perfect option for a newcomer to the hobby. In this guide, I’ll be painting all five models from the Marvel United: X-Force box, including favourites Domino and Cable, as well the nefarious Stryfe.
I’m a big fan of the 90’s cartoon variant of the X-Men, and so for the Marvel United: X-Force perfectly captures the style that I am most fond of and familiar with. The box contains five models in total, with a relatively minimal colour palette that includes a lot of white across three of the models, and a lot of orange and yellow on two of them. You’ll also need a strong, bright silver metallic for Stryfe’s armour.
Diving straight into the box, I went with an initial all over grey undercoat for all the models, which I left to dry for an hour before then covering in a second coating of bright white. This was because I wanted to make sure I had some shade in the areas that needed it, but also because I knew that on most of the models, I needed areas of quite high brightness where the final coat would actually be a further layer of white.
I tackled Stryfe first because I decided he would be quite straightforward. I went with a Citadel flesh tone acrylic for his face, then coated his cloak on both sides in Blood Red from the Speedpaints range. The blue part on his abdomen is a mix of Speedpaint Highlord Blue with a little bit of acrylic McCragge blue to thicken it, and then his armour is a bright silver metallic from Citadel that I no longer have the label for. A quick coat of speedpaint on his base and this model was done.
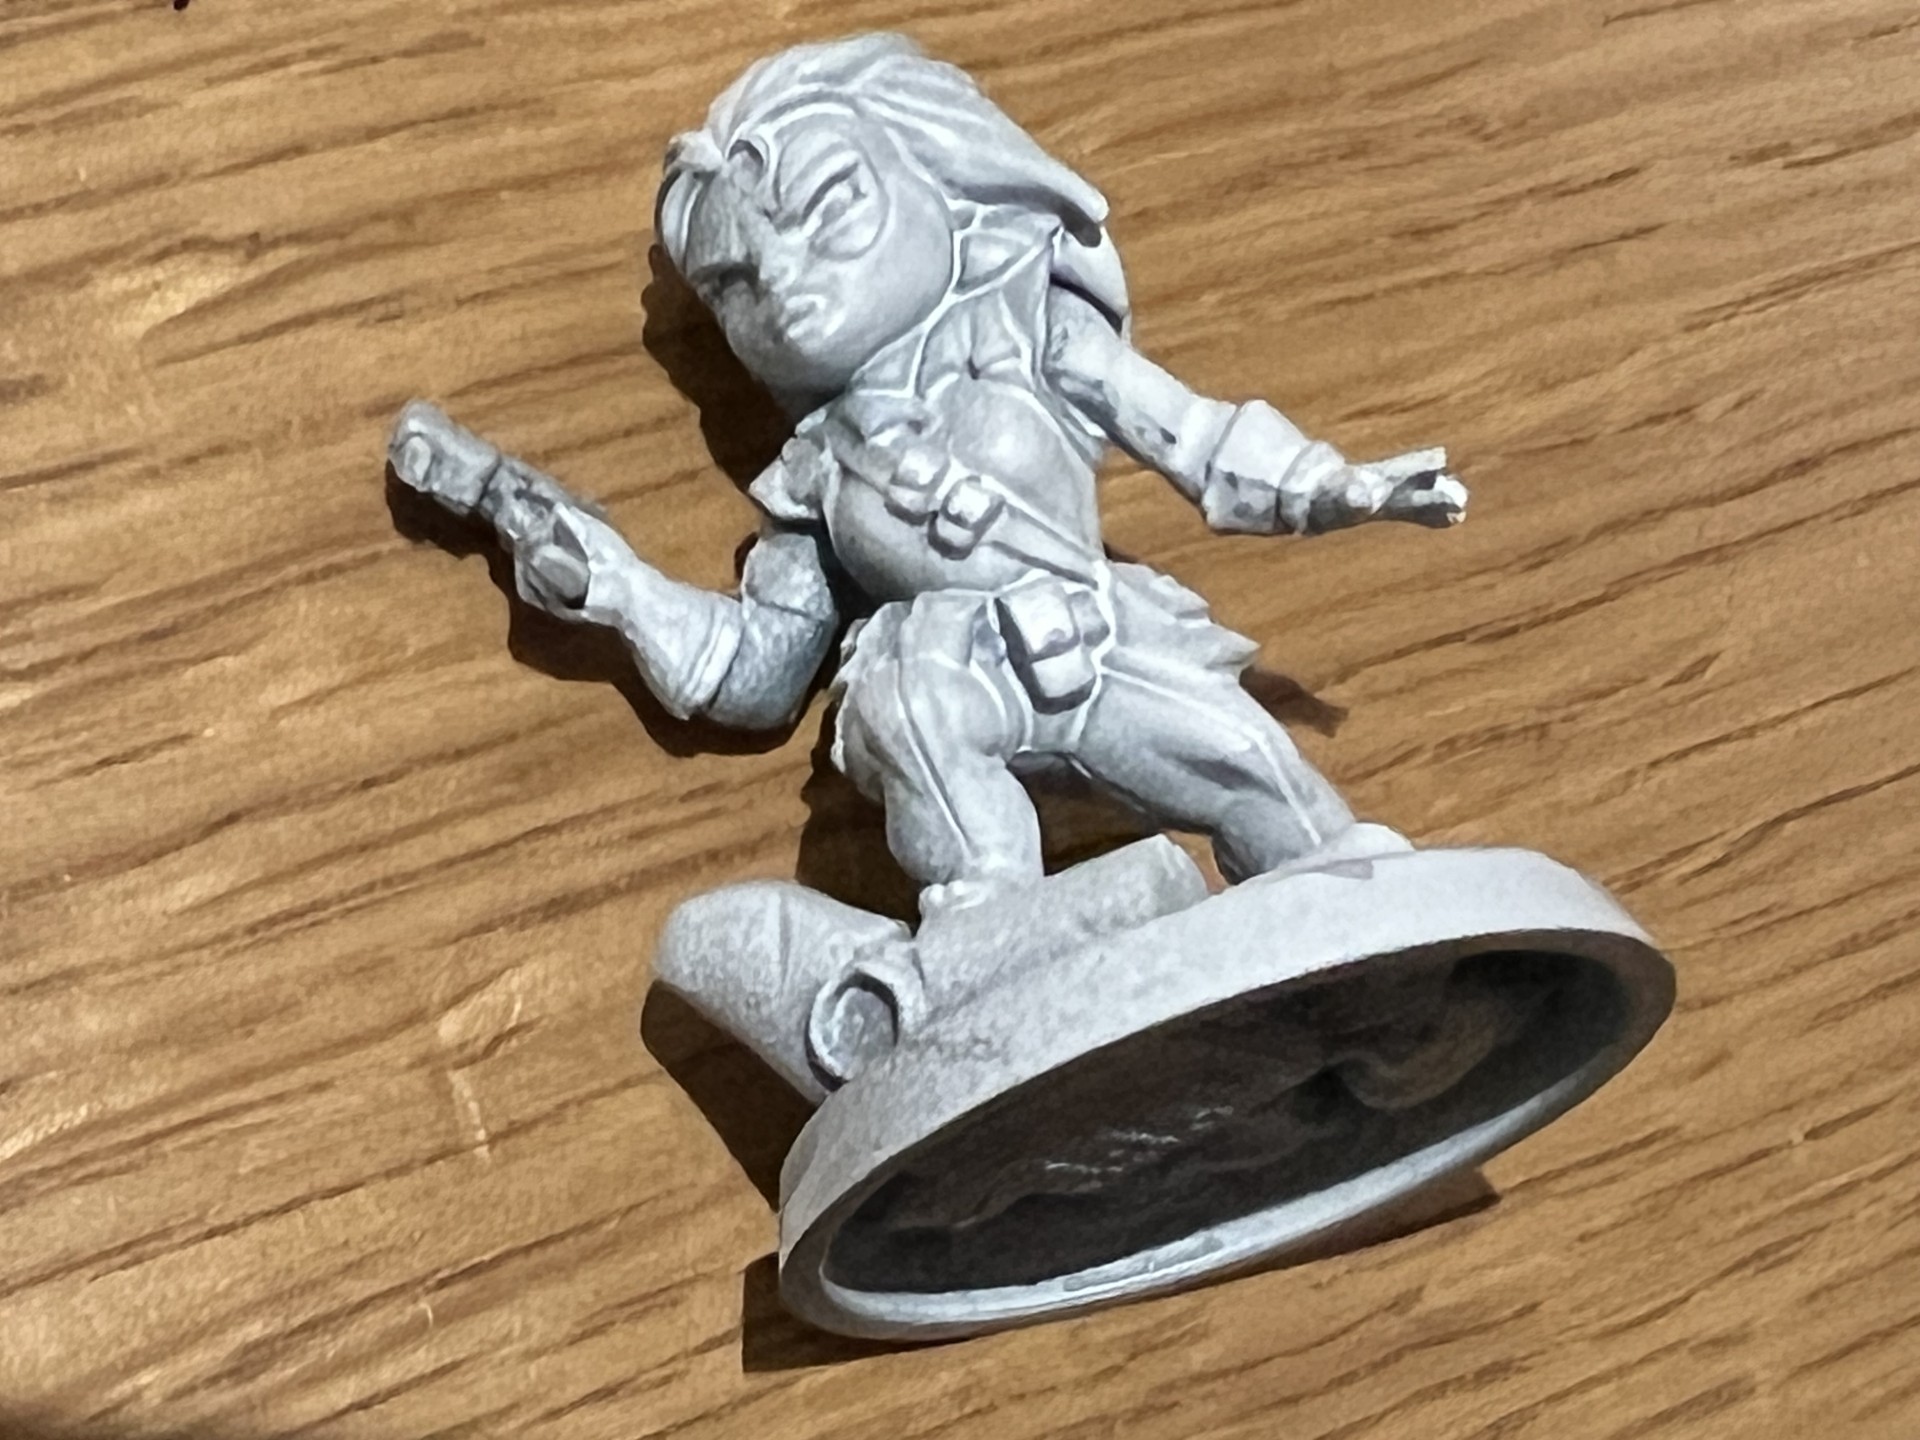
Domino was a little harder thanks to the amount of black on her model and also because you need to carefully paint clean black lines next to clean white ones on her trousers and arms, and for the circle around her eye. I used a mix of Grim Black Speedpaint and Abaddon Black from Citadel to make a thick, opaque mix that would still give some highlights. I recovered the white areas a couple of times to make sure the colour looked good, and then I coated her hair in black and then gave it a thin layer of Highlord Blue to create some texture.
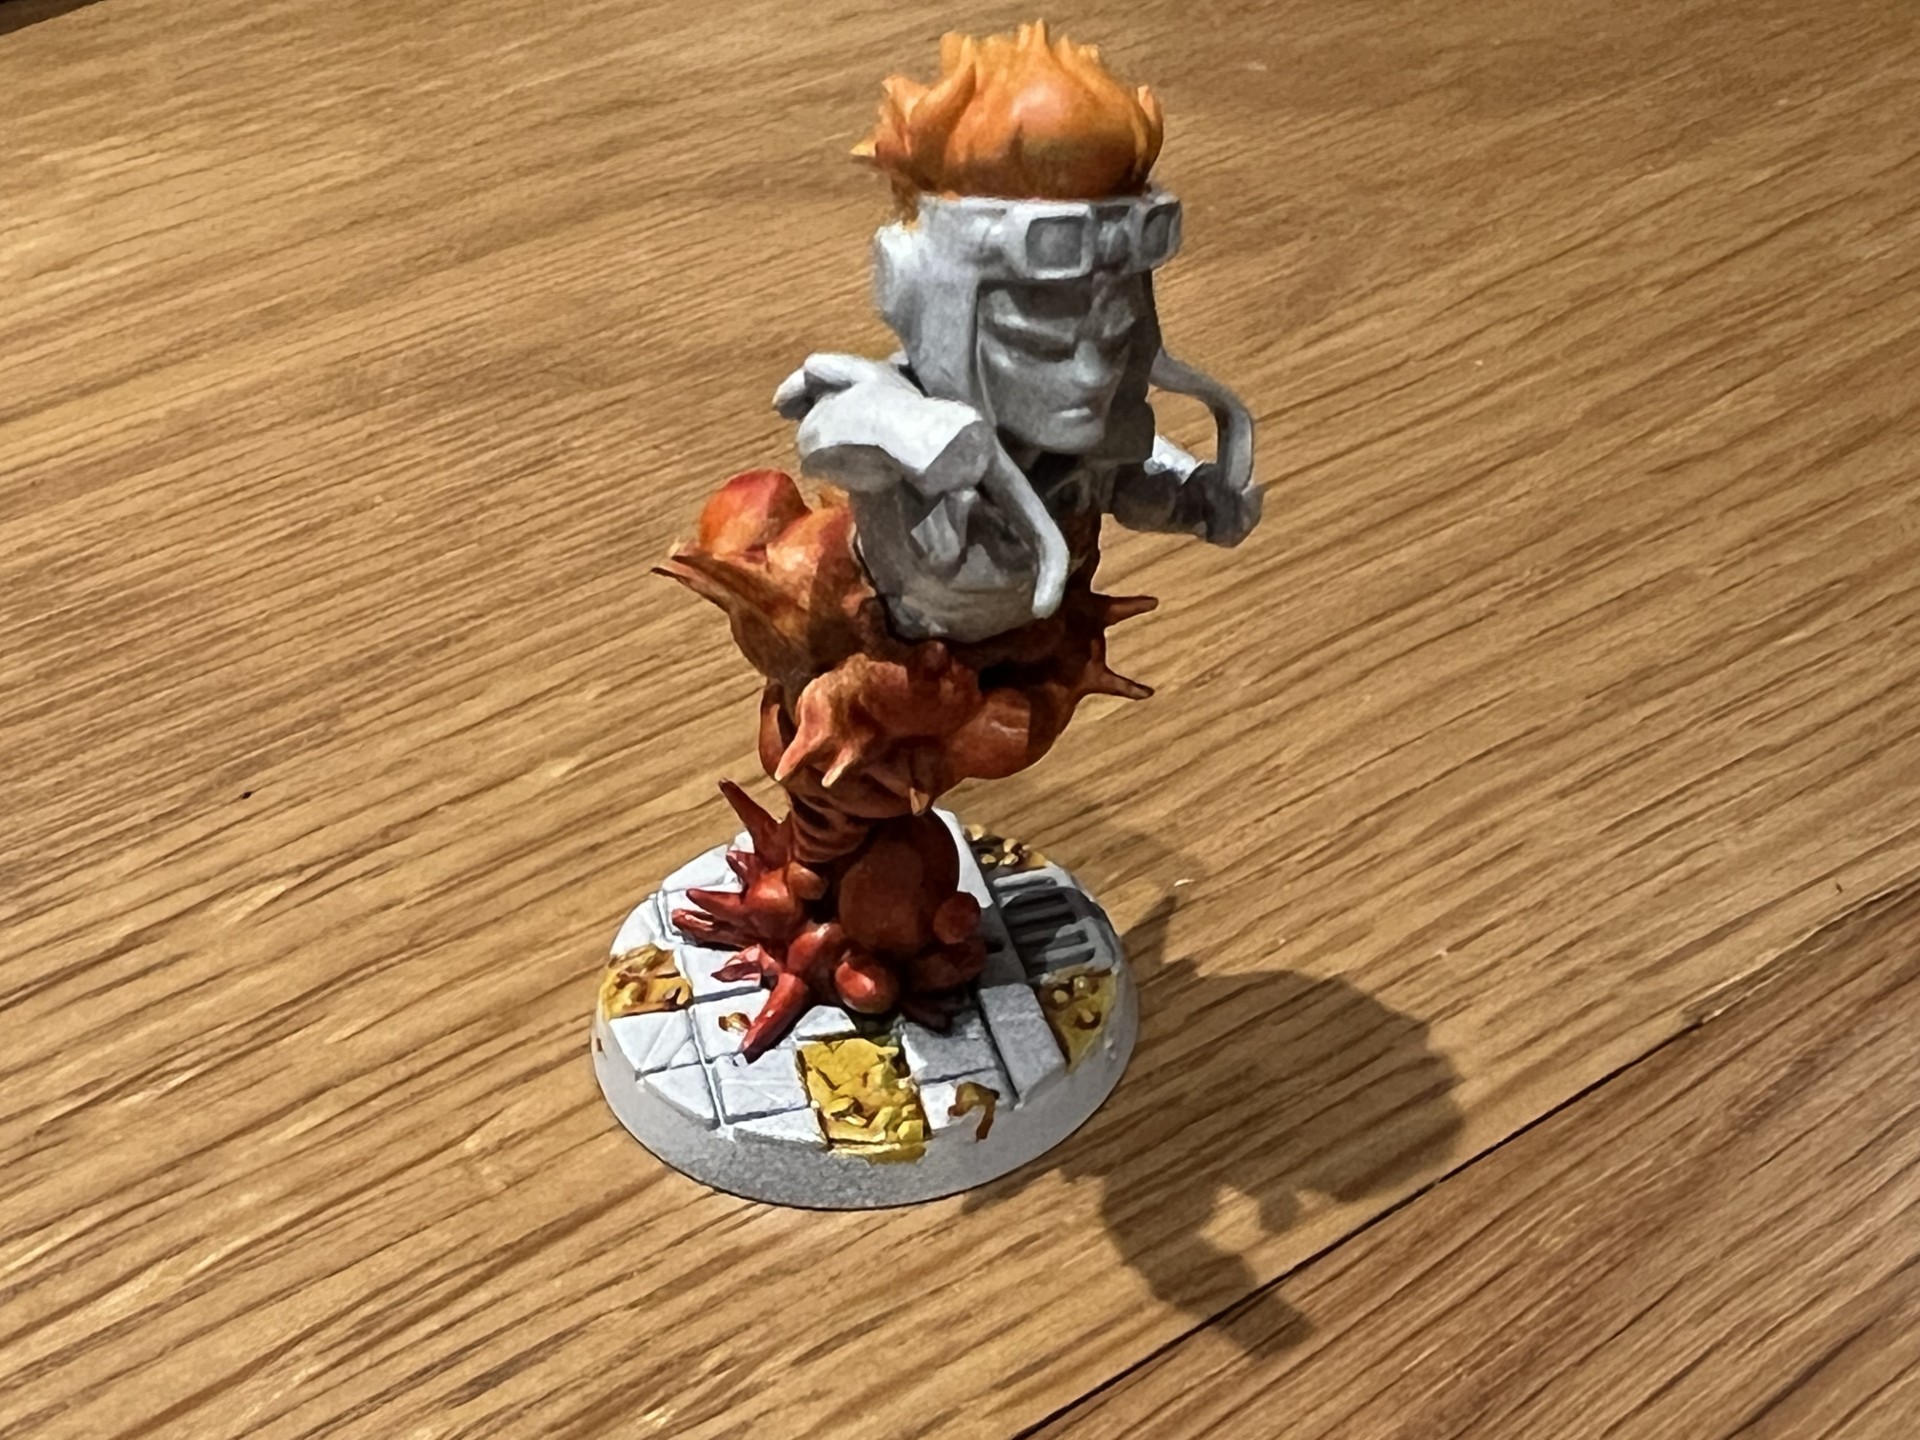
As it turned out, Cannonball was the easiest model in the Marvel United: X-Force box to paint, mainly because he is about 60% made up of an explosion that can simply be coated in any red Speedpaint followed by any yellow Speedpaint to pick out highlights. I used Blood Red and Pastel Yellow, allowing a bit of wet blending to create a red, orange and yellow effect. His body, skin, padding and helmet were then relatively straightforward areas to fill in with colours like Hardened Leather and Hive Dweller Purple. A bit of gold metallic finished off his goggles.
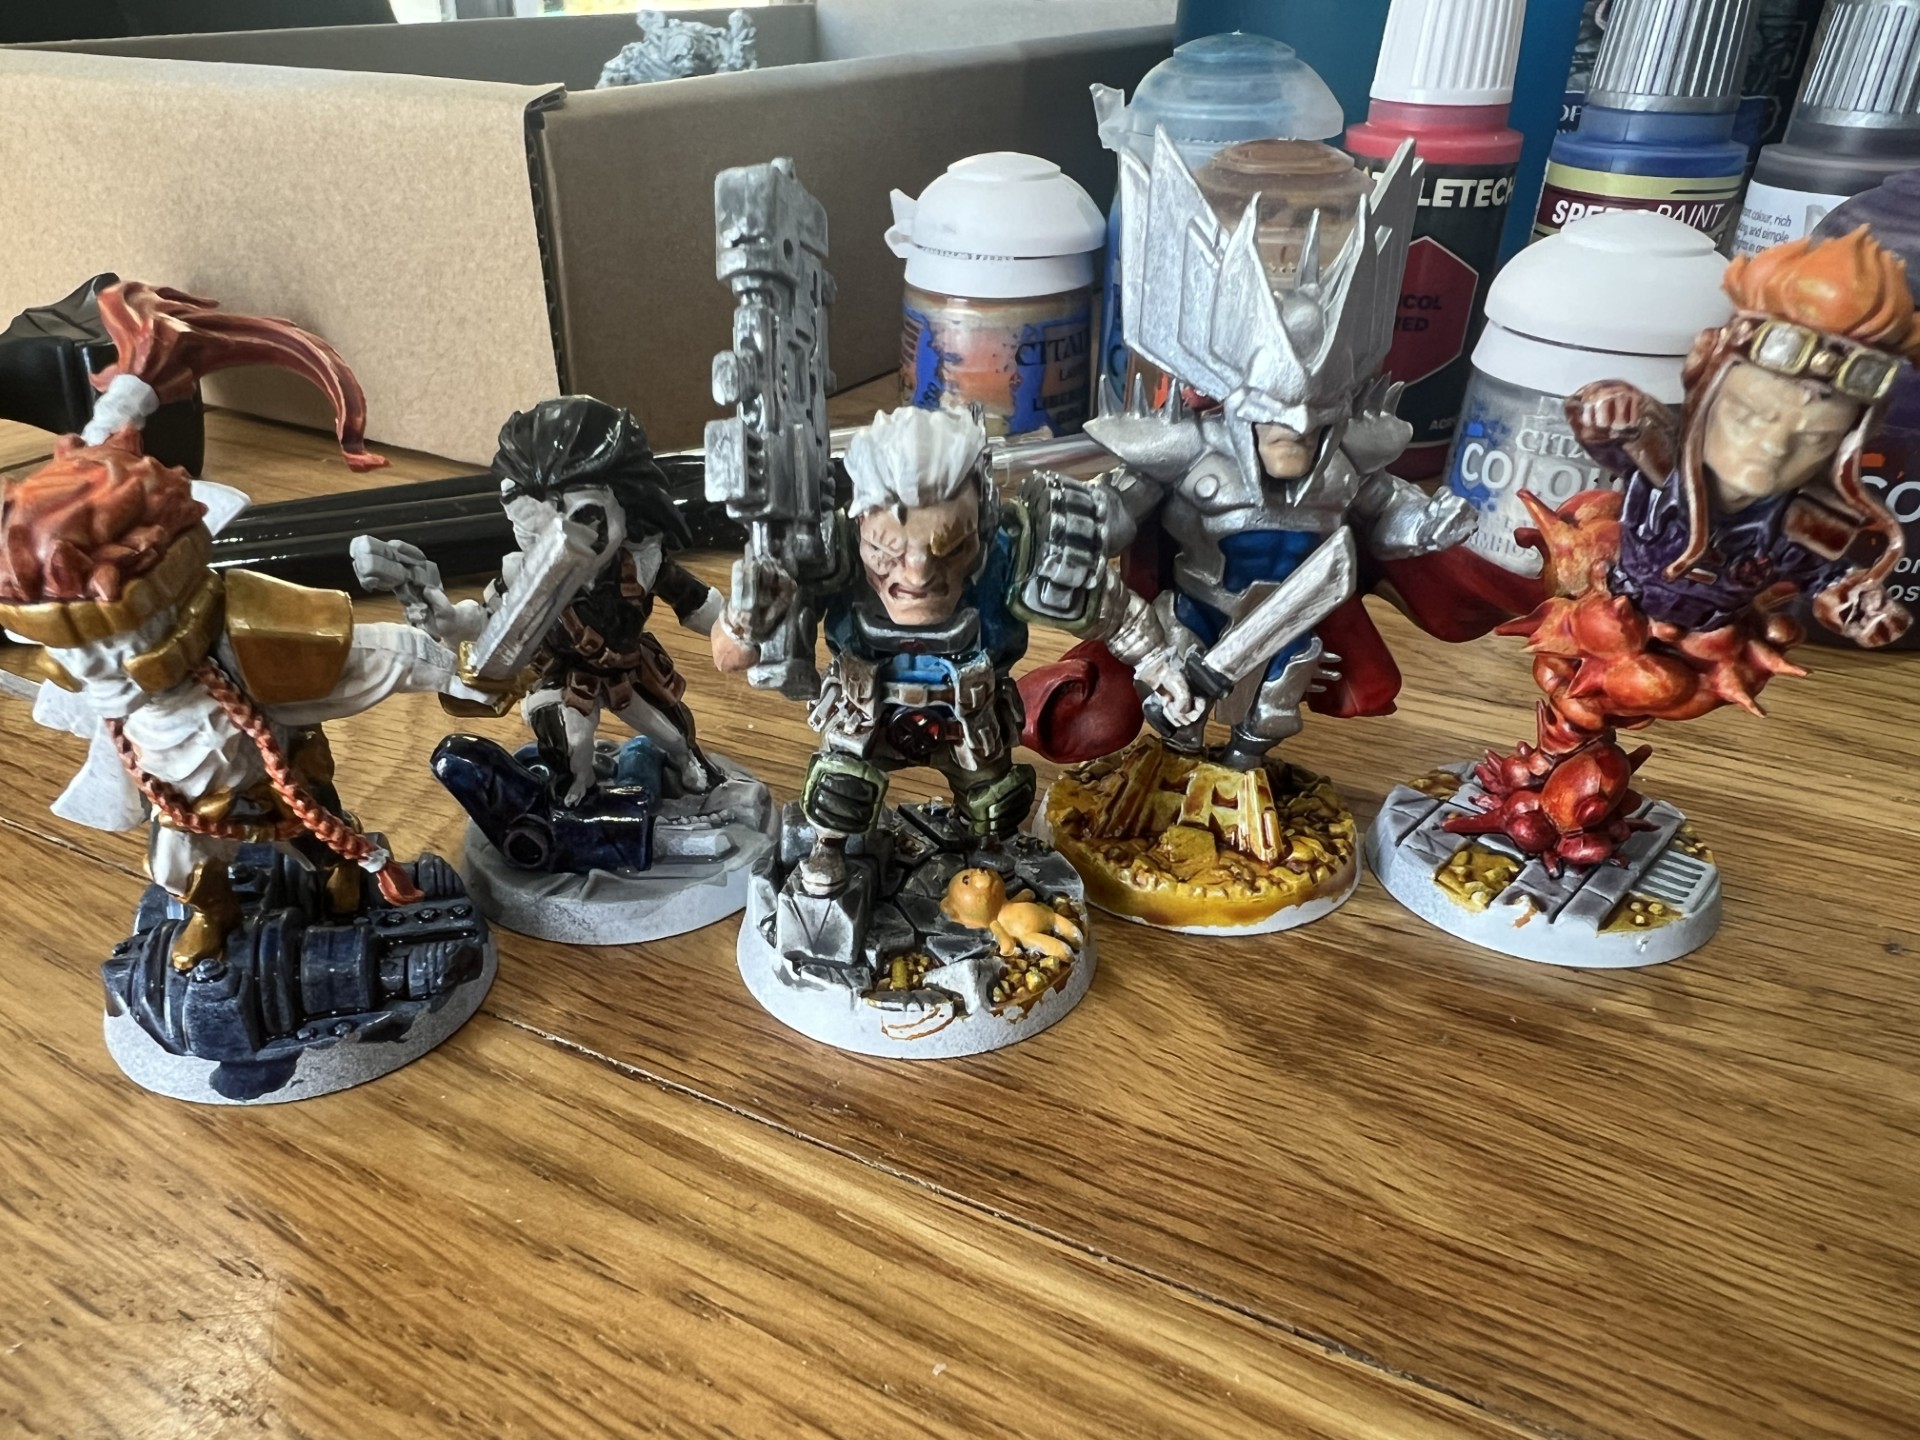
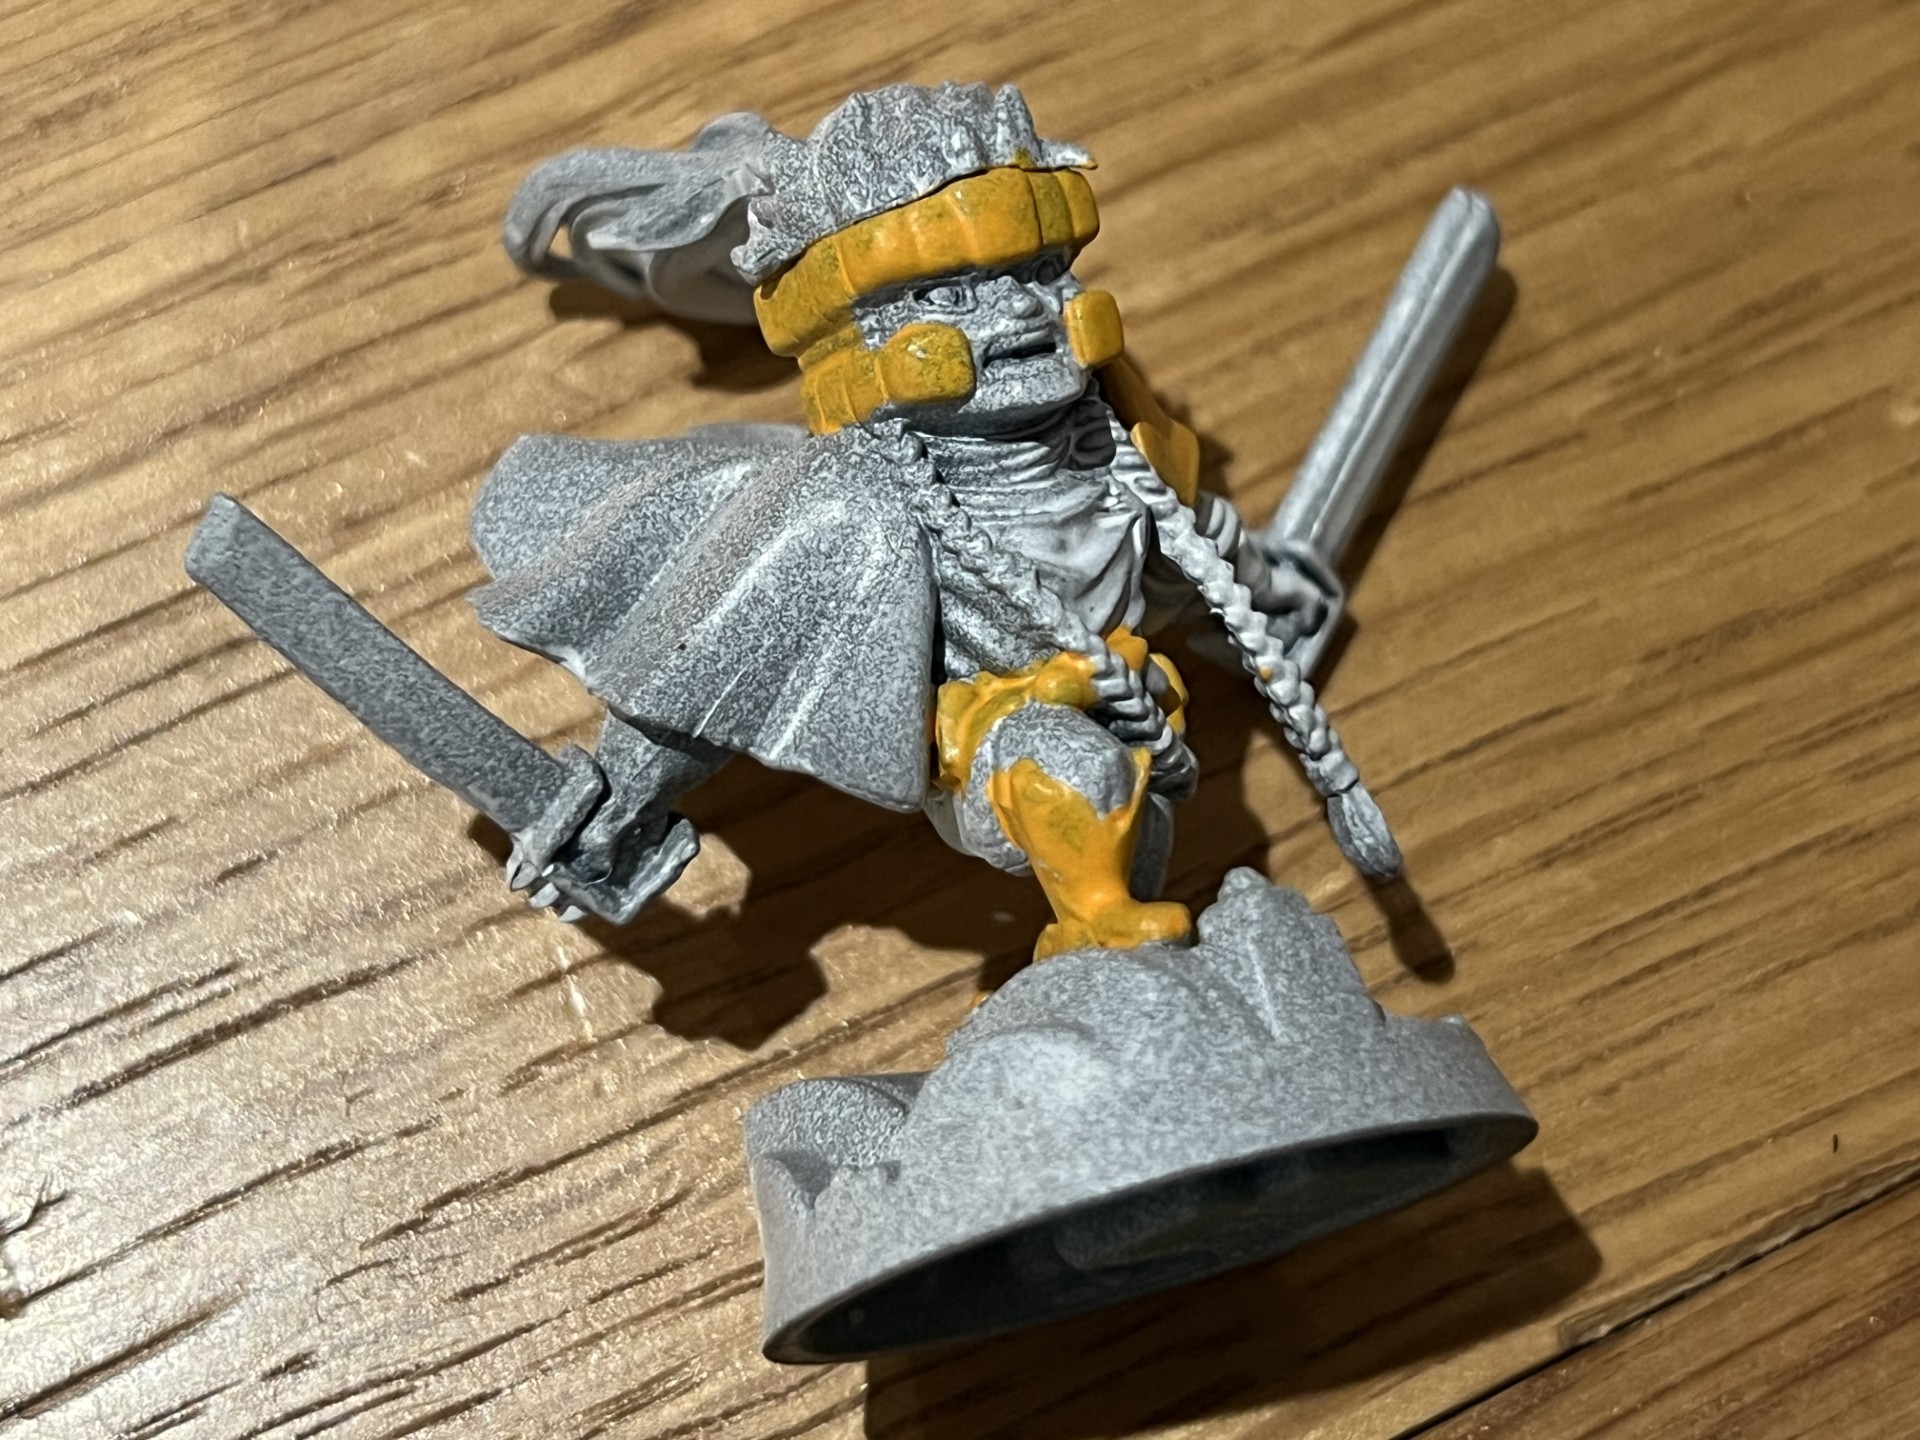
Continuing with the gold, I painted all of Shatterstar’s golden elements in Pastel Yellow first, with the gold metallic over the top. Much of the rest of this model was white, and I worked with the same ideas that I’d used for Domino to layer up white to make sure it looked “clean” enough. I am honestly not sure this worked as it’s a struggle to get shade onto recessed areas where there’s so much white, but as is the motto here, it’s better to have an average painted model than a completely unpainted one.
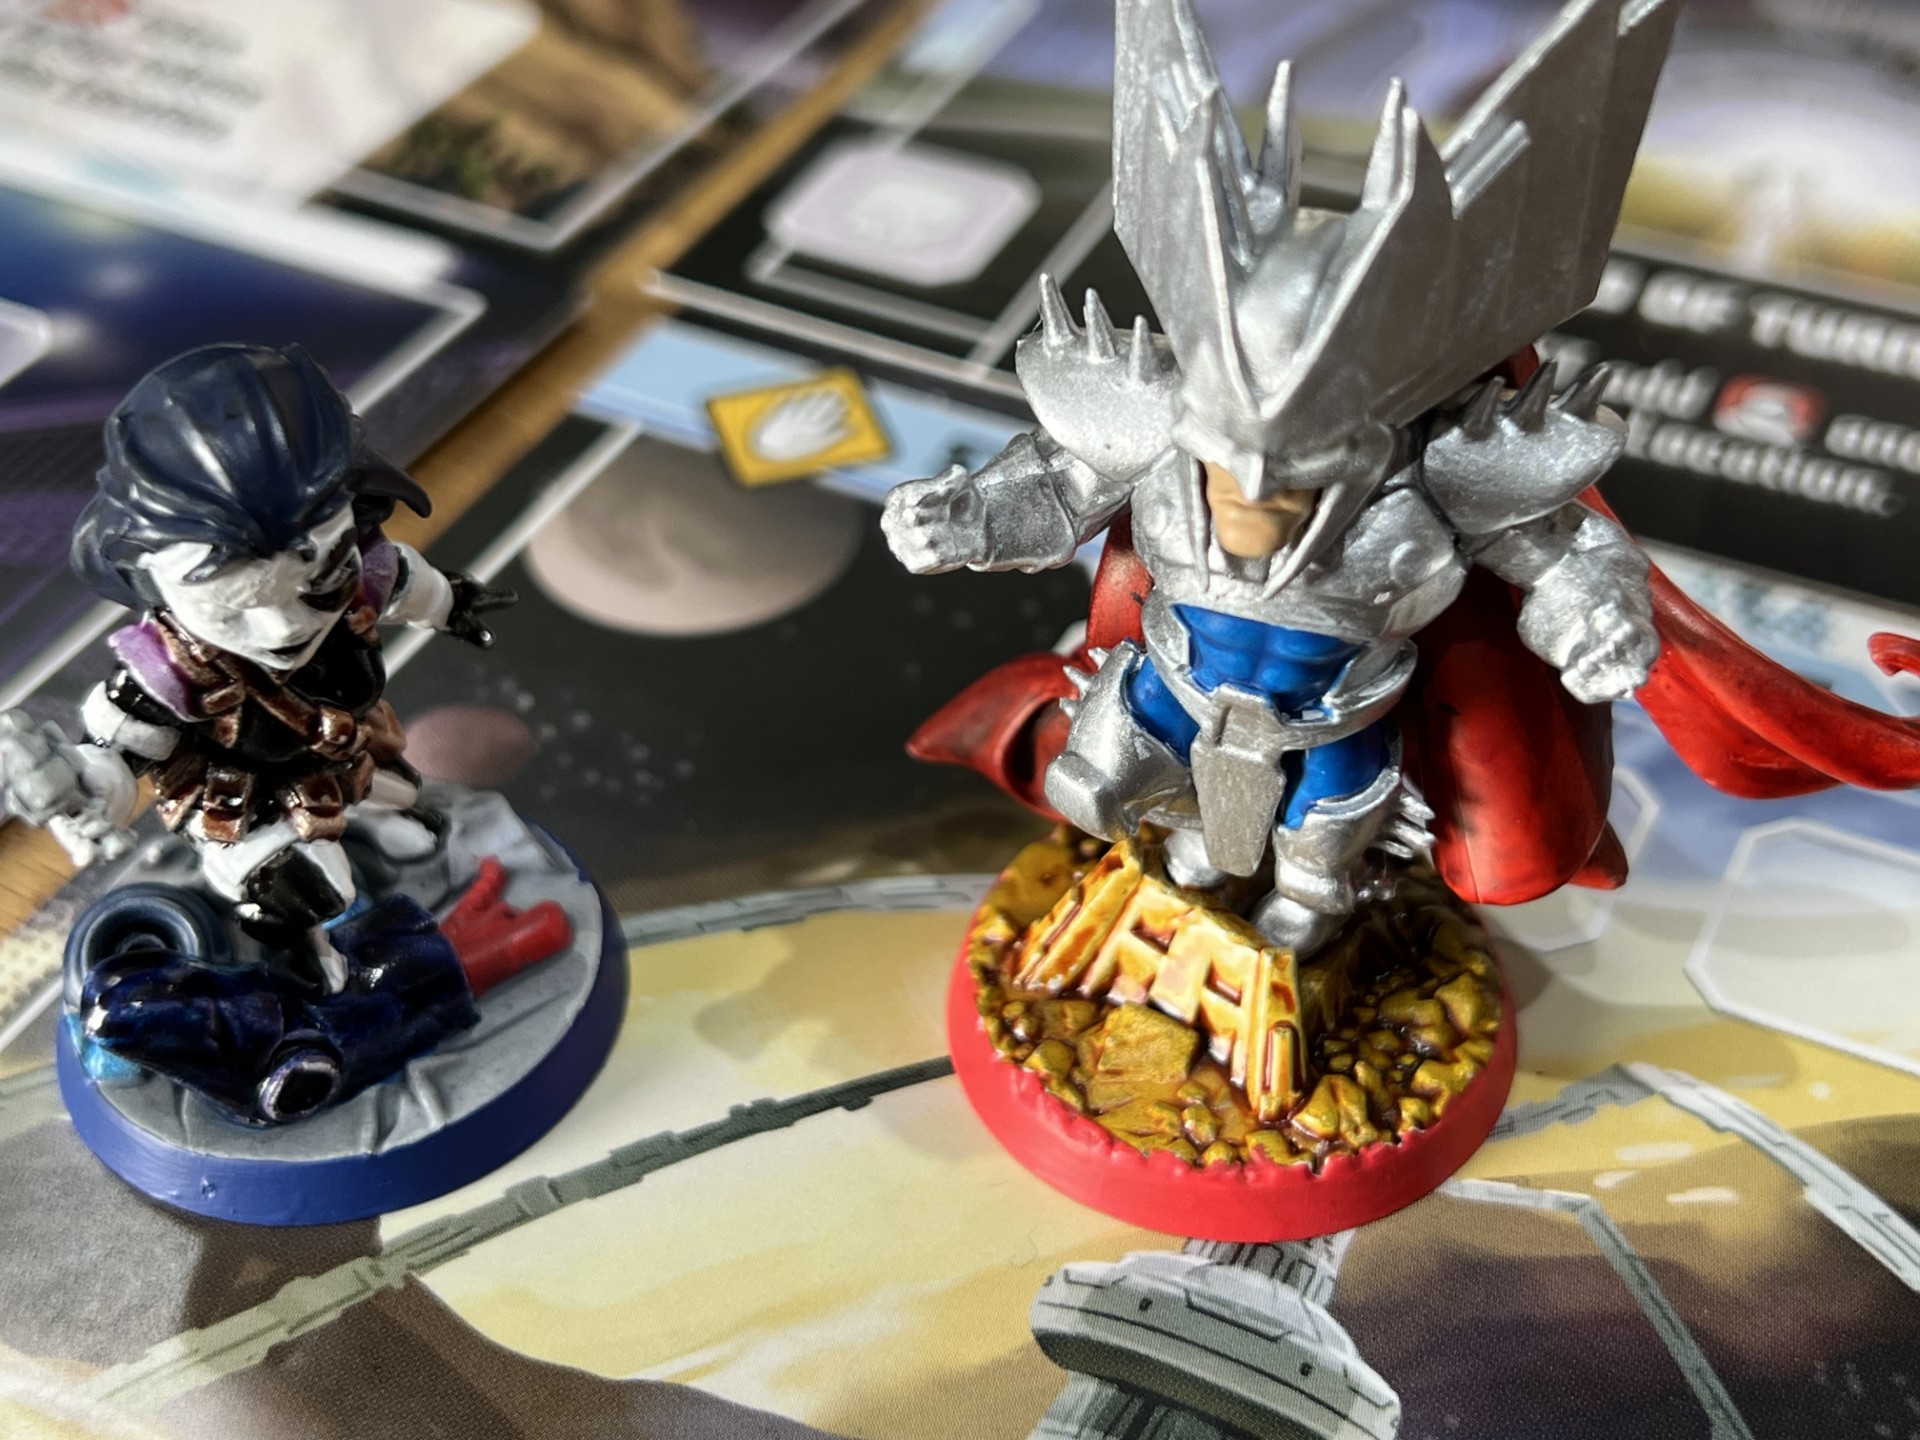
Once all these models had dried, I also wanted to create a theme for the base rims that I could carry across all my Marvel United boxes. In this case, I chose to use McCragge Blue for all the hero bases, and then Dragon Red (from The Army Painter) to just coat the outer edge. This will help me identify which models are which when I sorted my many hundreds of Marvel figures in the future.
Don’t forget to check out our Painting Guide Hub for more Let’s Paint! tutorials and content.
Comments are closed.