I often find beasts and monsters the most interesting things to paint, since there’s a lot of room for artistic interpretation. Maladum: Dungeons of Environ recently made its way into our Top Dungeon Crawlers list based on pure merit, and yet I know it would be even better with painted models adding to the atmosphere that it’s three-dimensional scenery already creates. With that said; Let’s Paint!
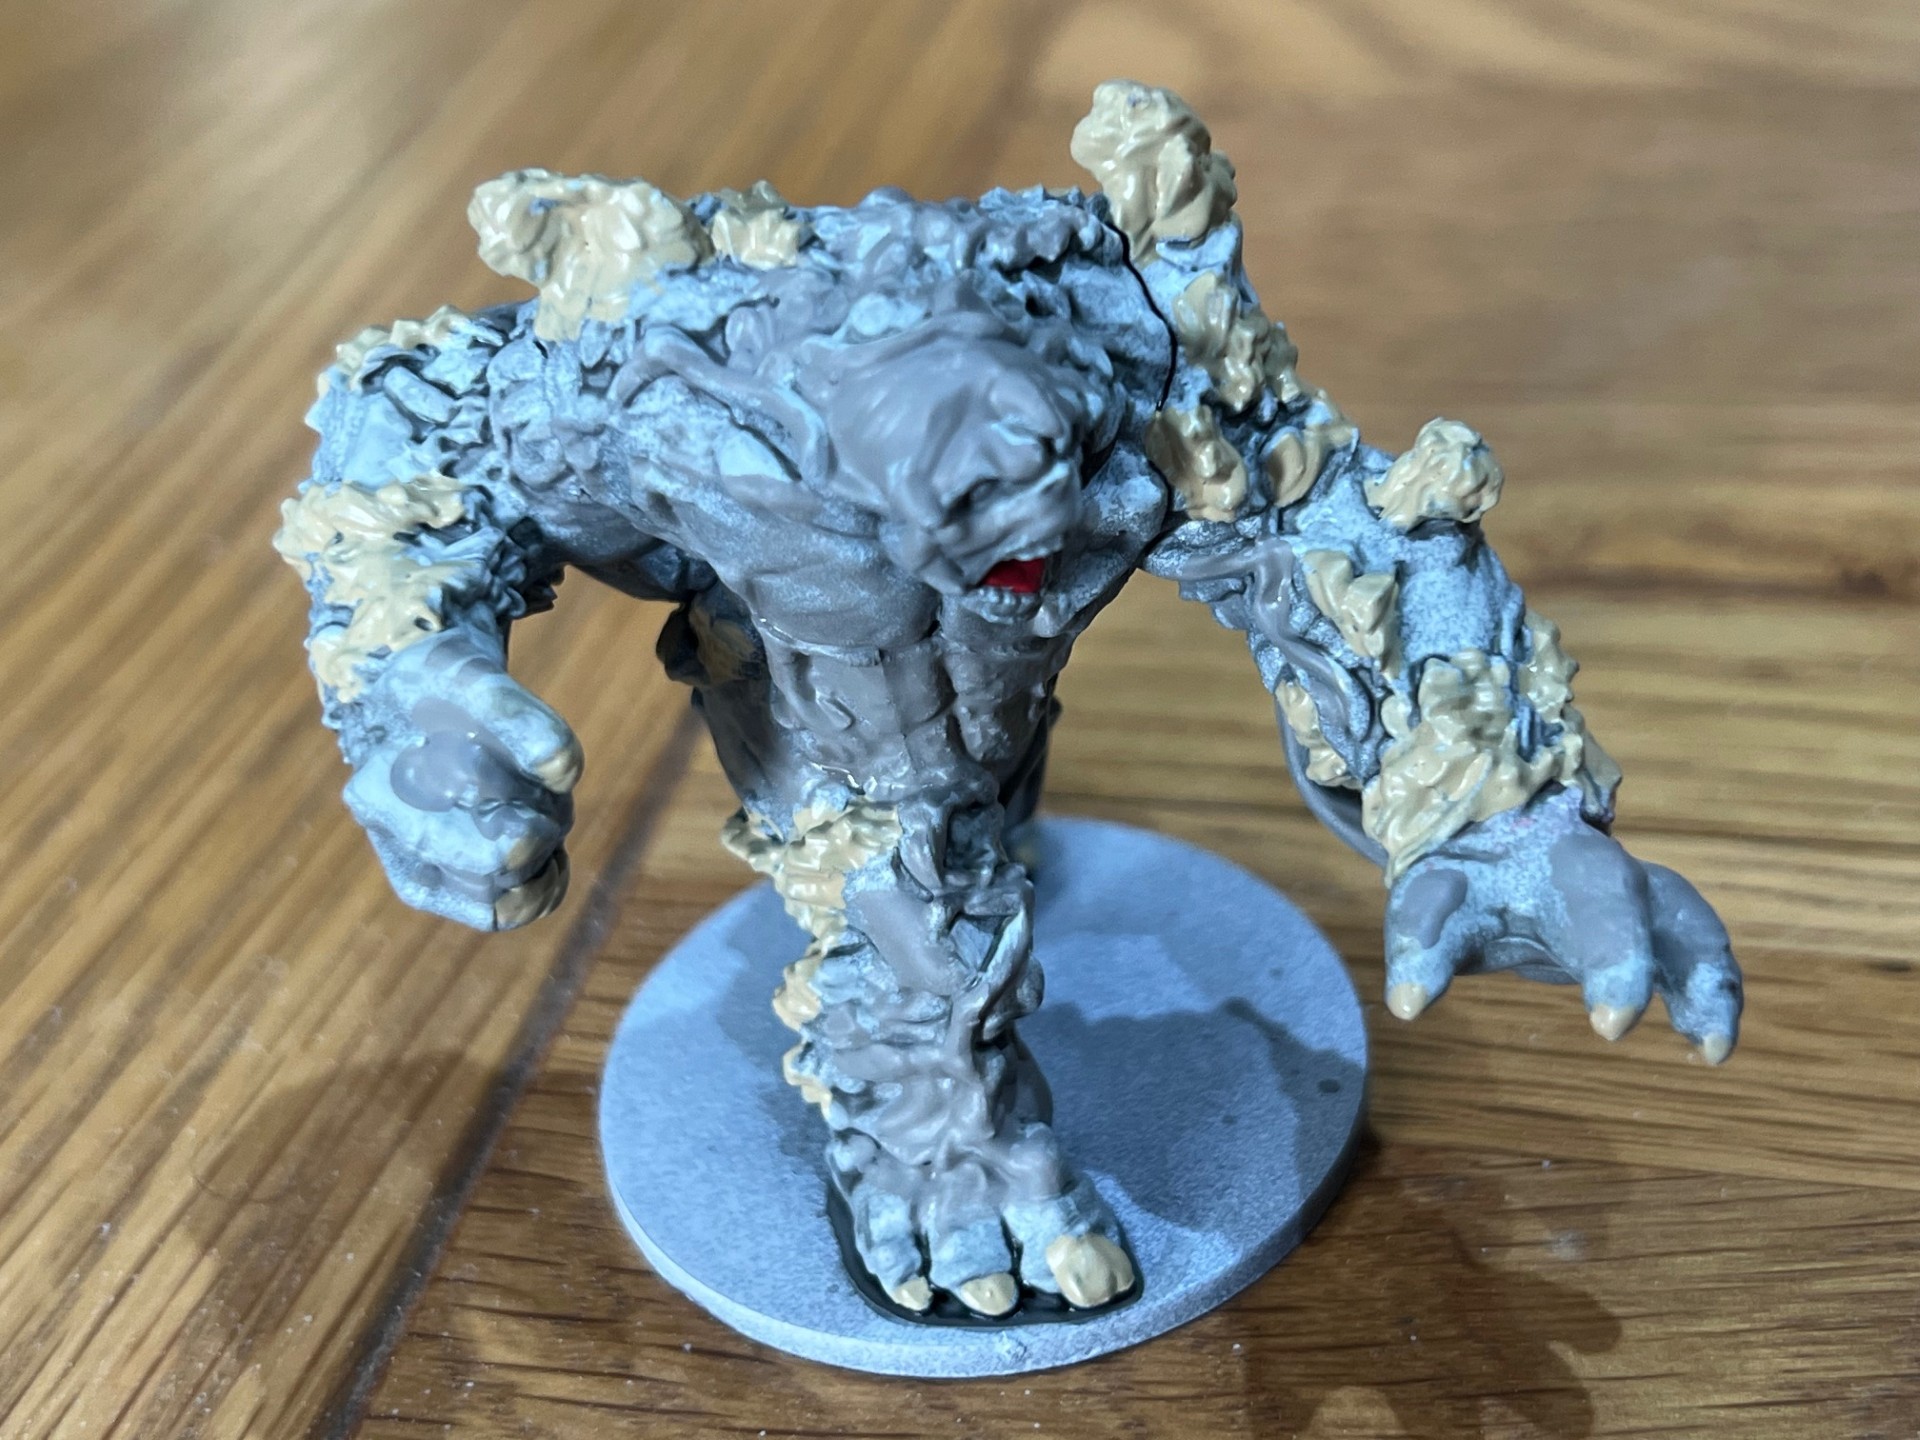
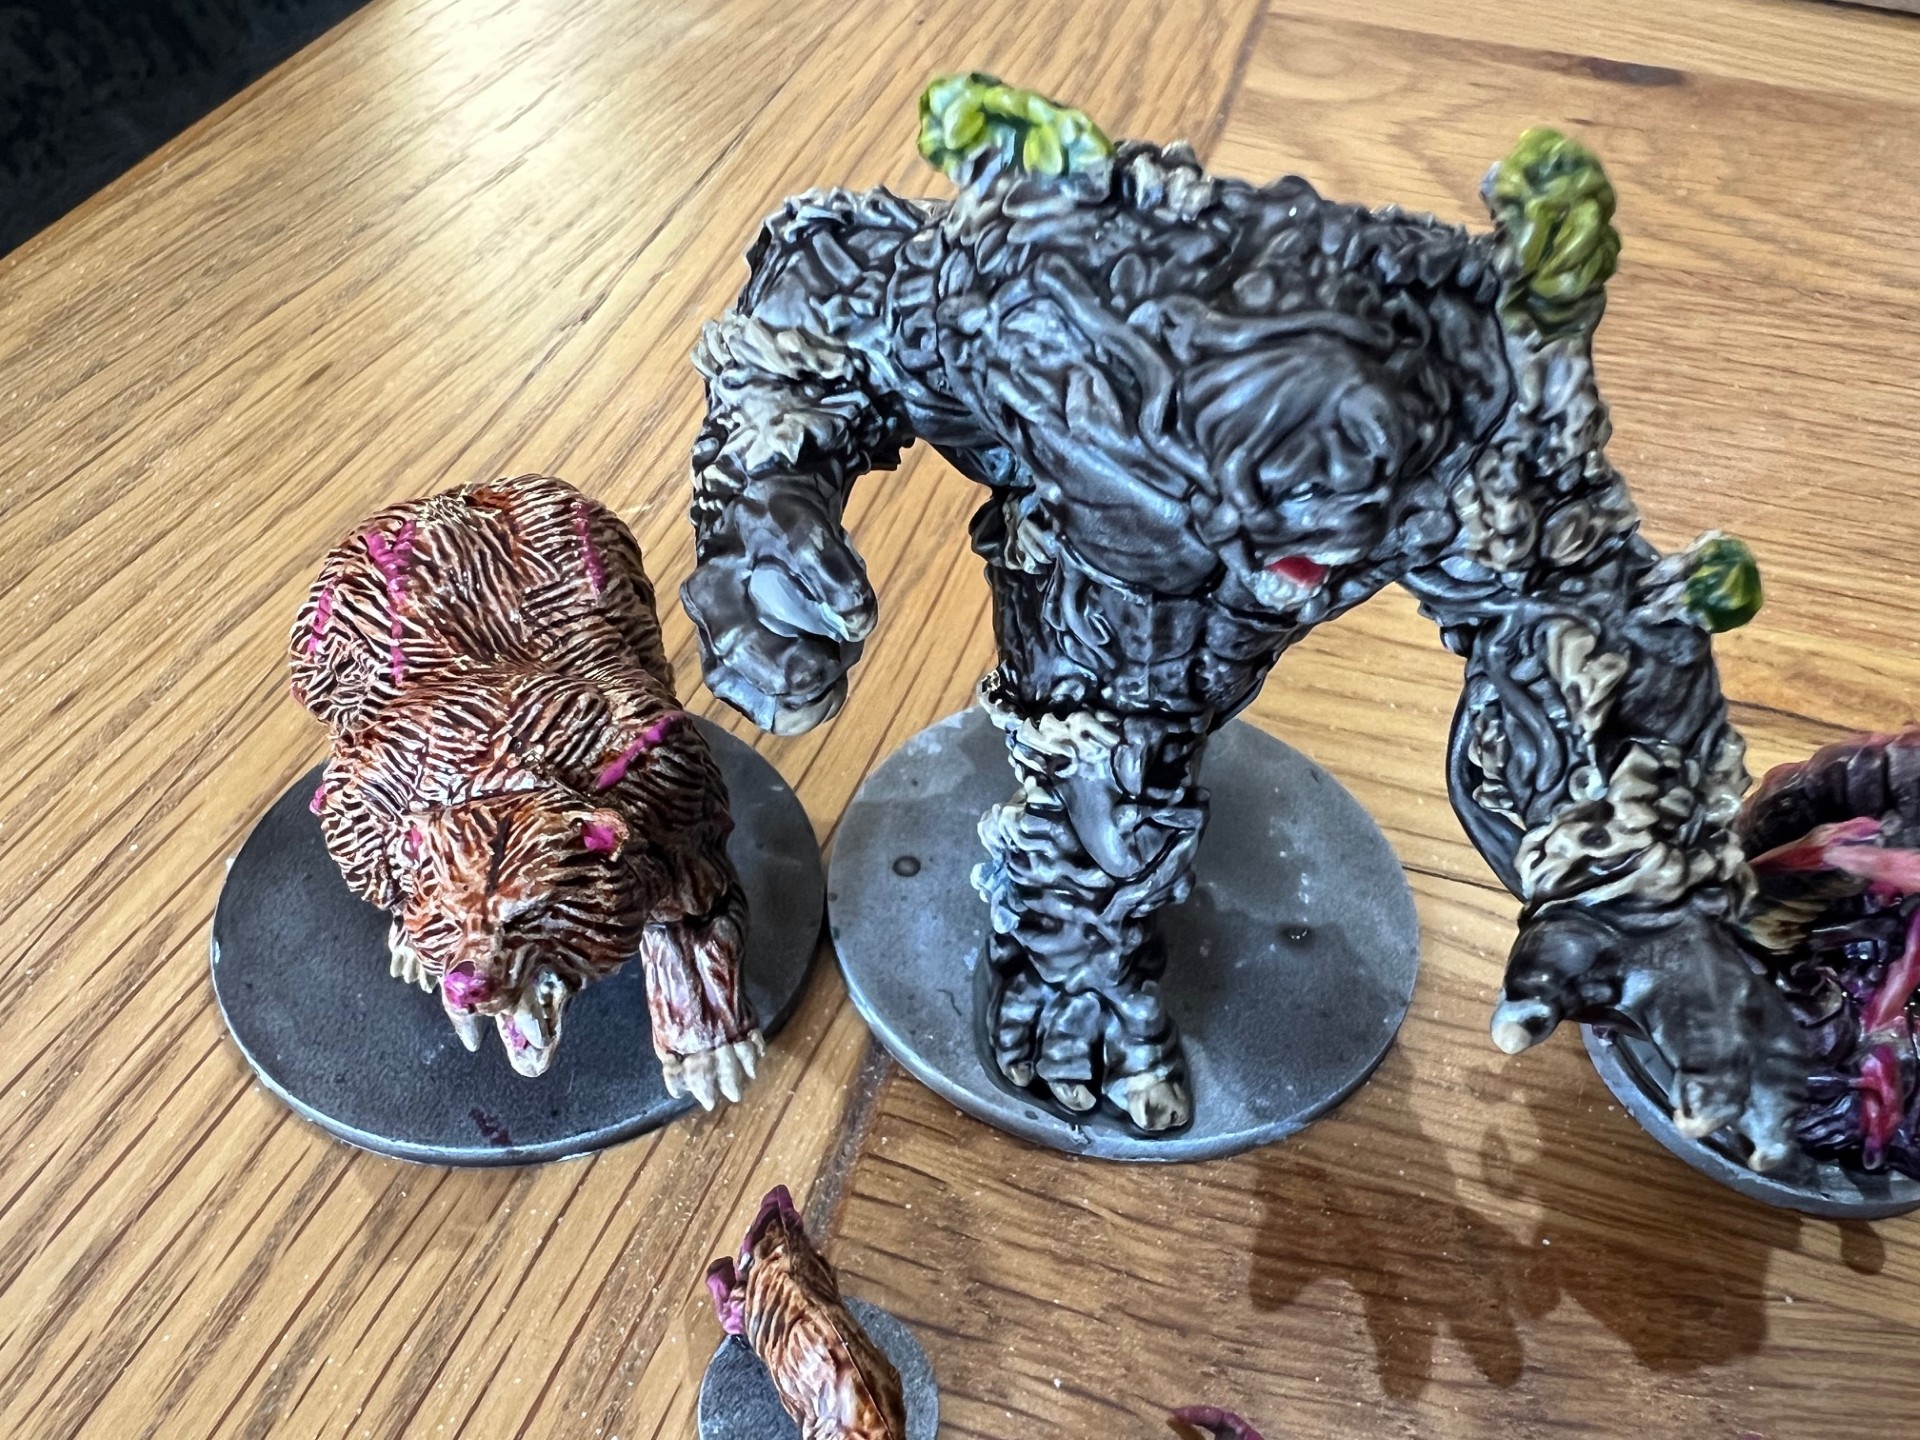
I’ve picked five of the most interesting and challenging monsters from Maladum for this Let’s Paint, and we’re going to start with the Crag Troll. This huge model offers the benefit of its size, but the significant amount of detail on it makes it a challenging paint. Initially, I sprayed it with grey primer but found that it didn’t reach all the nooks and crannies, so I had to go over those by hand. I followed this with a coat of Speedpaint Gravelord Grey and then a second coat of Holy White, trying not to fill too many cracks.
After this, I decided to pick out some of the fungi that seem to grow on the model, and I did this mainly using Citadel’s Ushabti Bone acrylic paint. I then applied a wash of War Grime and picked out the details such as nails/claws, the boulder the troll is holding, and the inside of its mouth. I was more or less happy by this point, but I wanted a bit more colour and so I used a light green wash of my own mixing to pick out the highest and “freshest” fungi.
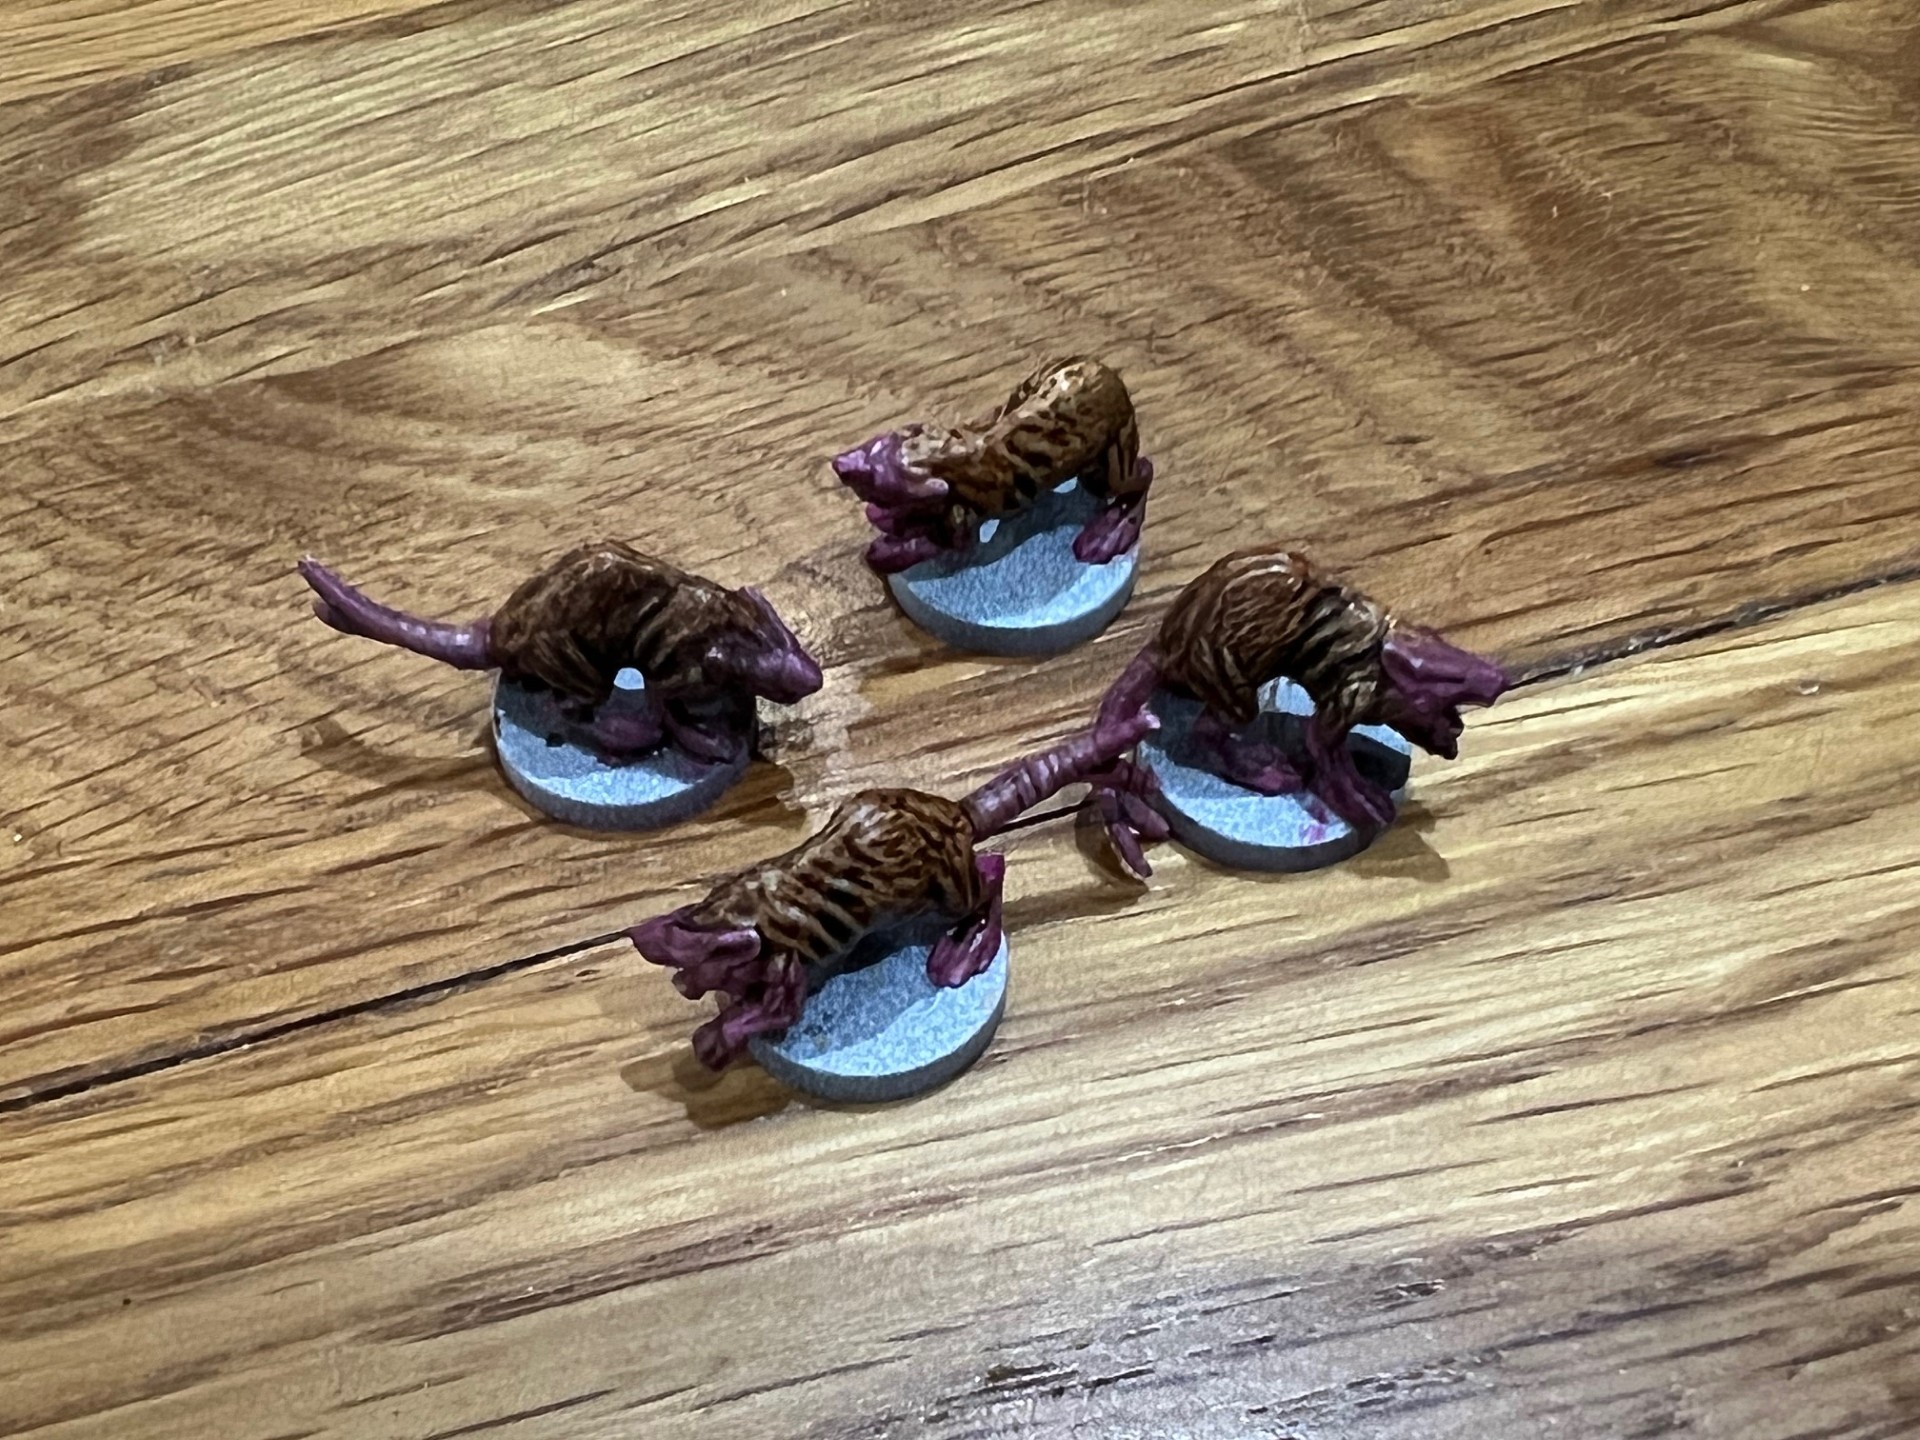
Next, for variety, I painted the Split-Tail Rats. I almost wish that I hadn’t given that these guys are so small and fiddly. Somehow, I managed to clasp the base between finger and thumb and applied a hot pink acrylic to the fleshy bits. In hindsight I should have gone for a more natural tone, but I decided to later apply a dark wash (in black across two rats and brown across the others) to darken it off. This wash went over the top of a mix of Hardened Leather and Periphery Brown, and in honesty these rats took about ten minutes to do all four, so no massive complaints despite the less than perfect outcome.
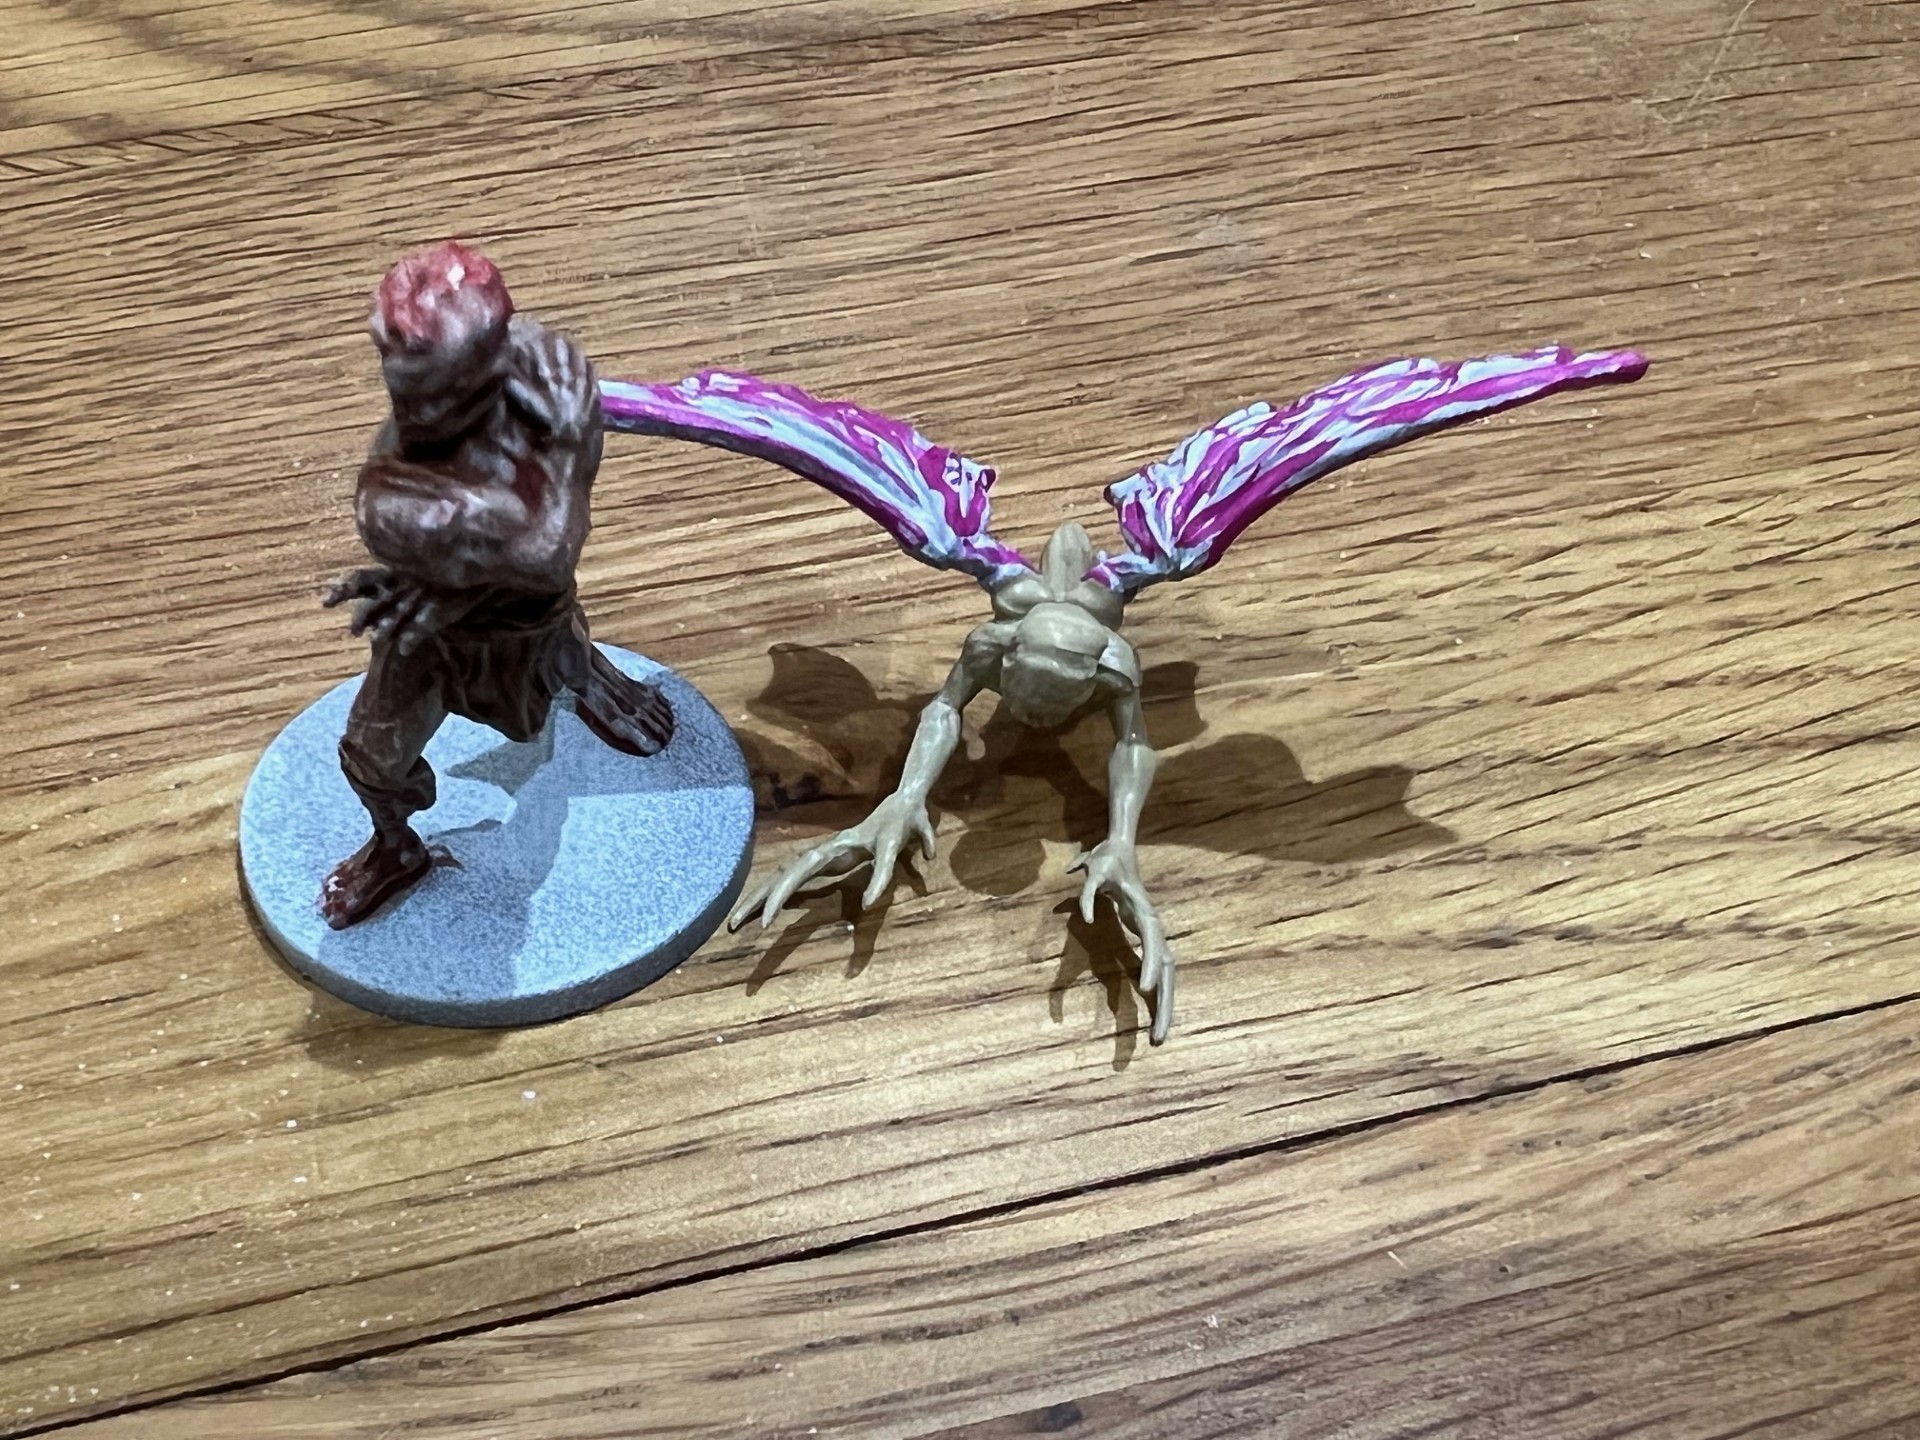
After this, I painted the mould warrior, who had a rather dull palette based on the box art. I covered his skin in Barbarian Flesh tone and his trousers in Hardened Leather, but with not enough contrast between them I bolstered the leather with a dark wash that seemed to do the trick. Next I coated his mouldy bits (his head and the large scale on his back) in an earthy red base, and then used a bit of blue to highlight it. My intention was to create a veiny look which didn’t really work, but I still believe I got the look of “distressed flesh” quite well.
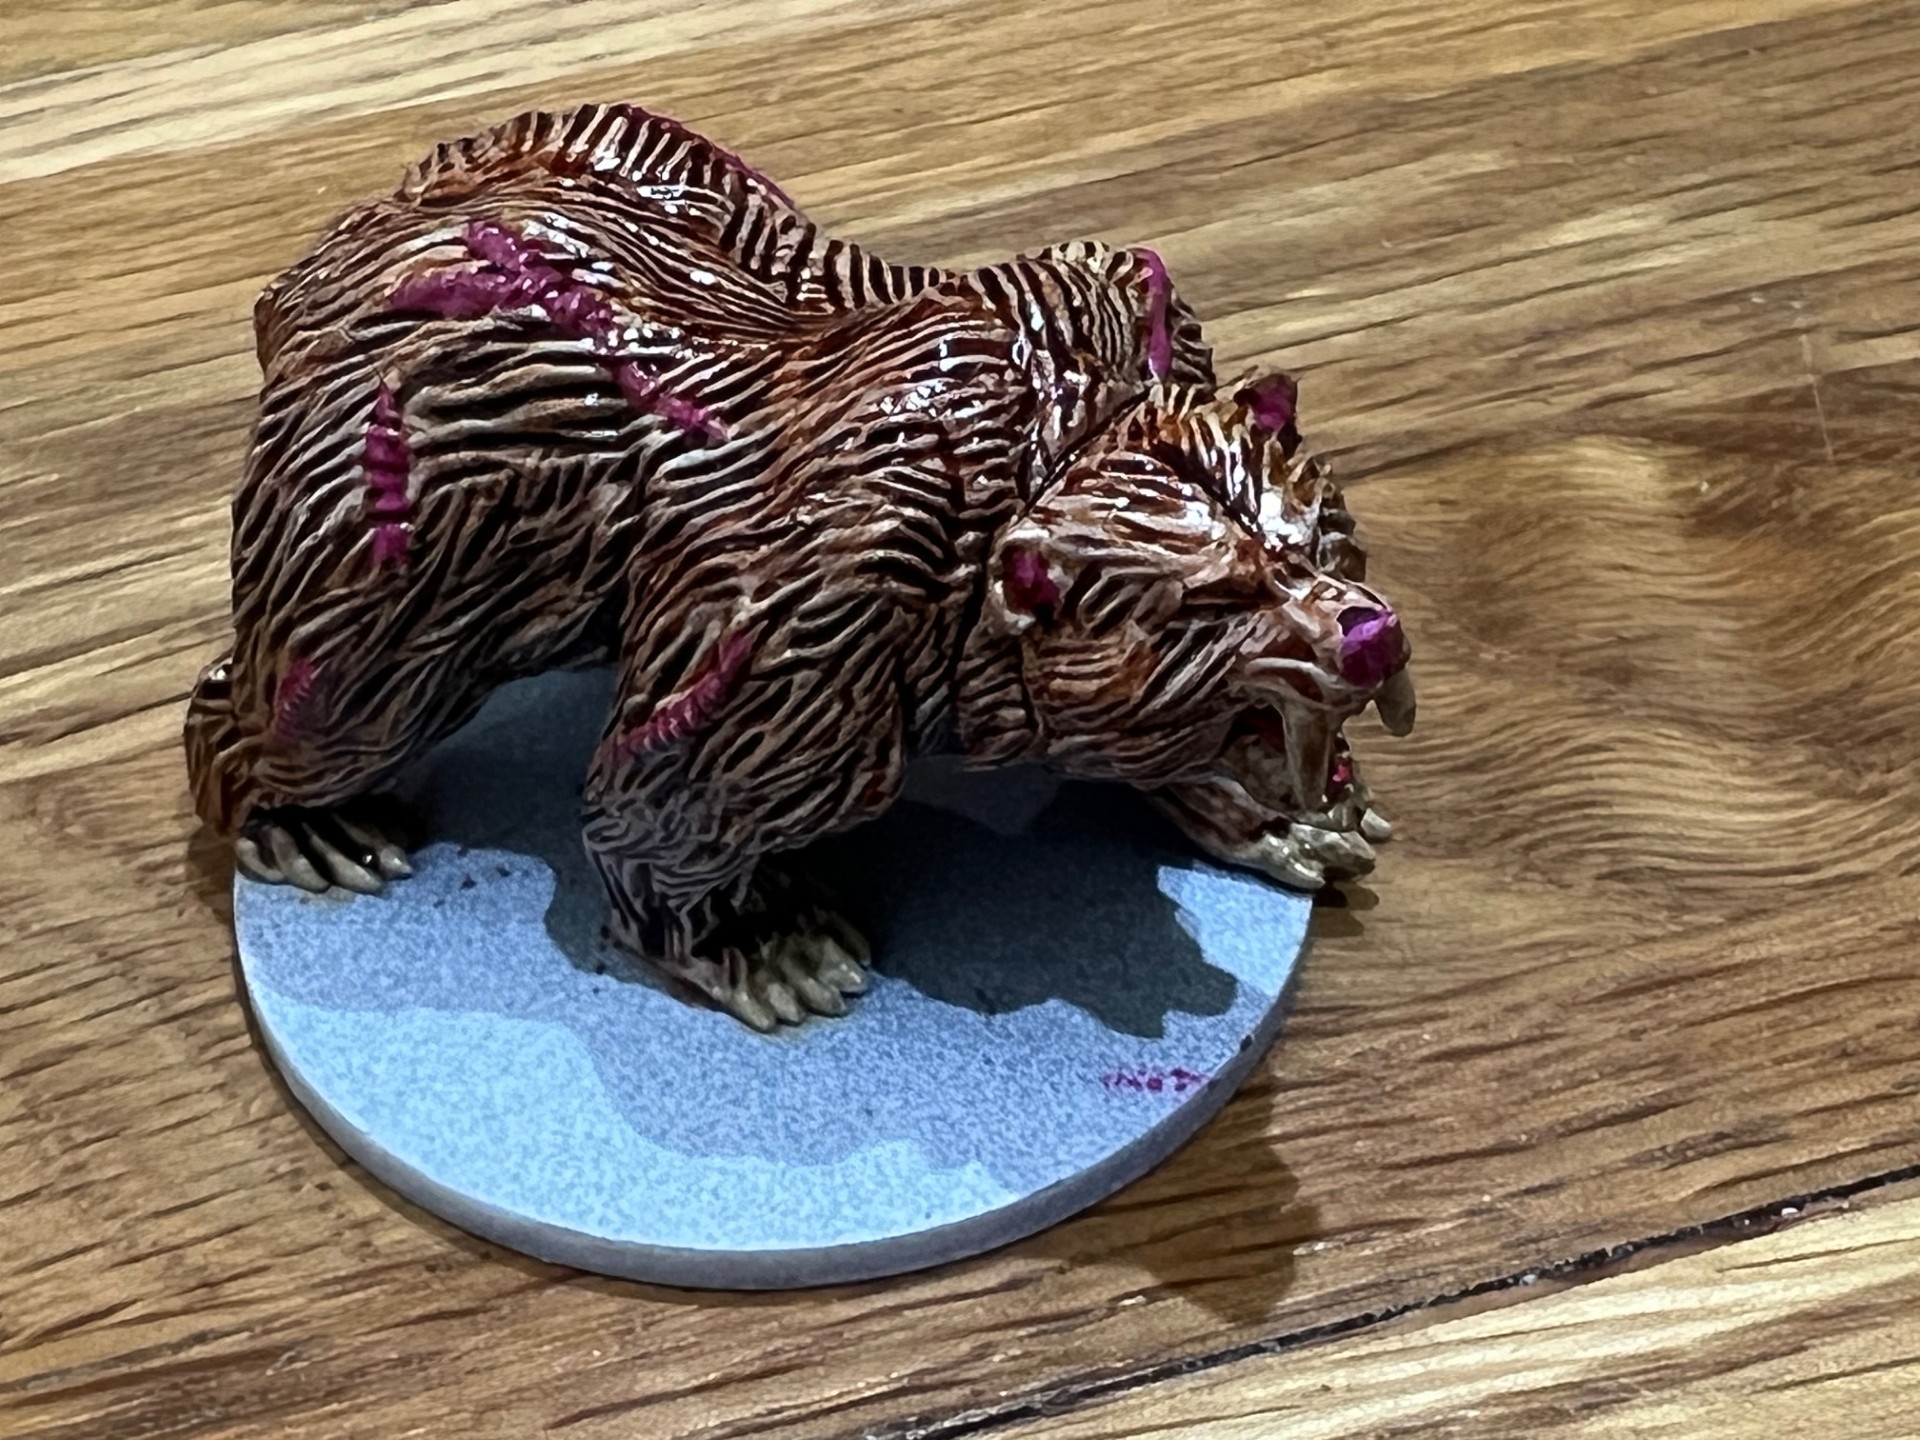
With a choice of either the large bear or the harpy, I thought I’d get the bear done quite quickly. With an all over coat of Periphery Brown washed in Strong Tone, its hair was done. The claws and teeth were easy to pick out in Ushabti Bone, and then the maggots I simply picked out in the same hot pick that I’d used on the rats. An easy job, but one that I think has a good overall effect.
The remaining two models were the worm – which was the most exciting to me – and the harpy, so I went with the harpy. For this one, I used human flesh to paint the body, and then used more of the hot pink to colour some of the veins on the wings. I then filled in some of the gaps with light purple to try and make the wings look like a household fly. I coated the whole thing in a luminous green from Citadel known as Tessaract Glow, and I think the overall effect has come out quite nicely.
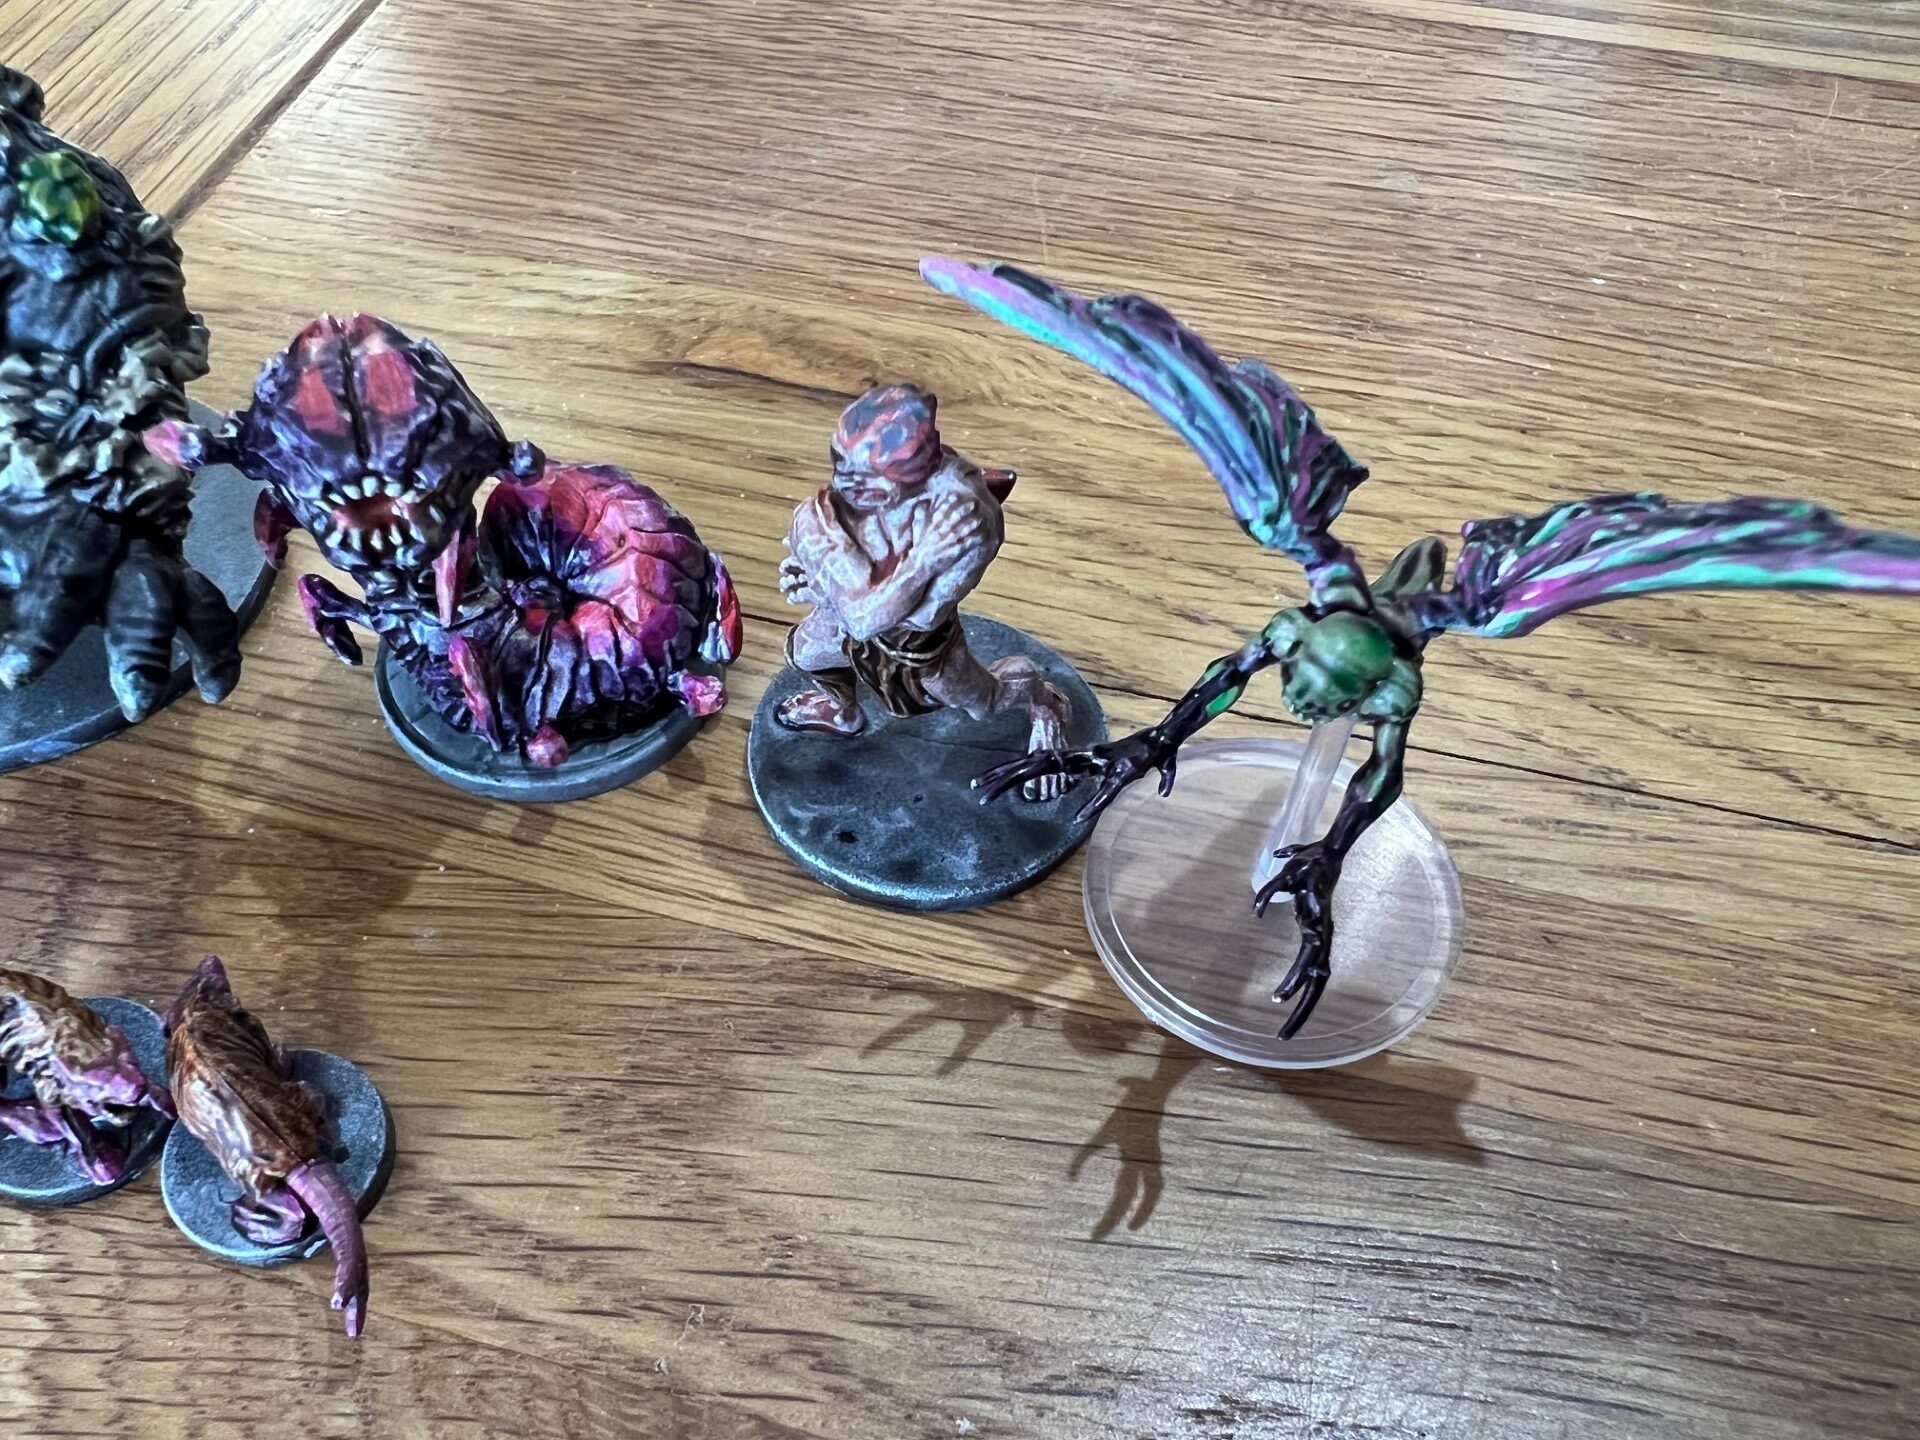
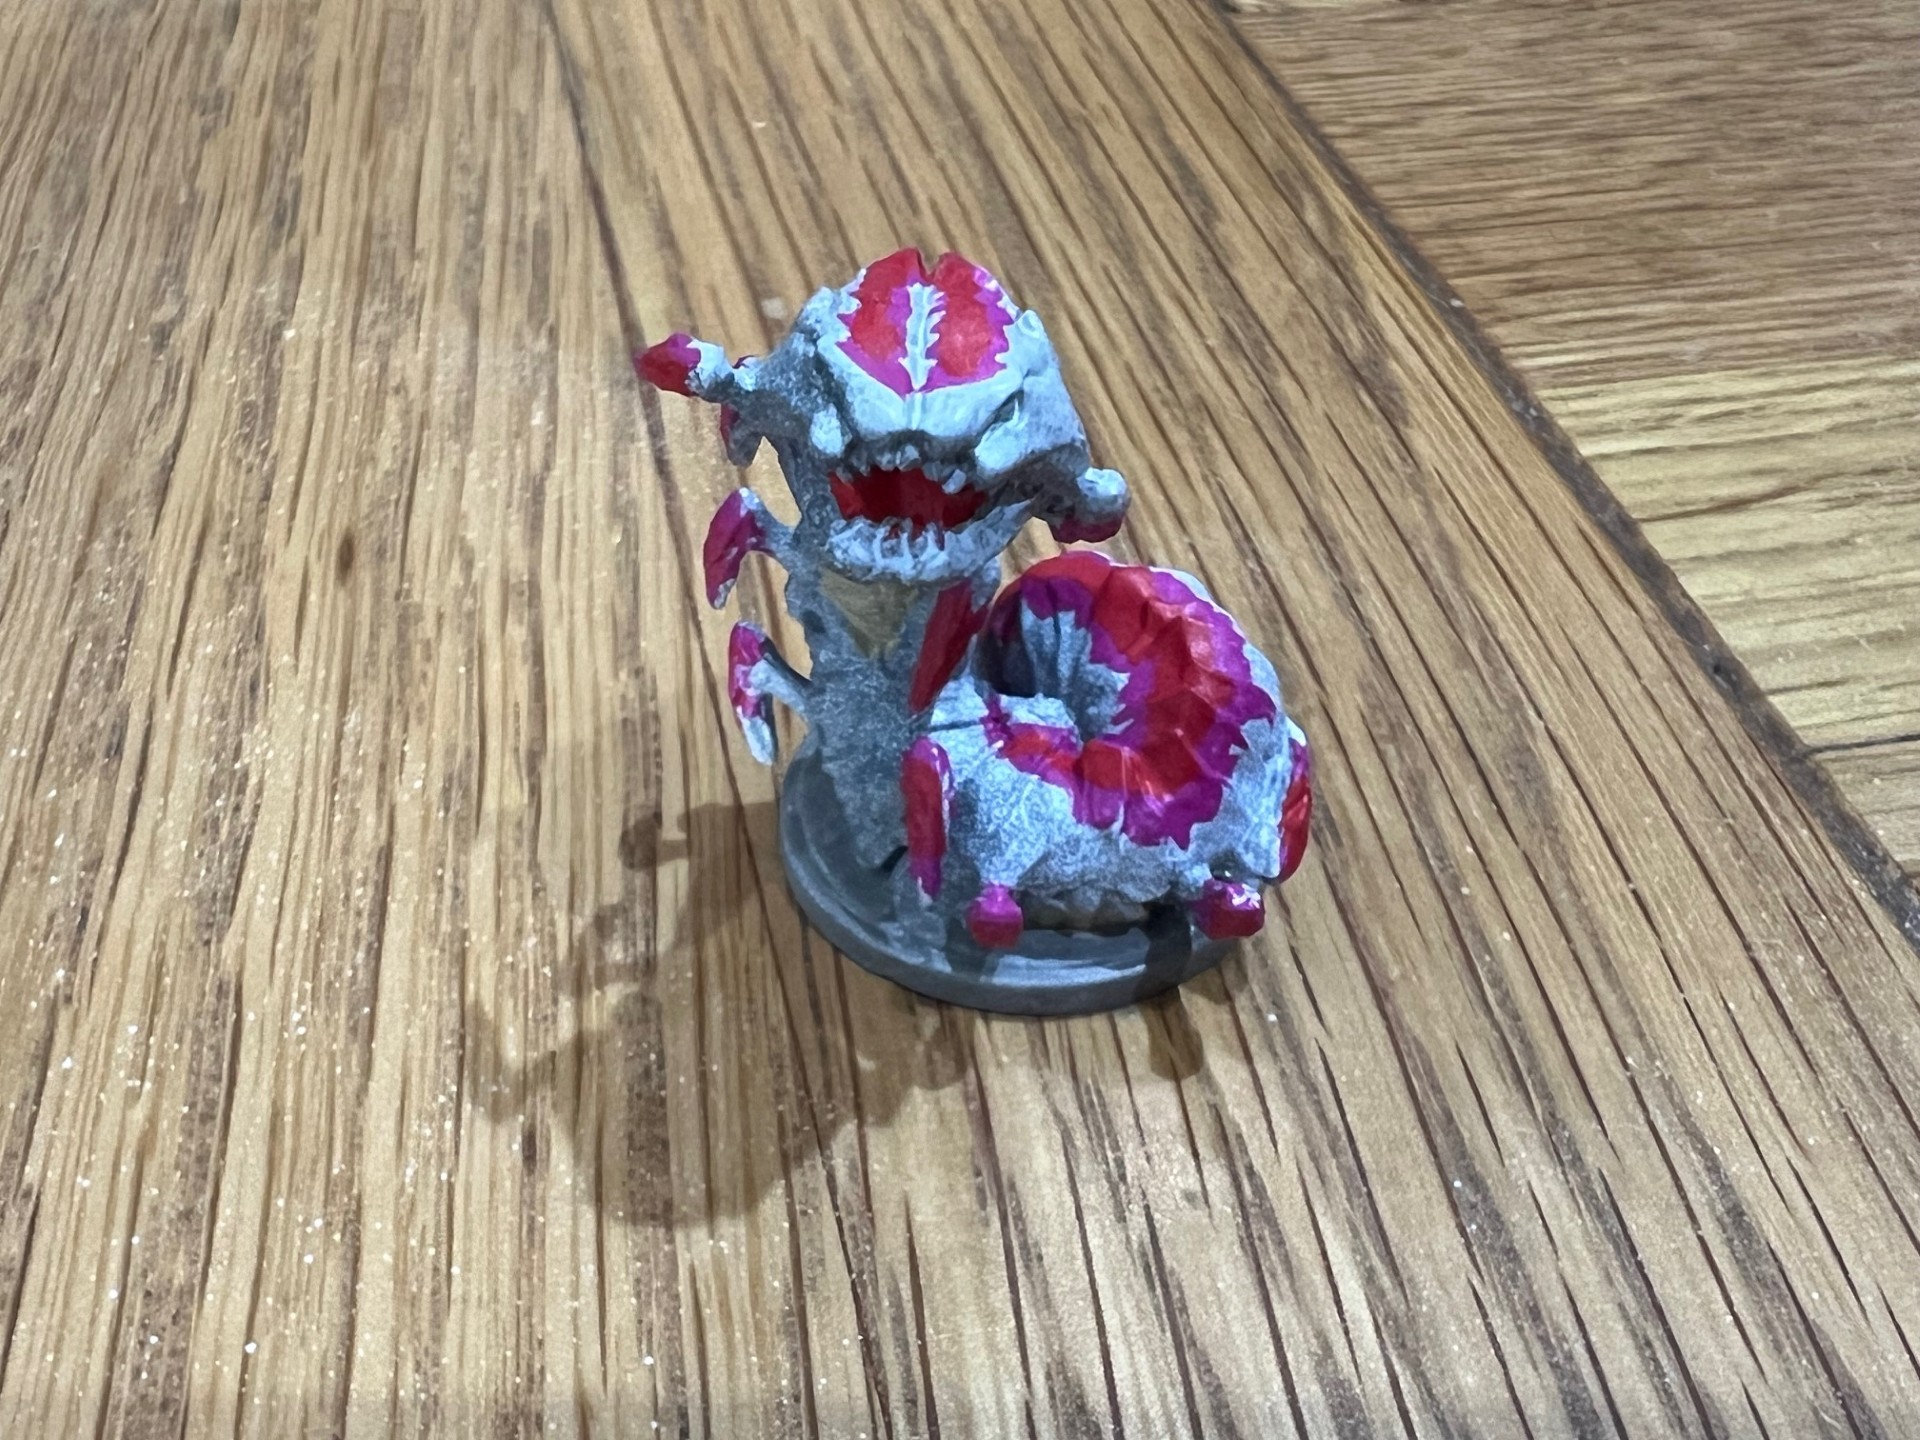
Finally, I decided to tackle the worm – which I wanted to spend some time on. I used the hot pink, a light blue and then a dark purple Speedpaint to build up colour on the outer scales, and then went with a much lighter colour on the underside (which I assume to be soft and often rubbing along the floor.) I coated the rocks around the monster in dark grey, and then I picked out highlights like the teeth before coating the whole thing in Strong Tone. I wanted a bit more “otherworldliness” from this model, but I think in the end it worked out OK.
As always if you’ve enjoyed this guide then please leave a comment below, and don’t forget to check out our Painting Guide Hub for more Let’s Paint! tutorials and content.
Comments are closed.